




Nema 17 Cycloidal Gearbox
 Byadvanced-hobby-labLikes0Downloads285
Build another version of this model.
I sat down to correct some of the things I considered be weaknessess in the design. Mainly the fasteners.
I wanted to keep this version of the Quadruped budget friendly.
The more robust big brother Quadruped v1.0 is more expensive with bearings and more robust components.
No code or electronics were changed. The only change to v0.6 was the mechanical components.
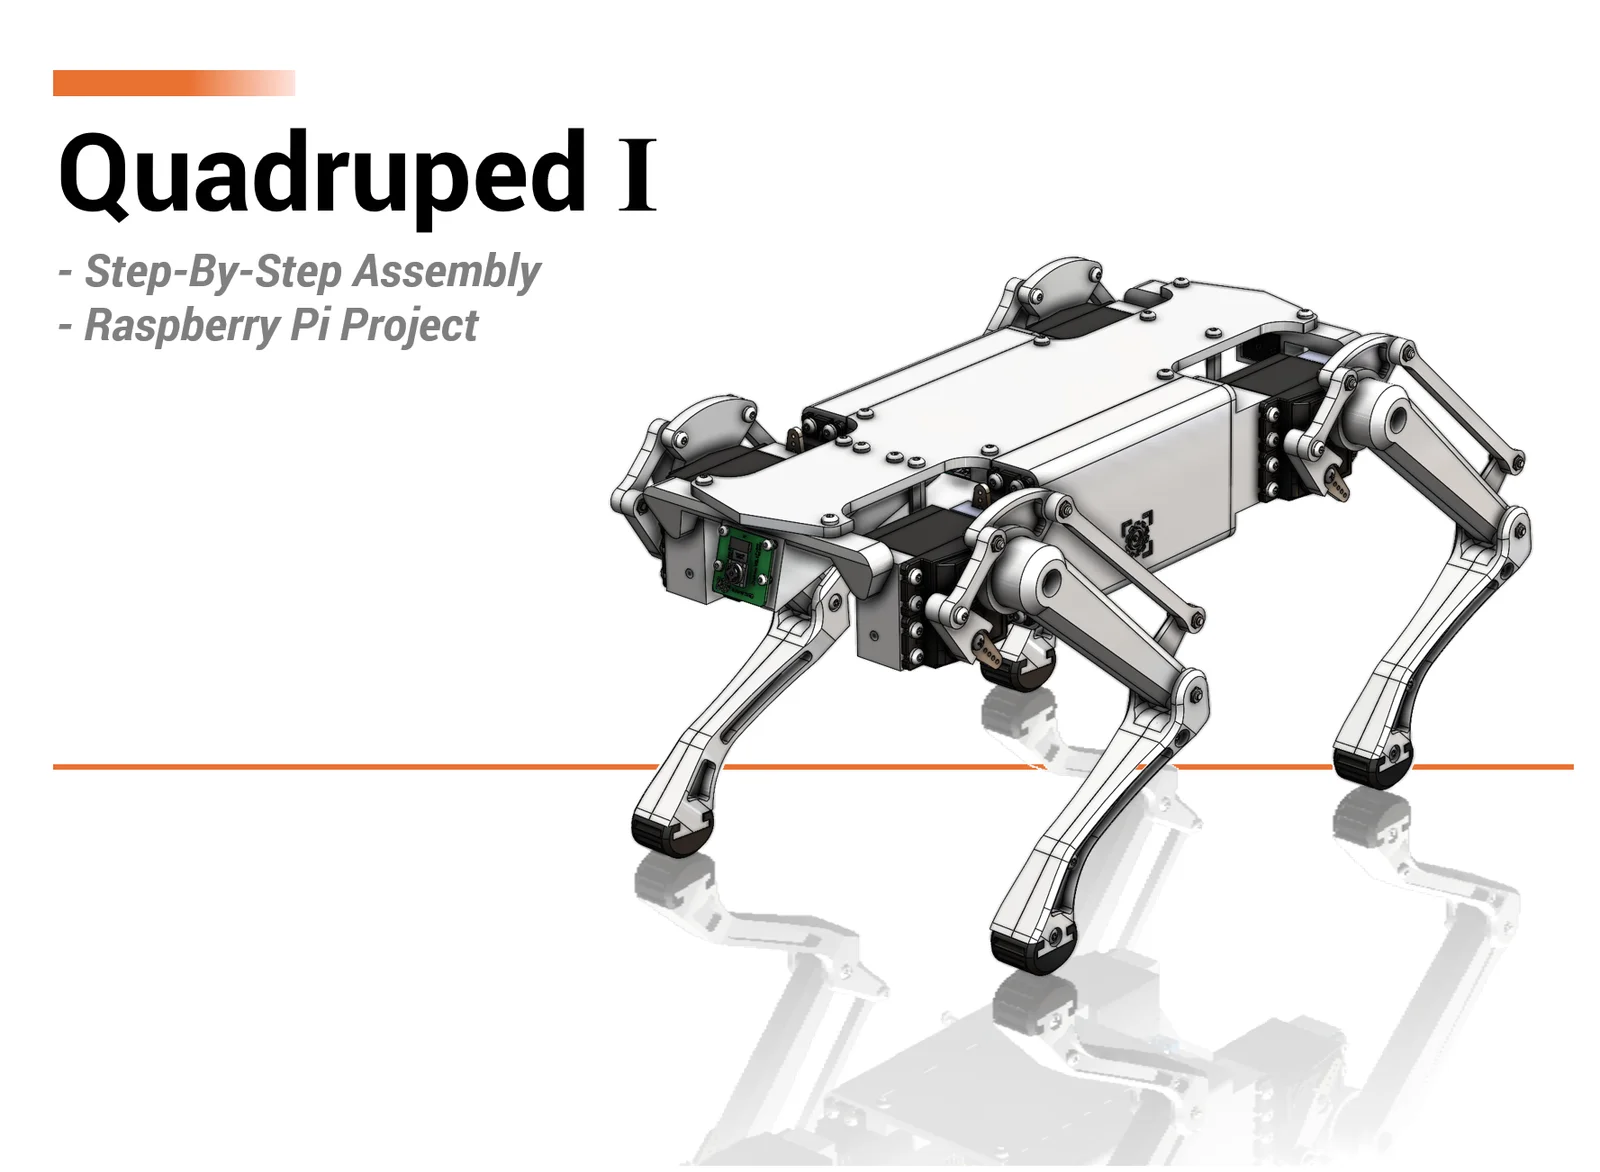
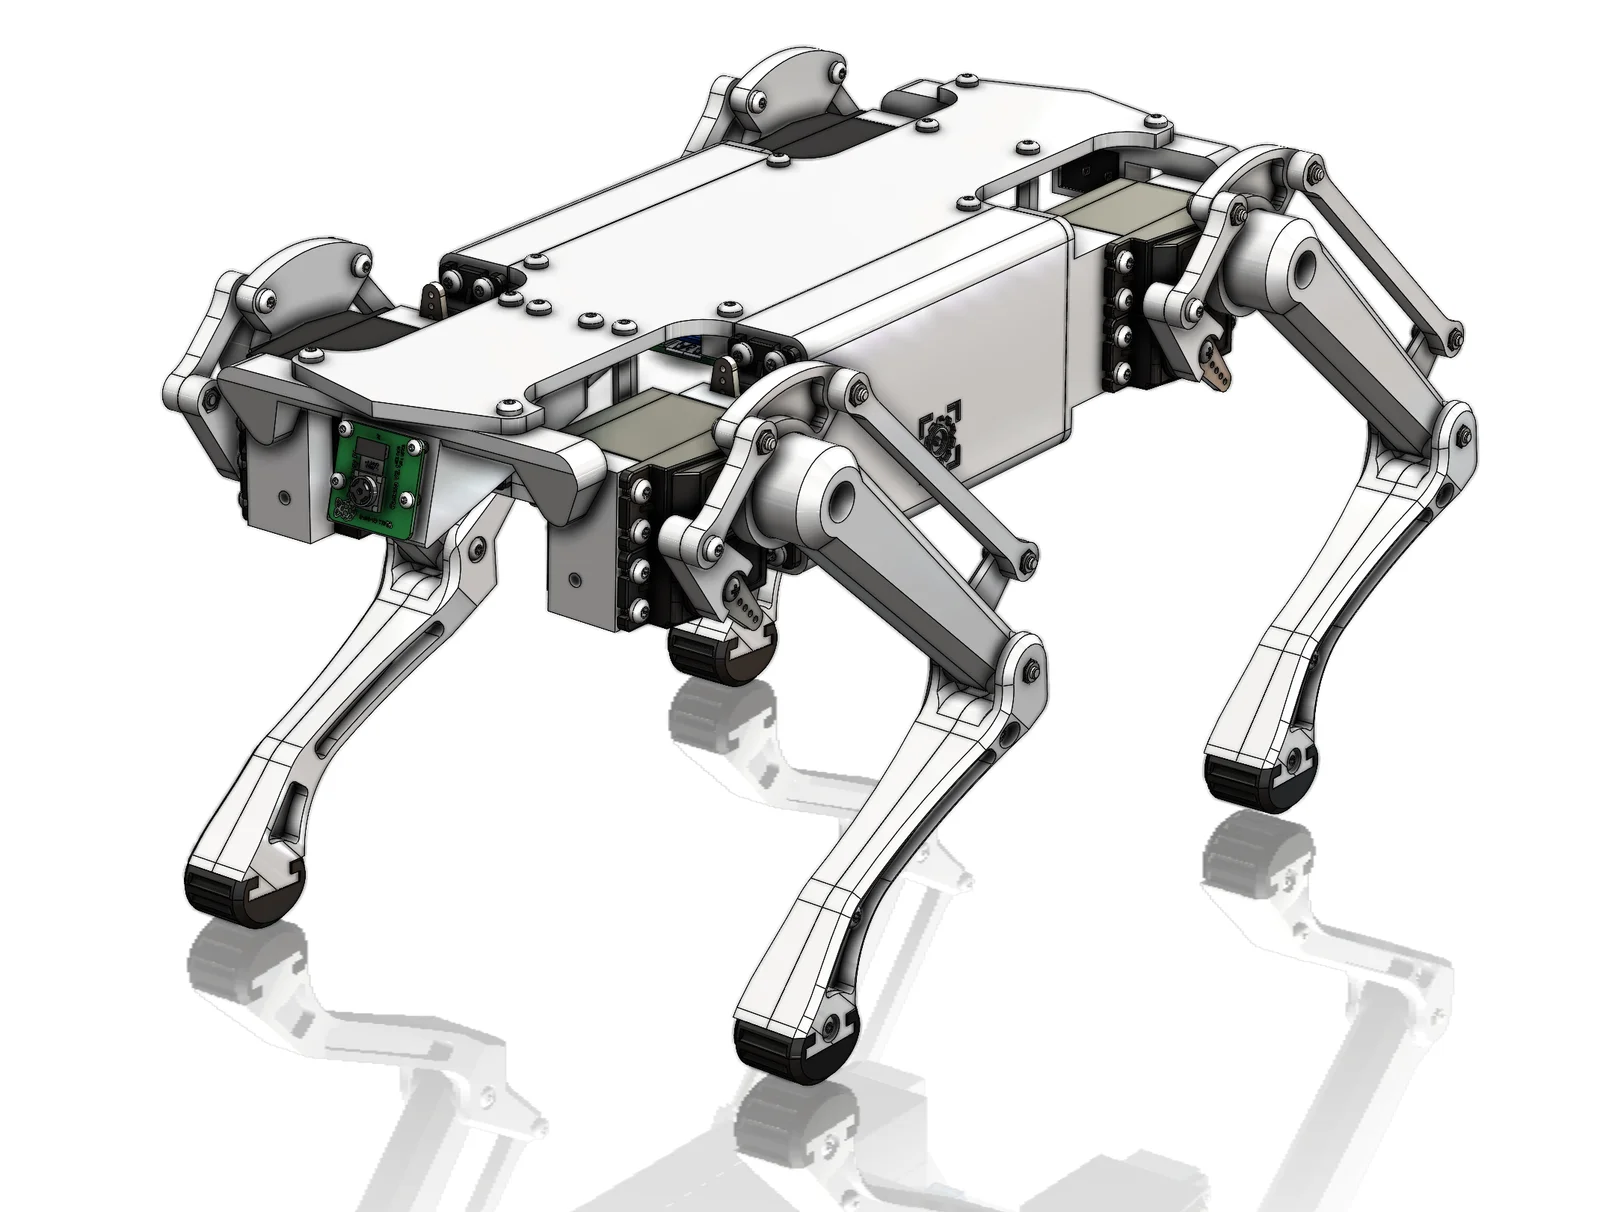
Quadruped I has less parts.
It has 10 servos where only the front hips can pivot, making its movement more restricted than it's big brother Quadruped II.
It has less components and more simple electronics. All of the parts and joints is 3D-printed.
Quadruped II has bearings and 12 servos.
It also has a custom power distribution board to make the assembly more easy.
It has ROS 1 Noetic implementation aswell which enables another level of flexibility.
Quadruped I is a great starter DIY project.
Quadruped II is more advanced but also more expensive.
Anyone that joins my club here on Printables get full access to all the CAD files, PCB designs and sourcecode for my projects.
Here are print guidelines for you to follow in order to have decent success with printing parts:
Infill type
Gyroid, Honeycomb, Triangle or Cubic
Material Structural
PETG or ASA, ABS, PCTG, PA, PC, (TPU for Feet)
Material Visual
PLA or whatever you think looks good.
Infill percentage
35% Structural | 15% Cosmetic
Layer height
0.2mm, recommended
Wall count
Recommended: 4
Solid top/bottom layers
Recommended: 5
Extrusion width
0.4mm, recommended
Necessary/Good to have tools needed before starting the project:
Proper wire cutters, wire strippers a precisions screwdriver set are necessary.
You will also need a soldering iron to solder wires and to press heat inserts.
Needed or good to have tools for this project.
Soldering Iron TS101
(Recommended)
Heat Inset Tip Kit - For TS101
(Recommended)
Electric Precision Screwdriver
(Recommended)
Allen Key Set
Torx Key Set
Torque Screwdriver
Wire stripper
Wire cutter
Heat Insert Press Tool
Crimp Tool
Soldering Iron - Generic (Alternative)
Budget friendly alternative
Heat insert tip - set (Alternative)
Budget friendly alternative
Precision Screwdriver Set
Budget friendly alternative
Heat insert set
Wire - Power
Wire - Communication / Signal
M3 Button Cap Screw set
M3 Torx Screw Set
M3 Socket Head Cap screw set
Ferrules Set
Reusable Velcro Cable Ties
Filament - PC / ASA / ABS / PETG
Filament - Engineering Grade Filaments
Carbon Fibre & High Temp
Filament - PLA
Filament - TPU
Installation
Follow the assembly guide on how to assemble the quadruped mechanically, and then the instructions for the software and electronics.
All documentation is attached in the download section.
Byadvanced-hobby-labLikes0Downloads285

 ByWolf_115355Likes513Downloads8.4K

 ByZED4EverLikes313Downloads5.2K

 ByfifindrLikes500Downloads4K

 ByVC_DesignLikes679Downloads3.6K

 ByDan Schwartz SchwartzLikes744Downloads3.4K

 Byvc-designLikes0Downloads3.2K

 ByUpcrid3D_1585693Likes808Downloads2.1K

 ByWilko_SLOLikes935Downloads2K

 Bychubbs8697_2027893Likes585Downloads1.7K

 Byquibeck_3353173Likes965Downloads1.9K

 BySeppoTakaloLikes960Downloads1.9K