



Kẹp giữ sợi Filament
 Bytinx_1344834Likes1.2KDownloads6K
Build another version of this model.
 Giá đỡ cảm biến Eddy Duo cho Creality K1, K1C và K1 MaxByRainerBrehm_1369519 · 03/17/2026
 Giá đỡ BTT eddy / eddy duo cho K1/K1c/K1 MaxBymv83_966167 · 12/19/2025
The Mount
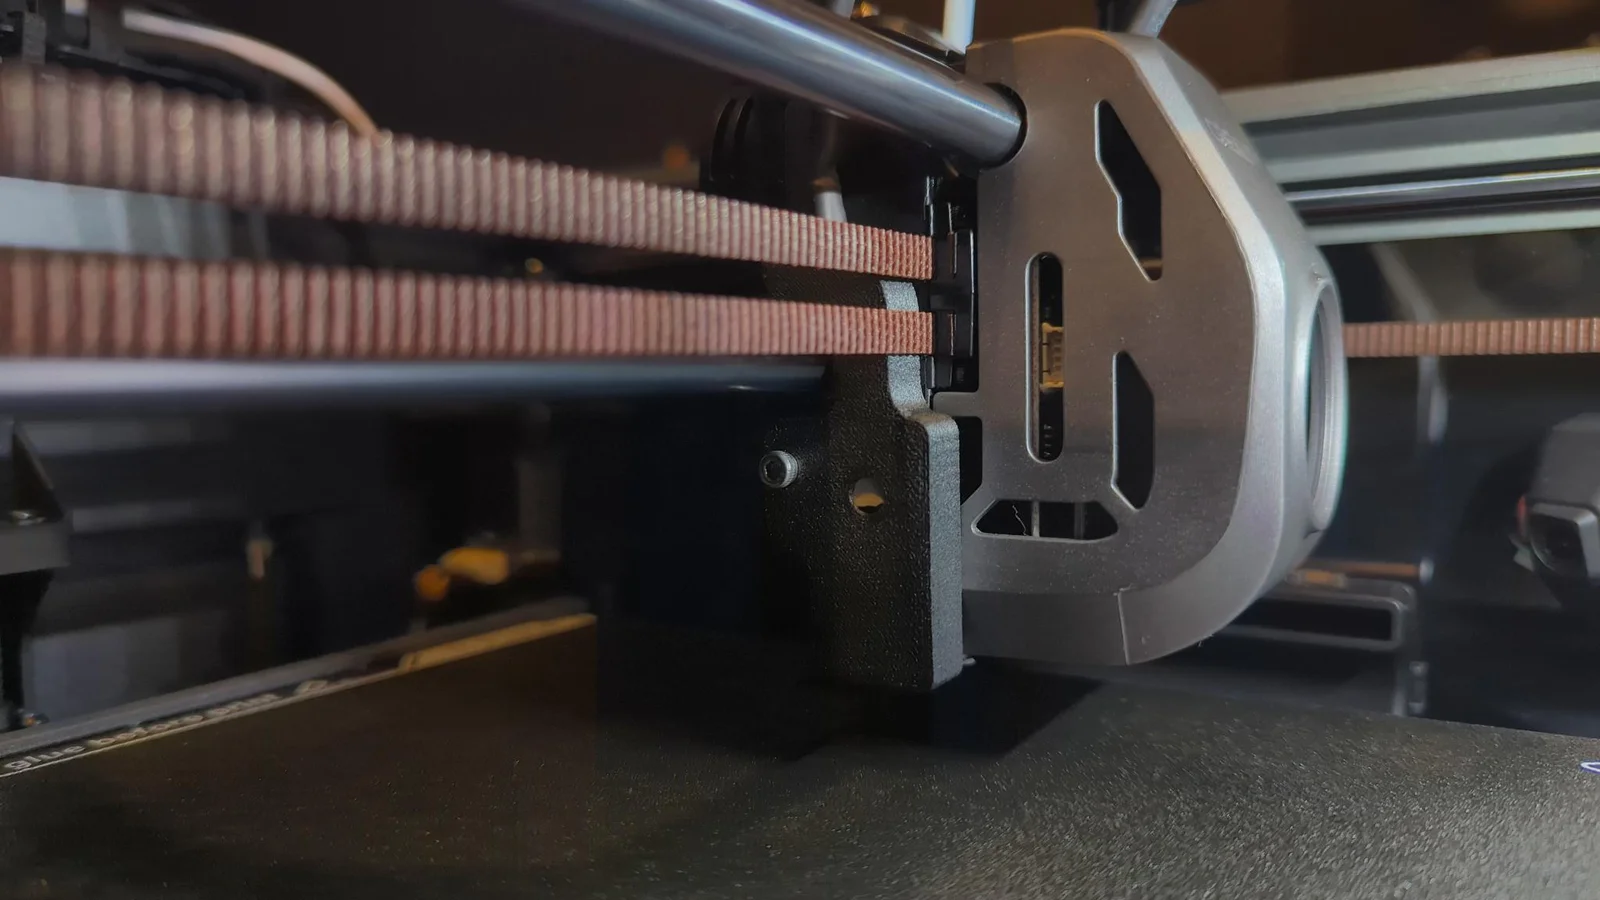
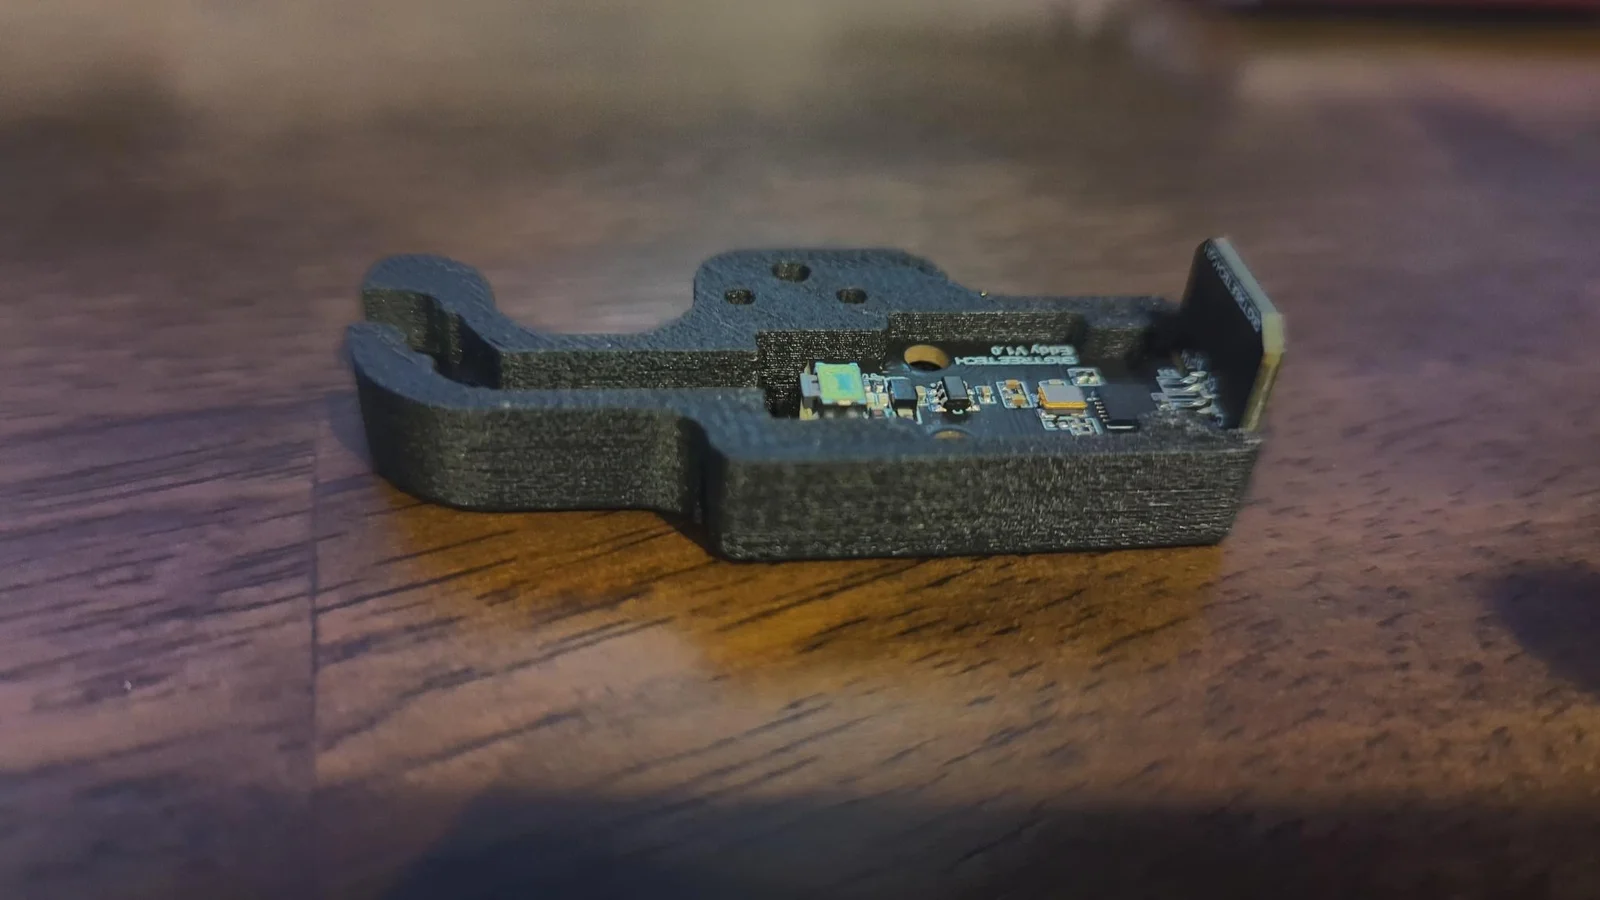
This mount replaces the stock housing for the BTTEddy probe, bringing it in like with the Y axis of the nozzle. This makes it so we no longer have to worry about Axis Twist Compensation. The mount can be easily installed using one of the shorter stainless screws included with the BTTEddy.
Help support my work with Ko-Fi
Have questions? Join the ZeroDotCMD Discord.
Updated v2
Added through holes for bolting the probe to the mount
Adjusted mount geometry for better accuracy.
Get a BTTEddy Amazon Affiliate - BTTEddy
JST connectors for usb - Amazon affiliate
Replacing the Housing
The mount is designed for the BTTEddy to be pressure fit into it. depending on the calibration of your printer it may be a tight fit but the mount is designed to be a tight fit. I use a larger allen key driver to firmly press the eddy into the new mount. Only press against the edges where there is no surface mounted parts! It is recommended to print the new mount in nylon carbon fiber. or another filament that is resistant to high heat.
Note - Make sure to attach the cable before you place the eddy into the new mount!
Mounting
The mount self indexes with the two prongs on the left side of the tool head and mounts with a single screw. Note that this screw hole on the stock K1 tool head is a plastic screw hole meant for self tapping. Do not over tighten as you may strip the hole. This mount pairs perfectly with these drag chain clips from SHaDoW6. The clips are best installed on the bottom side of the drag chain.
Firmware Notes
This moves the eddy coil perfectly in line with the Y axis so no Y offset is needed. The X axis offset is -23.0
In the bed mesh section for the BTTEddy You'll also need to make sure to set Your new min and max to these listed values.
mesh_min: 10, 10
mesh_max: 205, 210
Bytinx_1344834Likes1.2KDownloads6K

 Byprusa-researchLikes0Downloads2.7K

 Byarhi_585078Likes64Downloads541

 ByHanzo3dLikes155Downloads414

 BydarienLikes0Downloads1K

 ByGeek5DLikes147Downloads485

 ByBrokentooth_designsLikes23Downloads407

 Byla-cave-au-chatLikes0Downloads965

 Bycrawler-3903250Likes0Downloads906

 ByvertigomakesLikes0Downloads562

 By3DSourcererLikes48Downloads377

 Byartme-3dLikes0Downloads333