



Bộ sưu tập 11 nhân vật mô hình Mecca Chameleon in 3D vui nhộn
 ByZED4EverLikes313Downloads5.2K
Build another version of this model.
 Vỏ LIBRE AM-S905X-CC Le PotatoBydb_202780 · 12/21/2025
 Vỏ BTT Pi V1.2 và V2 cho máy in 3DBydb_202780 · 04/02/2025
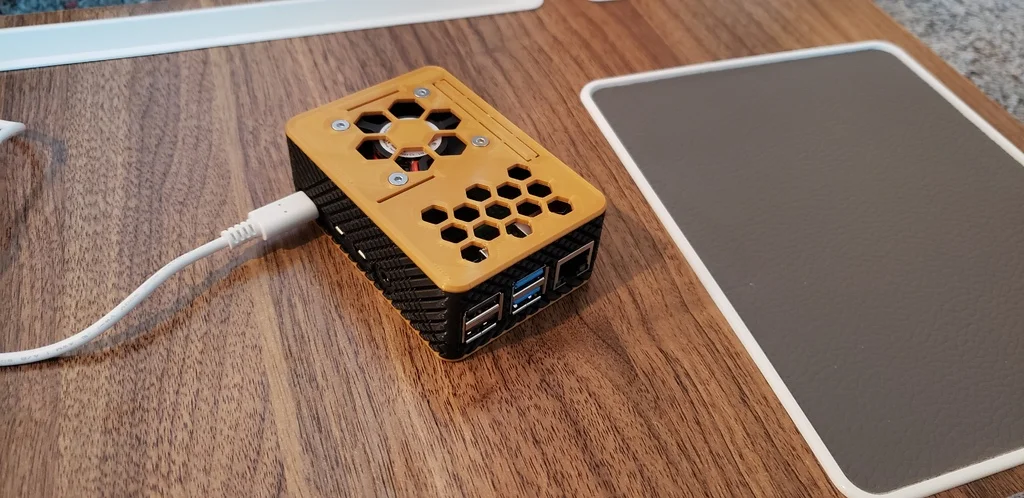
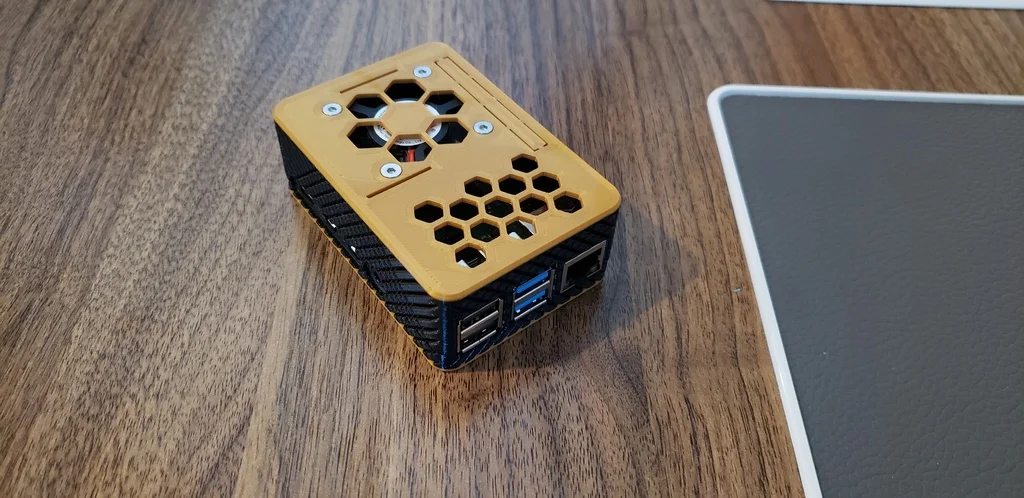
I couldn't find a good case for the Raspberry Pi 4 that had all the features I wanted, so I decided to make my own. Here's what makes mine unique:
The design was inspired by this case by Harryb1991, but I built it in Fusion 360 entirely from scratch.
It will print fine without support, but if you tell your slicer to add supports with an overhang angle of at least 45 degrees, then you'll get a tiny bit of support around the SD card slot, which will make the cutout just a little bit neater. This may not be needed, but it adds so little time and material that you might as well.
I recommend printing a little slower than you usually do. The knurling pattern can be a bit of a strain on the printer.
You will need:
Printer Brand:
Creality
Printer:
CR-10S
Rafts:
No
Supports:
Doesn't Matter
Resolution:
.2
Infill:
20%
Category: 3D Printing
ByZED4EverLikes313Downloads5.2K

 ByleonicLikes0Downloads1.4K

 ByfifindrLikes500Downloads4K

 ByVC_DesignLikes679Downloads3.6K

 ByDan Schwartz SchwartzLikes744Downloads3.4K

 Byvc-designLikes0Downloads3.2K

 ByUpcrid3D_1585693Likes808Downloads2.1K

 ByWilko_SLOLikes935Downloads2K

 ByJordanK_858807Likes42Downloads436

 ByshoheiyLikes0Downloads426

 Bychubbs8697_2027893Likes585Downloads1.7K

 Byquibeck_3353173Likes965Downloads1.9K