



Kẹp giữ sợi Filament
 Bytinx_1344834Likes1.2KDownloads6K
Build another version of this model.
 Dụng cụ hiệu chuẩn Keyhole E-steps / Rotation Distance (dài 70mm)Bydatapagan · 05/08/2026
 Dụng cụ Keyhole cân chỉnh E-steps – Có đầu nối ECASByMartijn · 02/15/2026
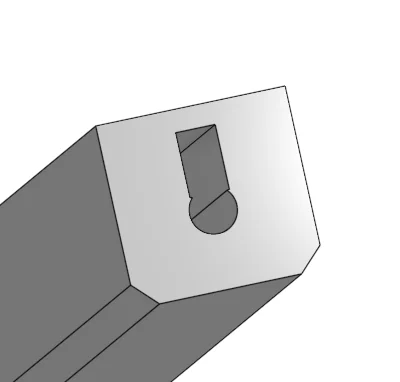
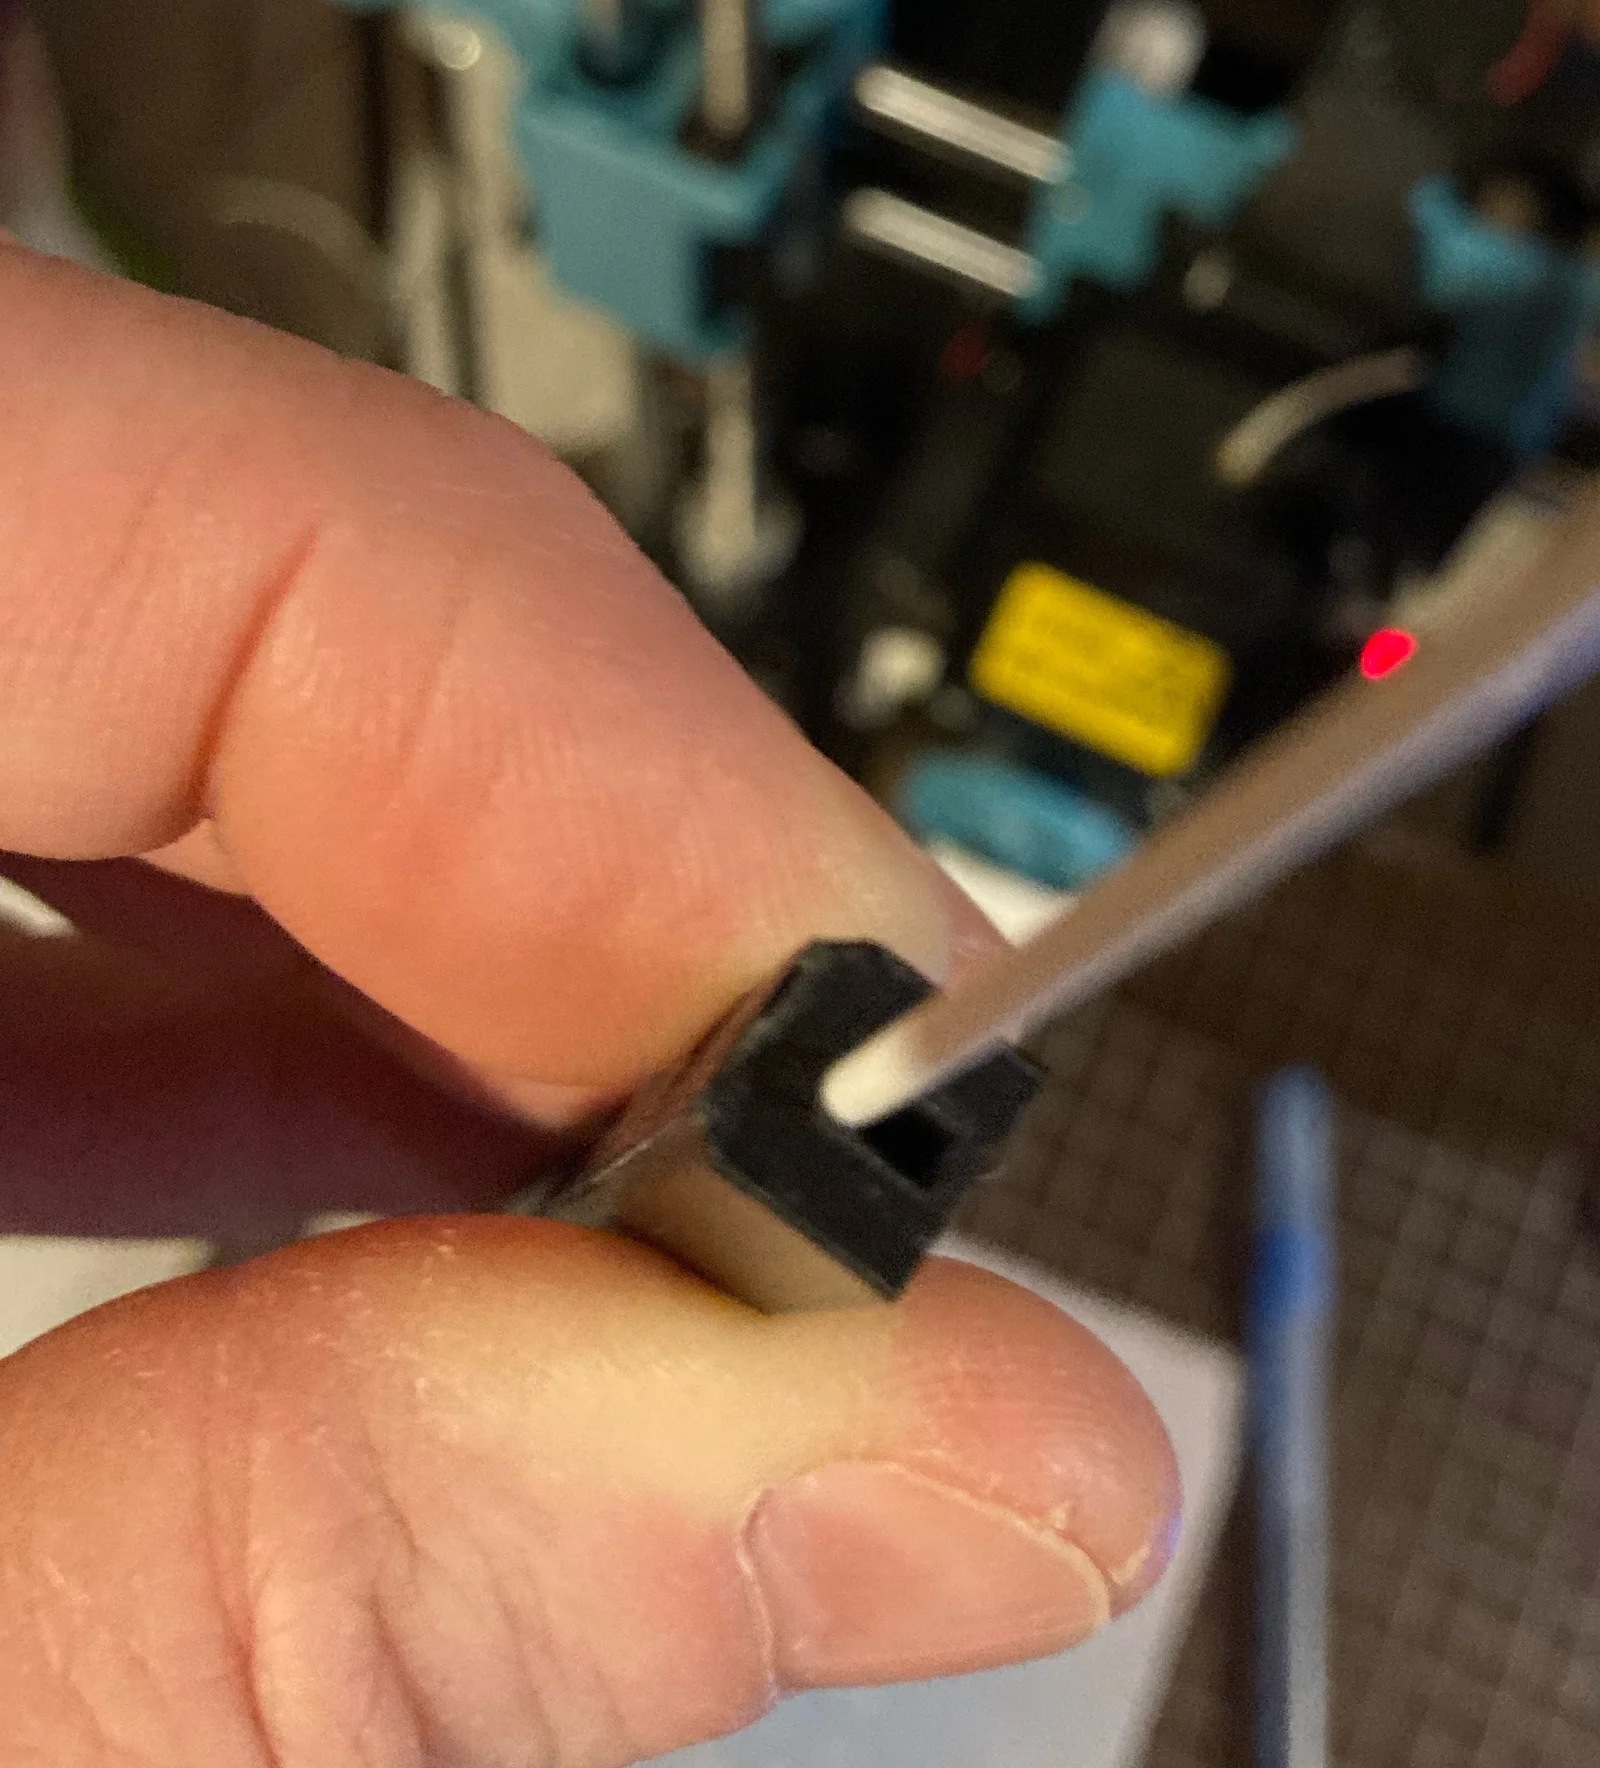
This tool allows you to calibrate your 3D printer's e-steps. It keeps the filament straight and also guides the depth gauge of a set of calipers, allowing consistent measurements. I've never liked the sharpie and a ruler method as it leaves me feeling like I could've used a third hand. “Keyhole” refers to the cross-section of the guide channel. Two gcode files are included to perform the extrusions required.
No supports are required when printing and PLA works fine.
Depending on the dimensions of your caliper's depth gauge, you may need to remodel the tool, so a step version is included to facilitate this.
Repeatability:
To check the repeatability, I used this tool five times to measure my printer's extrusion amount and the small sample size with a 95% confidence level yields an expected variation of +/- 0.05%.
Instructions:
Note I've only tested this with a direct drive printer, but a bowden setup should be very similar, except with the filament being pushed through the tool rather than pulled.
Once the gcode has finished extruding, insert the depth gauge of your calipers into the top slot of the keyhole tool and lower it until it contact the filament. Be sure to have the depth gauge inserted so it contacts the filament properly, as they often have a cutout on one side). The filament is on the side of the channel that is rounded, which is the side that is also chamfered (see step 1). Do not press with force. Zero the calipers and then remove them.
Once the printer has finished extruding, insert the depth gauge again as in step 4 until it touches the filament at its new location and record the value. This is how much the printer actually extruded.
Bytinx_1344834Likes1.2KDownloads6K

 Byprusa-researchLikes0Downloads2.7K

 Bypjs37Likes0Downloads155

 Bygafyx3dLikes0Downloads121

 Byduo3dprintLikes0Downloads152

 BylaserbaconLikes0Downloads171

 Bylk-3d-printsLikes0Downloads206

 ByswimLikes0Downloads108

 Byarhi_585078Likes64Downloads541

 ByleopoldmozartLikes0Downloads136

 By3d-mmakerLikes0Downloads114

 Bynadir-cn3dLikes0Downloads110