



Kẹp giữ sợi Filament
 Bytinx_1344834Likes1.2KDownloads6K
Build another version of this model.
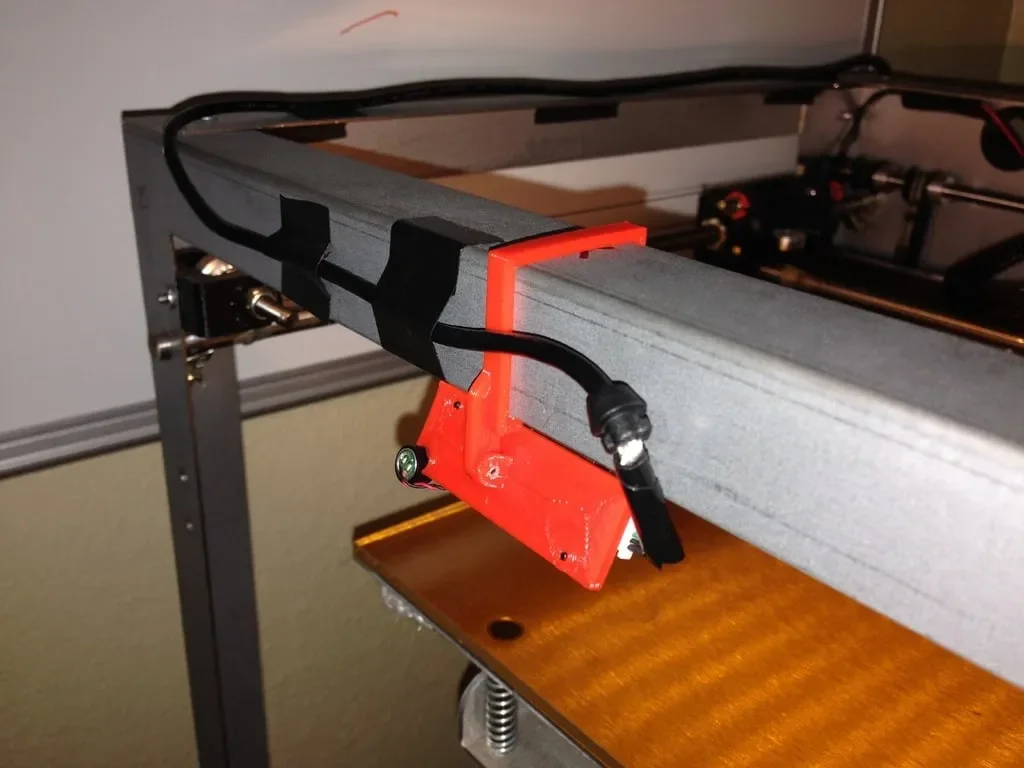
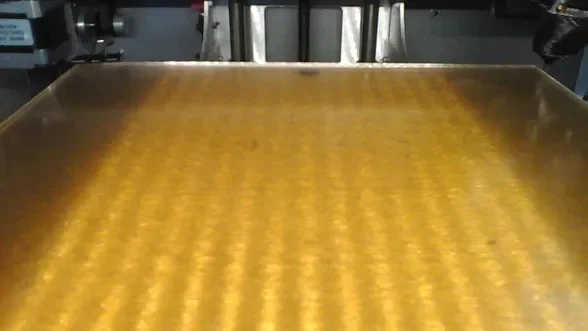
Bought this camera to do time-lapse and monitor my Solidoodle 3 while using OctoPrint/OctoPi:
Creative Live! Cam Sync HD 720P Webcam
https://www.amazon.com/gp/product/B0092QJRPC/ref=as_li_qf_sp_asin_il_tl?ie=UTF8&camp=1789&creative=9325&creativeASIN=B0092QJRPC&linkCode=as2&tag=illc0mmunicat-20
Wanted a smaller package and a low profile mount so I came up with this.
Let me know how this works, I considered putting a case around the whole thing but like the skeleton look.
3a. When the camera board holder is done printing, you can use the screws that come with the camera to assemble. The two smaller screws are for affixing the circuit board to the rectangular board holder.
3b. There is a cut out which allows for the rubber microphone holder to slip in and under the board to retain the microphone, or you can let it dangle or just desolder/clip.
Category: 3D Printer Accessories
Bytinx_1344834Likes1.2KDownloads6K

 Byarhi_585078Likes64Downloads540

 ByHanzo3dLikes155Downloads413

 ByGeek5DLikes147Downloads484

 ByBrokentooth_designsLikes23Downloads407

 By3DSourcererLikes48Downloads377

 Byartme-3dLikes0Downloads333

 Bybloblis67Likes0Downloads316

 ByWyomingWolf_261196Likes52Downloads428

 Byprusa-researchLikes0Downloads2.7K

 Byzachstofko_3956201Likes88Downloads160

 ByzooppLikes7Downloads163