
F3D
Súng Bắn Confetti Chạy Bằng Lò Xo 1

6 images

Sự Kiện - Lễ Hội

Súng Bắn Confetti Chạy Bằng Lò Xo

By Katfish

Downloads
20
Likes
3
Views
356

Files 15 2.5 MB

  • Confetti_Cannon_-_Barrel_Cap_1766272058.stlSTL · 29.9 KB
  • Confetti_Cannon_-_Barrel_-_Happy_New_Years_2024_1766272059.stlSTL · 861.5 KB
  • Confetti_Cannon_-_Barrel_-_2024_1766272060.stlSTL · 450.8 KB
  • Confetti_Cannon_-_Plunger_Face_1766272060.stlSTL · 116 KB

Make a variant with AI

Build another version of this model.

Open Studio

Description

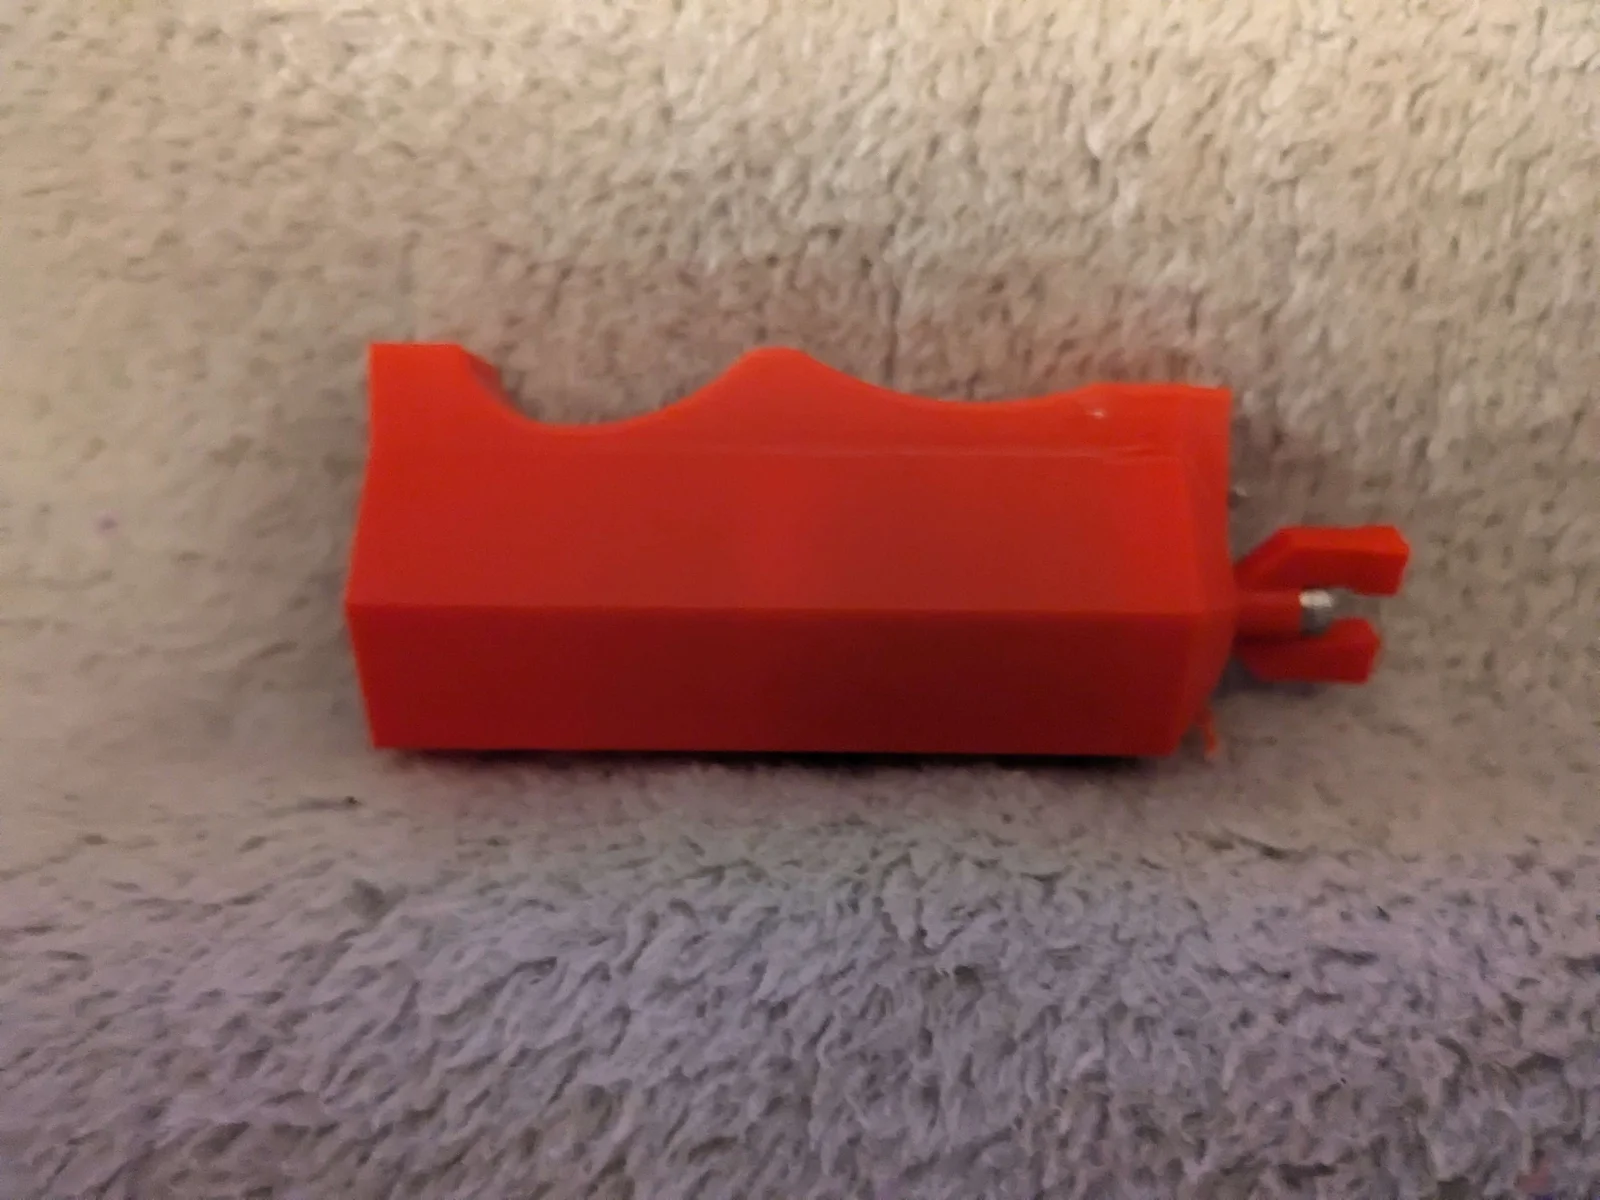
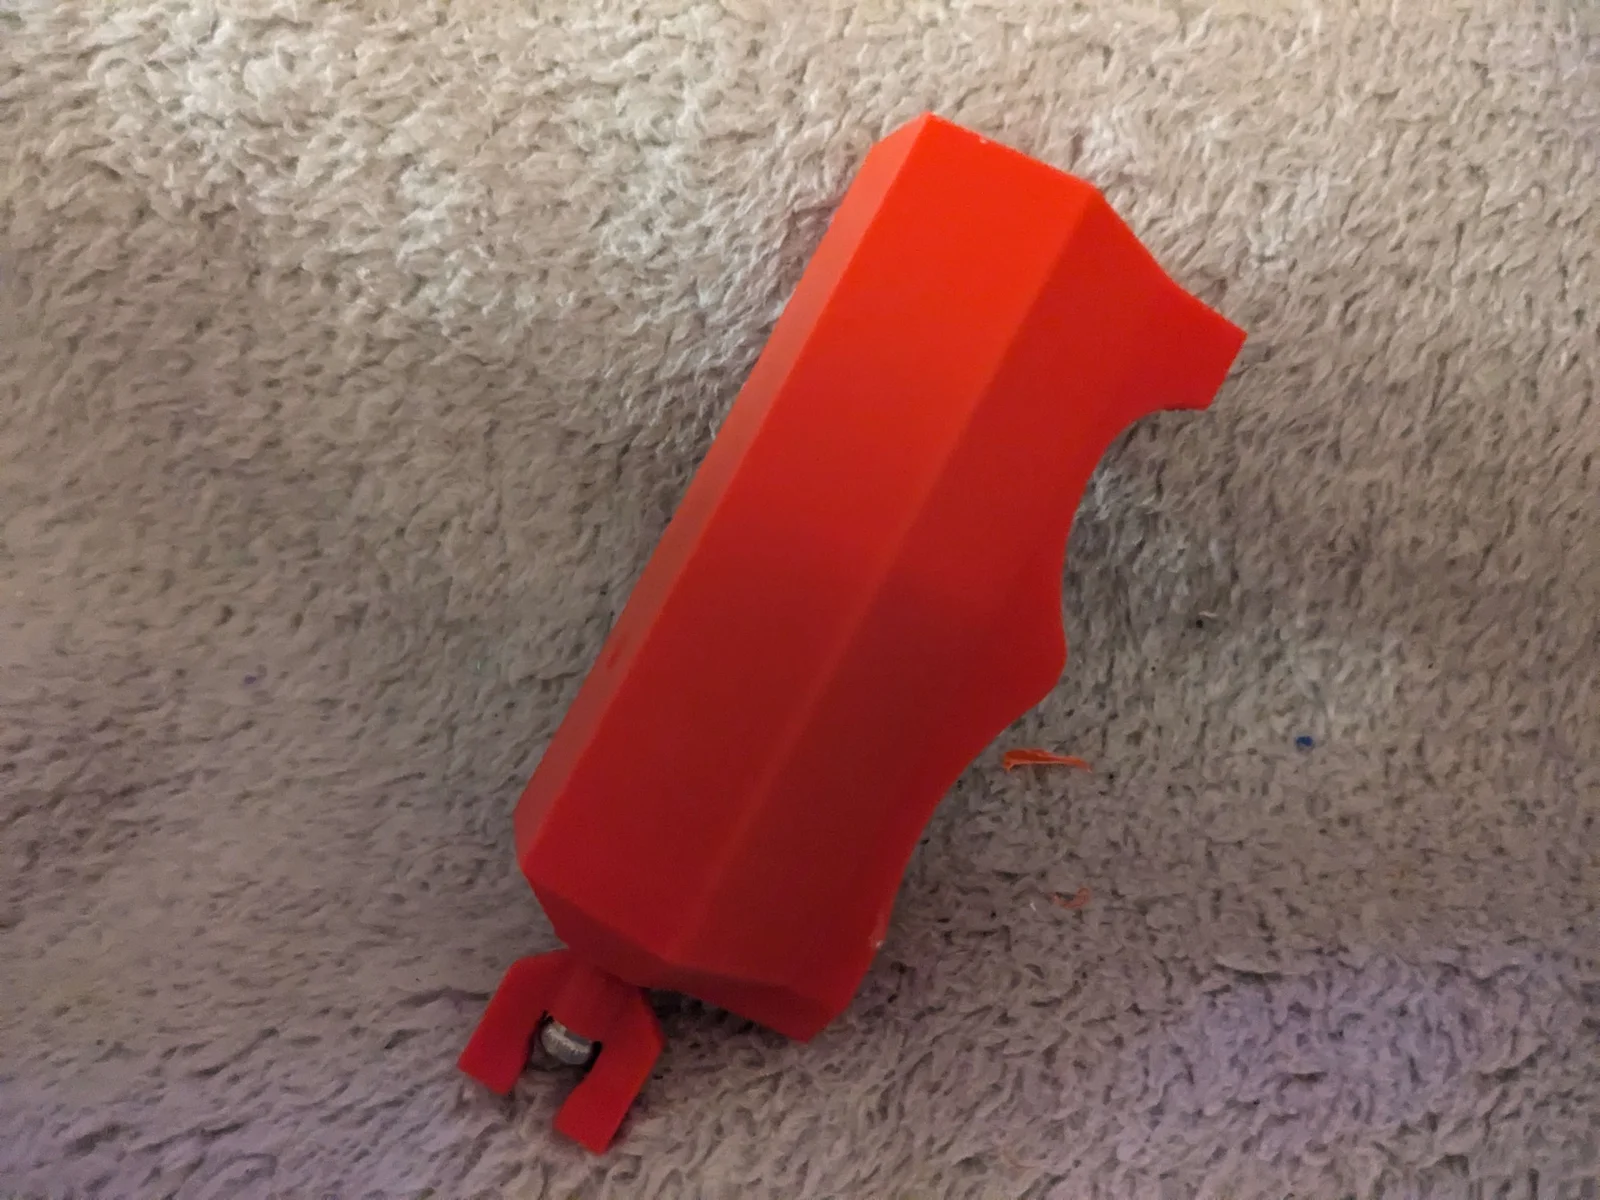
Ever wondered what to do with all of those scarps from your print brims? Have a Pen Spring, a M3x 50 Bolt, and an M3 Nut? Then howdy do I have design for you. This Spring Powered Confetti Pea Shooter was inspired by New Years Party Crackers and gives you a way to make a whole new mess with your print scraps. 

Assembly Instructions:

Print One each of the Following Parts:

  • Barrel @ no less than 15% In-Fill
  • Barrel Cap @ no less than 25% In-Fill
  • Plunger Face @ no less than 15% In-Fill
  • Pinch @ no less than 25% In-Fill

Gather One each of the Following Parts

  • M3 x 50mm Bolt
  • M3 Nut
  • Standard Pen Spring 

Assembly Steps

  1. Slide the Pinch over the M3 Bolt to create the Plunger Handle Sub-Assembly.
  2. Insert the M3 Nut into the Plunger Face.
  3. Insert the Plunger Handle Sub-Assembly into the Barrel from the Bottom.
  4. While holding the pieces vertically, slide the Pen Spring over the tip of the M3 Bolt on inside of the Barrel.
  5. With an Allen wrench in place on the Plunger Handle Sub-Assembly, hold the barrel vertically.  Then slide the plunger face straight down into the barrel, depressing the spring as you do so, aligning the Plunger Handle Sub-Assembly, Pen Spring, & Plunger Face.
  6. Tighten the M3 Bolt until the tip is flush with the Plunger
  7. Place Barrel Cap on Barrel
  8. Fin

Read more Show less

Print spec

Formats
stl
Model files
15
Total size
2.5 MB
Largest file
861.5 KB

0 comments

See all