




New
Knitted Reindeer Figurines STL Christmas Decor
 Bylayer-forgeLikes0Downloads199
Build another version of this model.
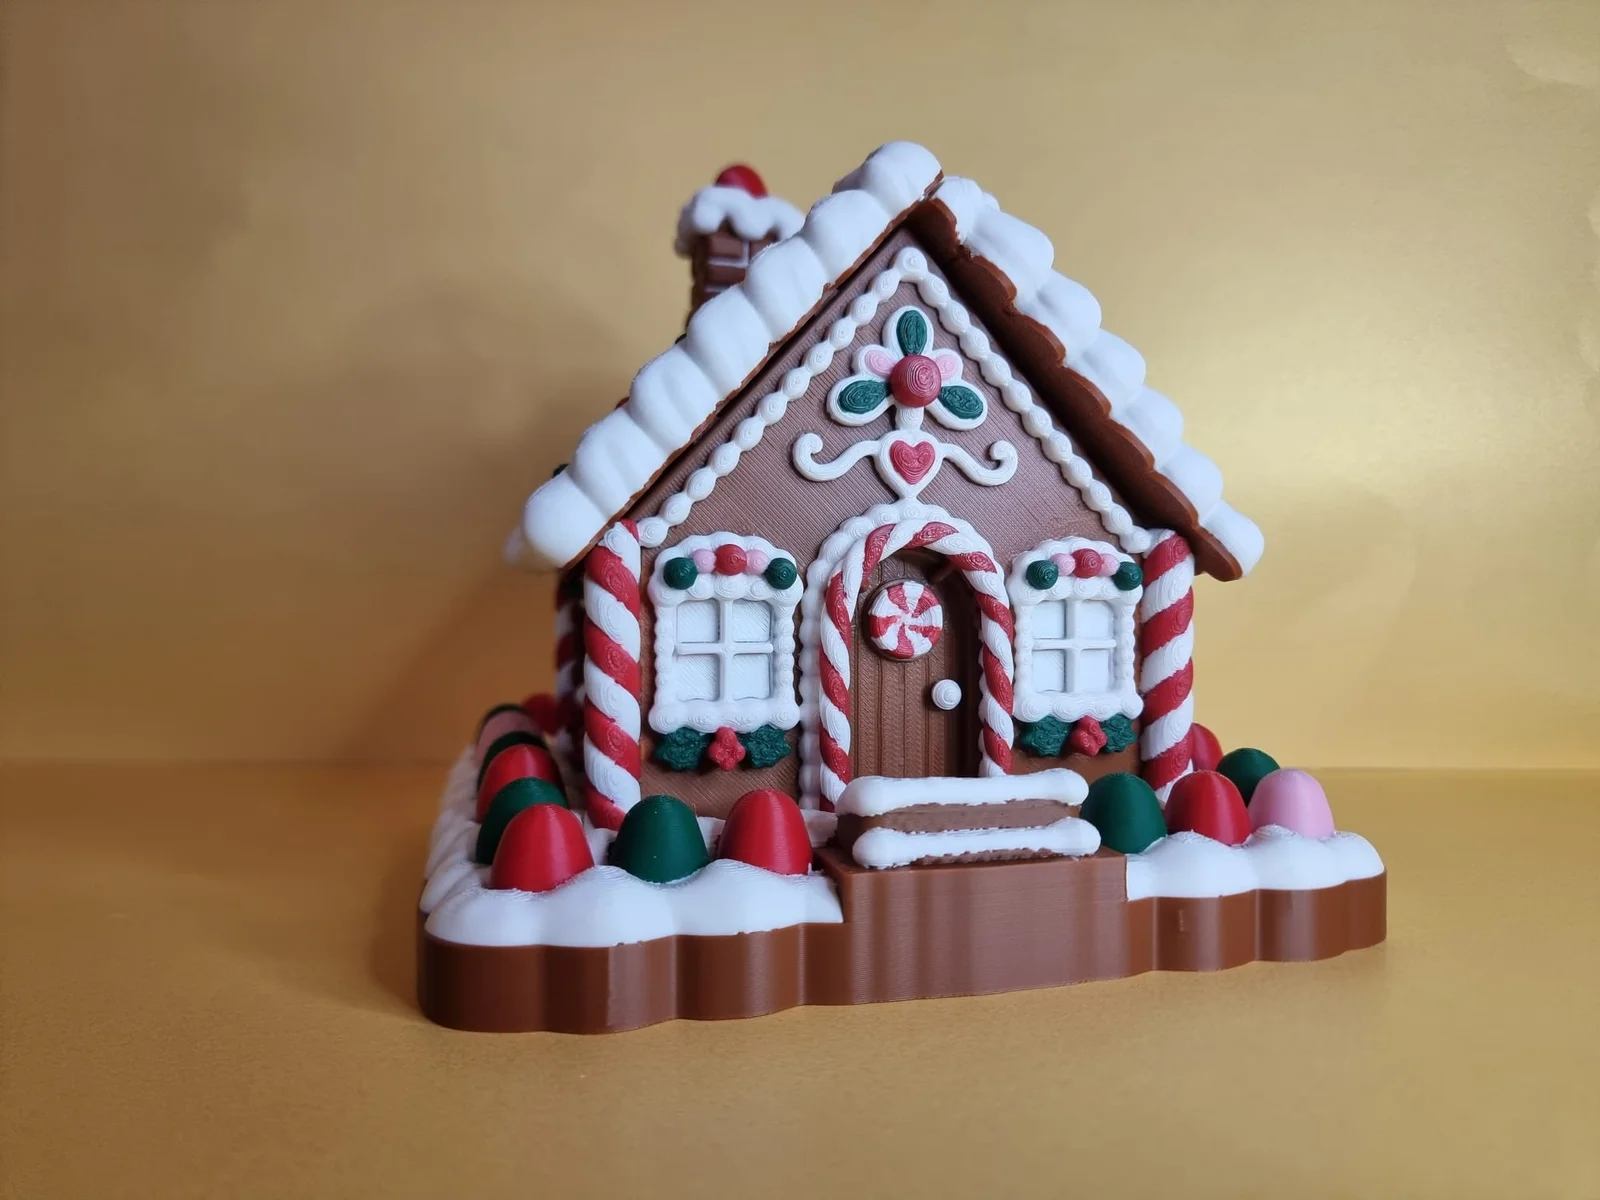
A gingerbread house that comes off the printer fully coloured. No painting and no glue.
Comes with 2 print profiles: 4- and 5-color versions.
Seven parts snap together in a few minutes. The walls click into the base, the side walls slide into grooves in the gables, and the two roof halves press onto small pegs on top of the gables. The house is 174 x 174 mm and about 170 mm tall.
Design idea
I wanted the classic iced gingerbread house look straight from the printer: puffy white icing, red and white candy cane posts, gumdrops in the snow, a brick chimney and scalloped roof tiles. Every candy and every icing line is one clean colour, with the colour borders hidden in the grooves, so the print looks hand-decorated.
Splitting the house into flat parts means every decorated face prints facing up. That keeps the details sharp, and the snap legs and roof pegs lie along the layers so they do not break.
What is included
Plate 1: both roof halves, one with the chimney
Plate 2: front gable with the door, and the side wall with 1 window
Plate 3: back gable, and the side wall with 2 windows
Plate 4: the base
Assembly guide (PDF): 8 pages with pictures of every step
Colours
This print file uses 4 colours: brown, white, red and green. The photos show my 5-colour test print, which has a few pink candies; in this 4-colour version those candies are red and green.
Assembly
Press the front gable (door) straight down into the base until its 3 legs click.
Do the same with the back gable.
Slide the left wall (1 window) down between the gables. Its small keys go into the grooves in the gables, and its 2 legs click into the base.
Do the same with the right wall (2 windows).
Put the chimney roof on at a right angle to the roof slope, not straight down, so its holes go over the 4 pegs.
Put the plain roof on the same way. Slide it in under the icing edge of the chimney roof at the ridge.
The full guide with pictures is in the instruction files.
Printing tips
Remove the supports carefully, especially near the snap legs.
Trim any elephant foot from the snap legs and roof pegs so they fit without force.
Try the front gable in the base first. If it snaps in well, the rest will too.
A gap of about 1 mm under the roof at the front gable is normal.
Bylayer-forgeLikes0Downloads199

 BystickmannedLikes0Downloads395

 ByDazusK_637151Likes4Downloads29

 ByCraftswomanczLikes609Downloads2.5K

 ByMaxTLikes527Downloads1.7K

 ByKamilWiniszew_352975Likes282Downloads1.4K

 ByTygriCzechLikes270Downloads1.2K

 ByTripleGWorkshopLikes49Downloads196

 ByAmalthea_559742Likes125Downloads962

 BymeafdesignsLikes830Downloads2K

 ByBugman140Likes113Downloads380

 ByChrisELikes24Downloads79