




Kẹp giữ sợi Filament
 Bytinx_1344834Likes1.2KDownloads6K
Remix of Ống dẫn MAK Vector - Giá đỡ Orbiter V2.0 V6 Volcano cho Creality/Ender 3 By MKayed_413979
Build another version of this model.
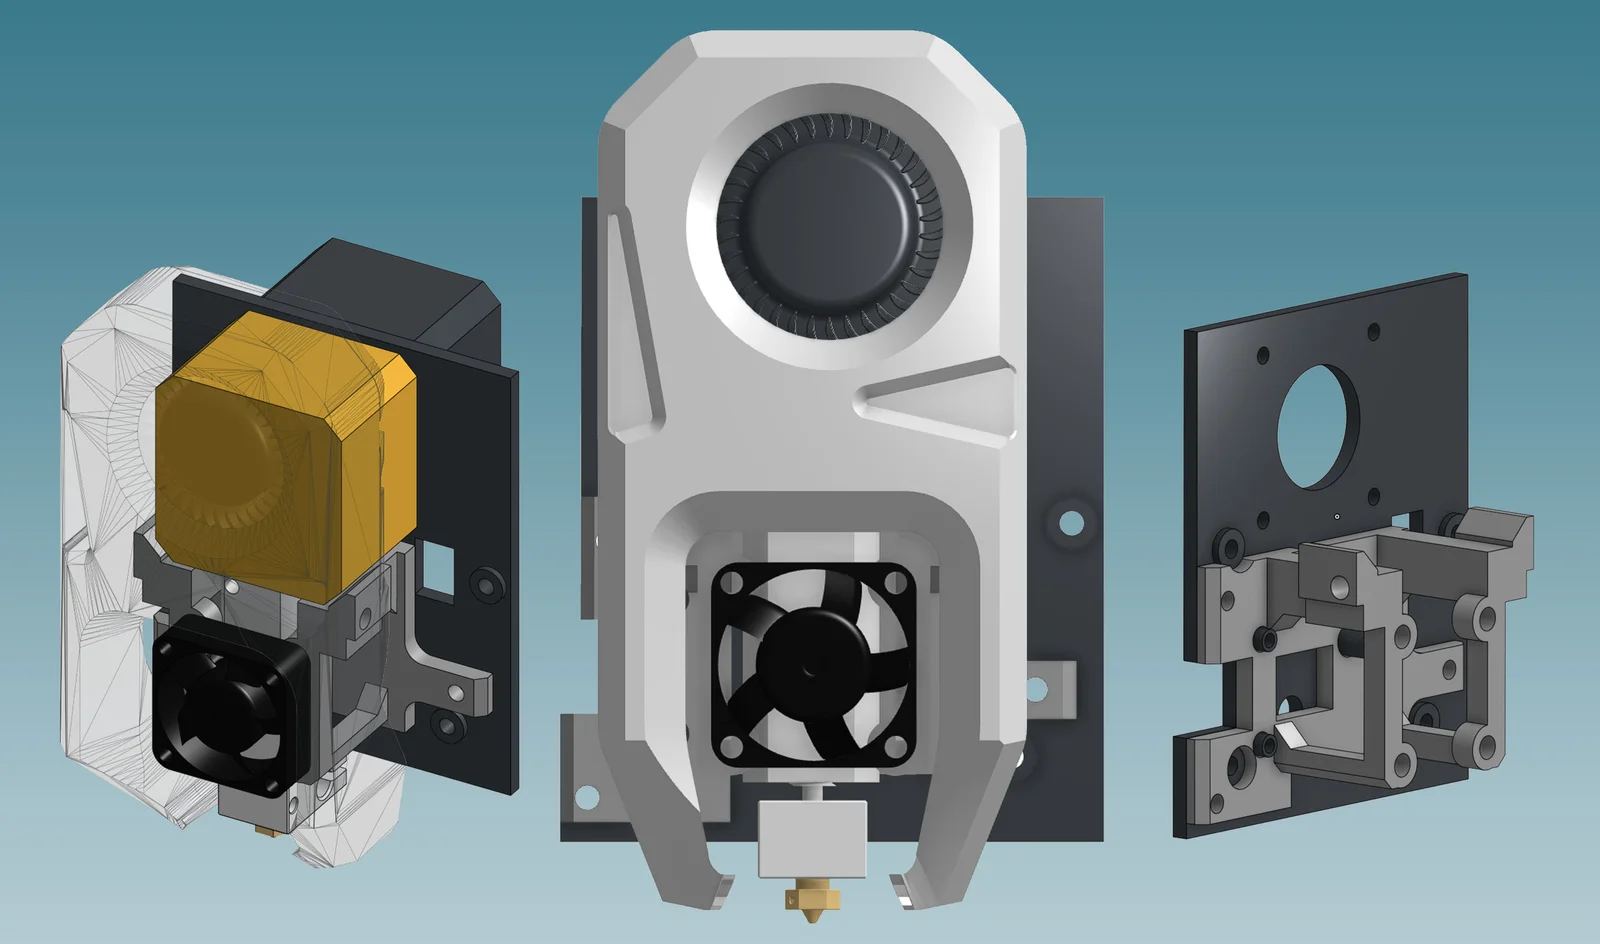
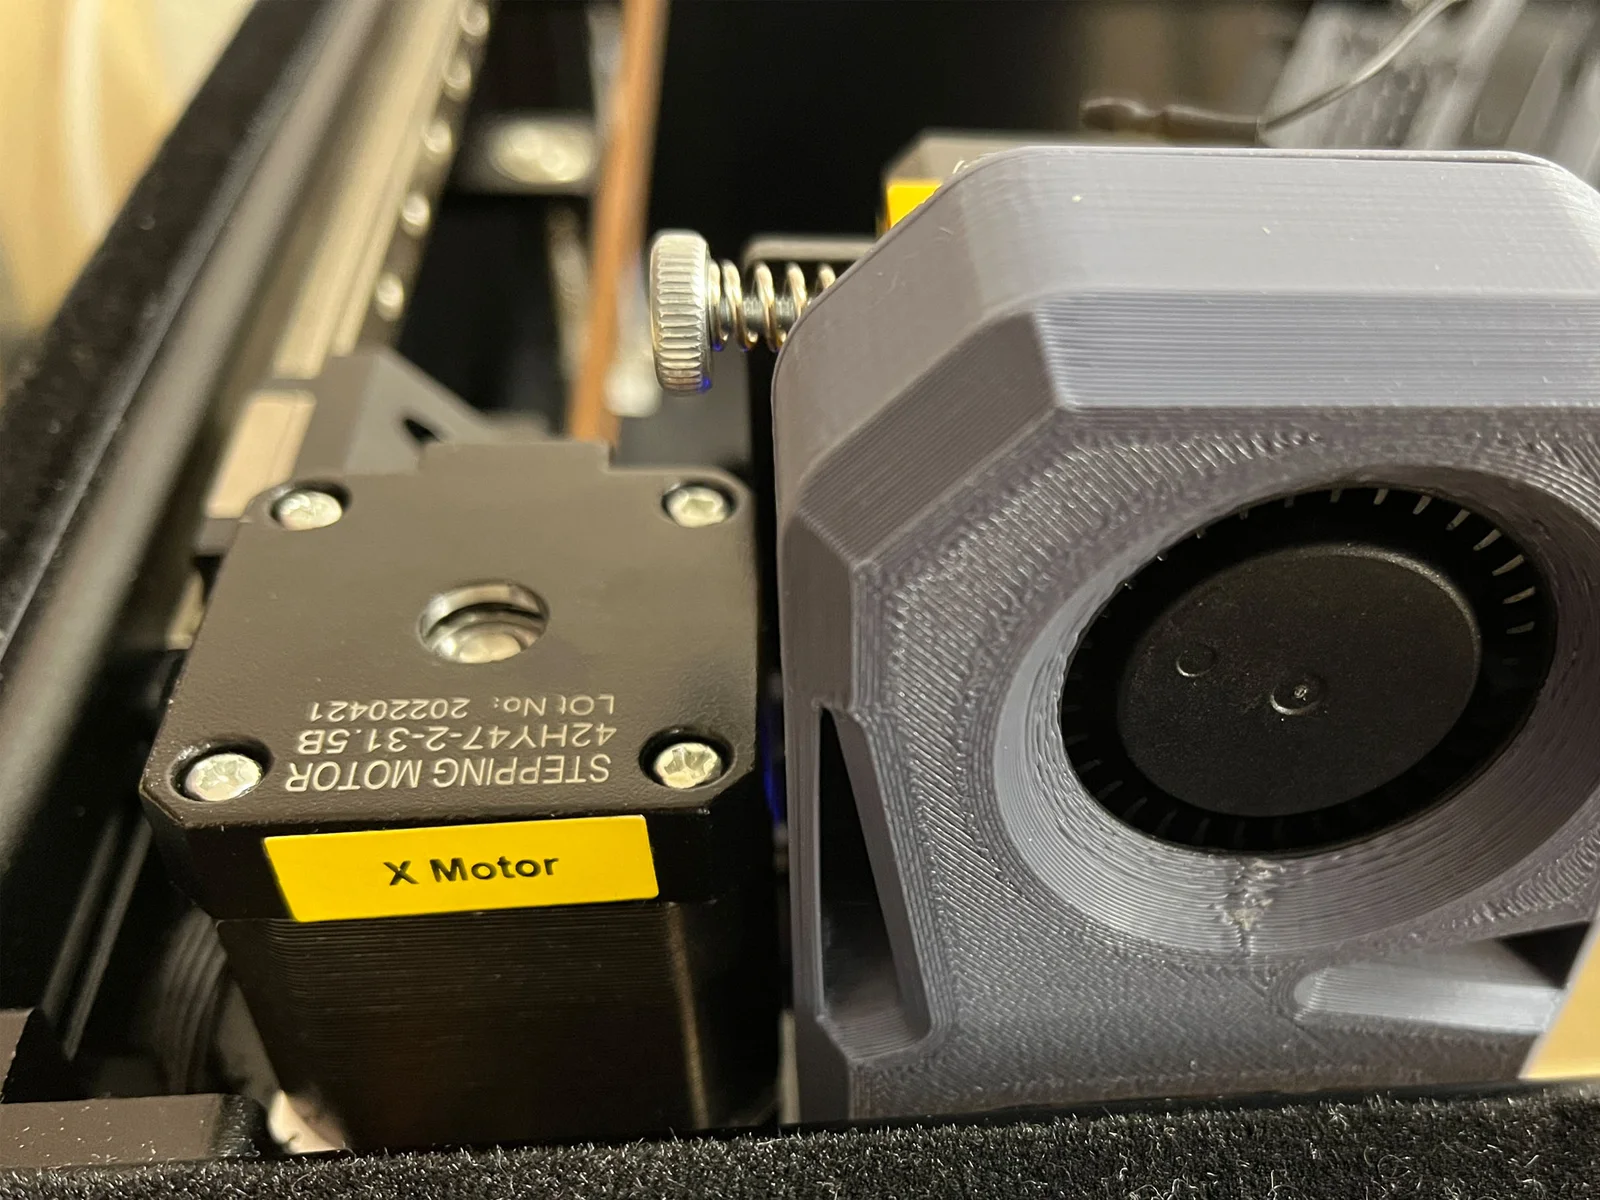
This model is a custom mount for the MAK Vector Duct for the Flying Bear Reborn 2. The MAK Vector Duct (slim version) uses a 5015 blower for part cooling and fits perfectly into the dimenions of the Reborn 2.
Link to the MAK Vector Duct:
https://www.printables.com/de/model/305814-mak-vector-duct-orbiter-v20-v6-volcano-crealityend
Thanks to M.Kayed for the MAK Vector Duct: https://www.printables.com/de/@MKayed_413979
Further thanks to the german community of https://forum.drucktipps3d.de/forum/ which helped me quite a lot during my changes on the Reborn 2.
The model consists of 1 part:
You will find both STL and STEP files. So you can simply print the parts or rework them easily yourself.
Preperation
Step-1: Print and prepare the MAK Vector Duct:
https://www.printables.com/de/model/305814-mak-vector-duct-orbiter-v20-v6-volcano-crealityend
Step-2: Retract/remove all filament from the print head
Step-3: Remove the print head plate from the Reborn 2 linear rail carriage plate
Step-4. Remove the fan metal frame, the hotend and the X endstop sensor
Installation
Step-5: Clean the printed mount and ensure correct hole sizes.
Step-6: Install the threaded inserts into the mount
Step-7: Screw the mount to the print head plate using the holes of the original fan metal frame and with the M3 x 8mm screws
Step-8: Install the X endstop sensor
Step-9: Install the hotend (don't forget to reinstall the PTFE tube as well)
Step-10: Screw the 3010 fan with the M3 x 15-16 mm screws to the mount
Step-11: Install the pre-mounted MAK Vector Duct with the M3 x 8 mm to the mount
Step-12: Install the print head plate back to the Reborn 2 linear rail carriage plate
Step-13: Depending on the installed 5015 fan you might have to adjust your printers firmware.
Hint: For most 5015 fans a kick start value of 0.1s and a frequency of 100 Hz is a good choice.
Step-14: Test your newly installed MAK Vector Duct (e.g. with gcode M106).
Bytinx_1344834Likes1.2KDownloads6K

 Byprusa-researchLikes0Downloads2.7K

 Byarhi_585078Likes64Downloads541

 ByHanzo3dLikes155Downloads414

 BydarienLikes0Downloads1K

 ByGeek5DLikes147Downloads485

 ByBrokentooth_designsLikes23Downloads407

 Byla-cave-au-chatLikes0Downloads965

 Bycrawler-3903250Likes0Downloads906

 ByvertigomakesLikes0Downloads562

 By3DSourcererLikes48Downloads377

 Byartme-3dLikes0Downloads334