



Kẹp giữ sợi Filament
 Bytinx_1344834Likes1.2KDownloads6K
Build another version of this model.
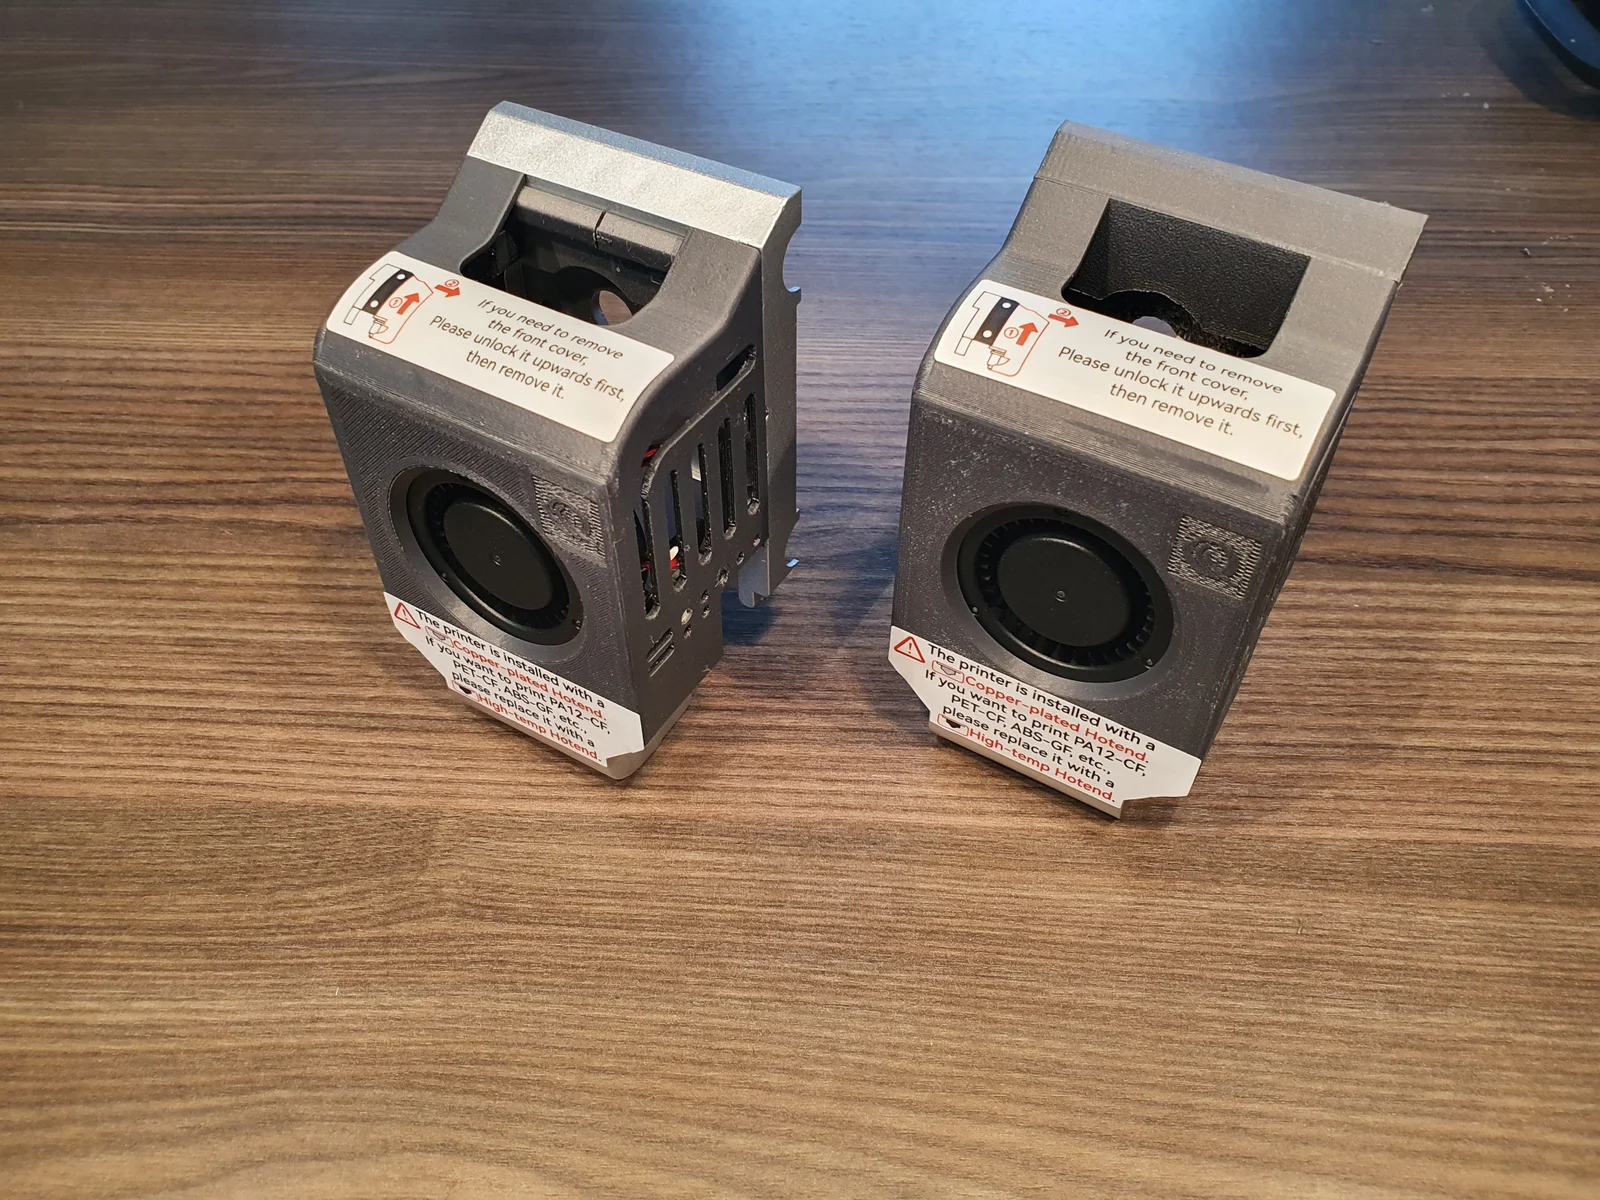
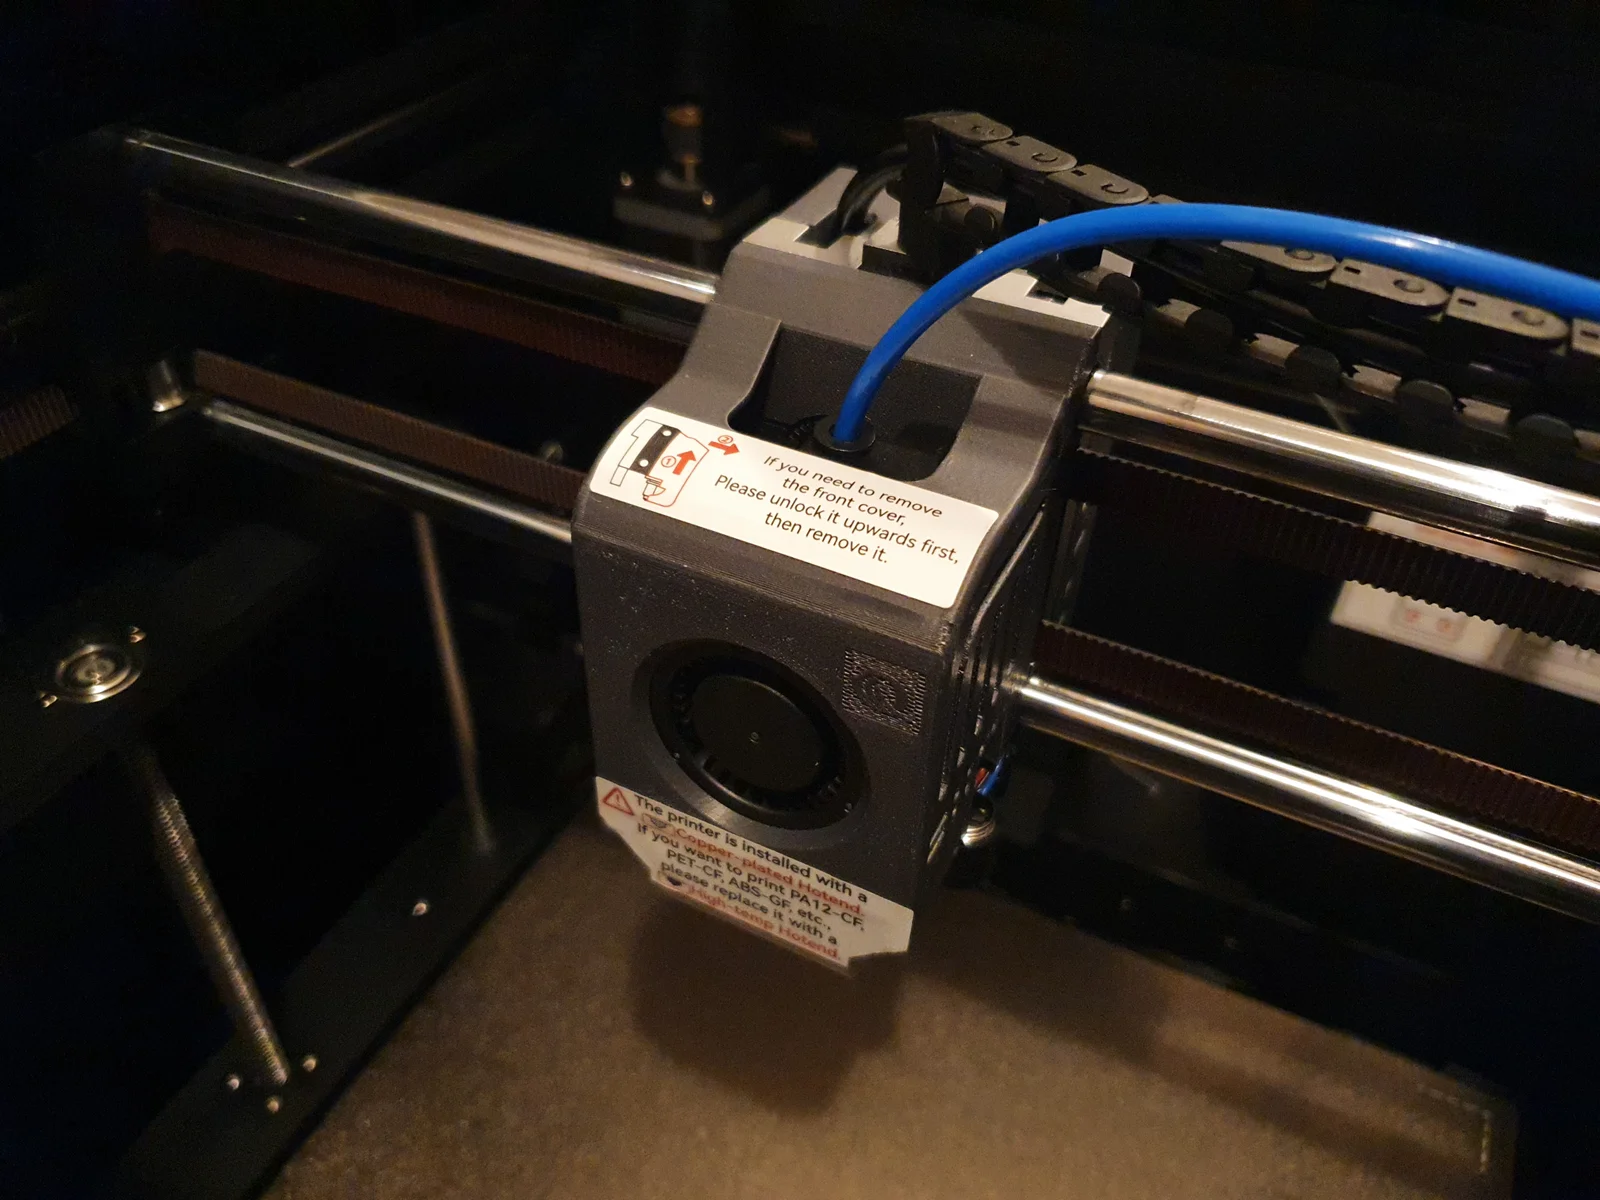
Designed a magnetic frontcover for the printhead, that can be used with the original Printhead without further modification (adapter required) and a version with a new base plate.
I keep the original style and dimensions as good as possible.
For this design you will need eight magnets in size: diameter = 6mm , height =3mm.
For example: https://www.amazon.de/UTOMAG-Multi-Use-Neodym-Magnete-Aufbewahrungs/dp/B08F7HNG45?th=1
For the new base plate you will need four M3 heatinserts. I used “ruthex M3 Gewindeeinsatz – RX-M3x5.7”, but you can use also shorter ones.
Changelog:
Printinstruction:
Printed the cover laying flat on the big fan hole with 0,12mm layer height, 4 perimeter, supports, brim, 30% infill with ASA.
Printed the base plate laying flat on biggest surface with 0,12mm layer height, 4 perimeter, supports, brim, 30% infill with ASA.
Printed the adapter splitted in the middle and added a connection pin and printed it standing up. This print orientation should be the strongest for the small hooks. Printed in 0,2mm layer height, 6 perimeter, supports, (brim), 100% infill with ASA.
Postprocessing:
For the magnets pay attention for the orientation, so that that the magnets attach correctly to eachother. All magnets are glued to the holes.
For good fit its crucial to remove all supports with care and deburre alle edges (especial the elephante footprints)
Its also benefical to srcew in all bolts before assembly, so that all threads are cut. (I heated the bolts before installation).
For the base plate its required to insert M3 heatinserts with a soldering iron.
For switching the original fans and duct. Install first the lower bolt of the cable clamp for the fan duct, than install the fan duct and last the small fan with cable clamp.
Bytinx_1344834Likes1.2KDownloads6K

 Byprusa-researchLikes0Downloads2.7K

 Byarhi_585078Likes64Downloads541

 ByHanzo3dLikes155Downloads414

 BydarienLikes0Downloads1K

 ByGeek5DLikes147Downloads485

 ByBrokentooth_designsLikes23Downloads407

 Byla-cave-au-chatLikes0Downloads965

 Bycrawler-3903250Likes0Downloads906

 ByvertigomakesLikes0Downloads562

 By3DSourcererLikes48Downloads377

 Byartme-3dLikes0Downloads333