



CORE One/+ INDX printed parts
 Byprusa-researchLikes0Downloads2.7K
Build another version of this model.
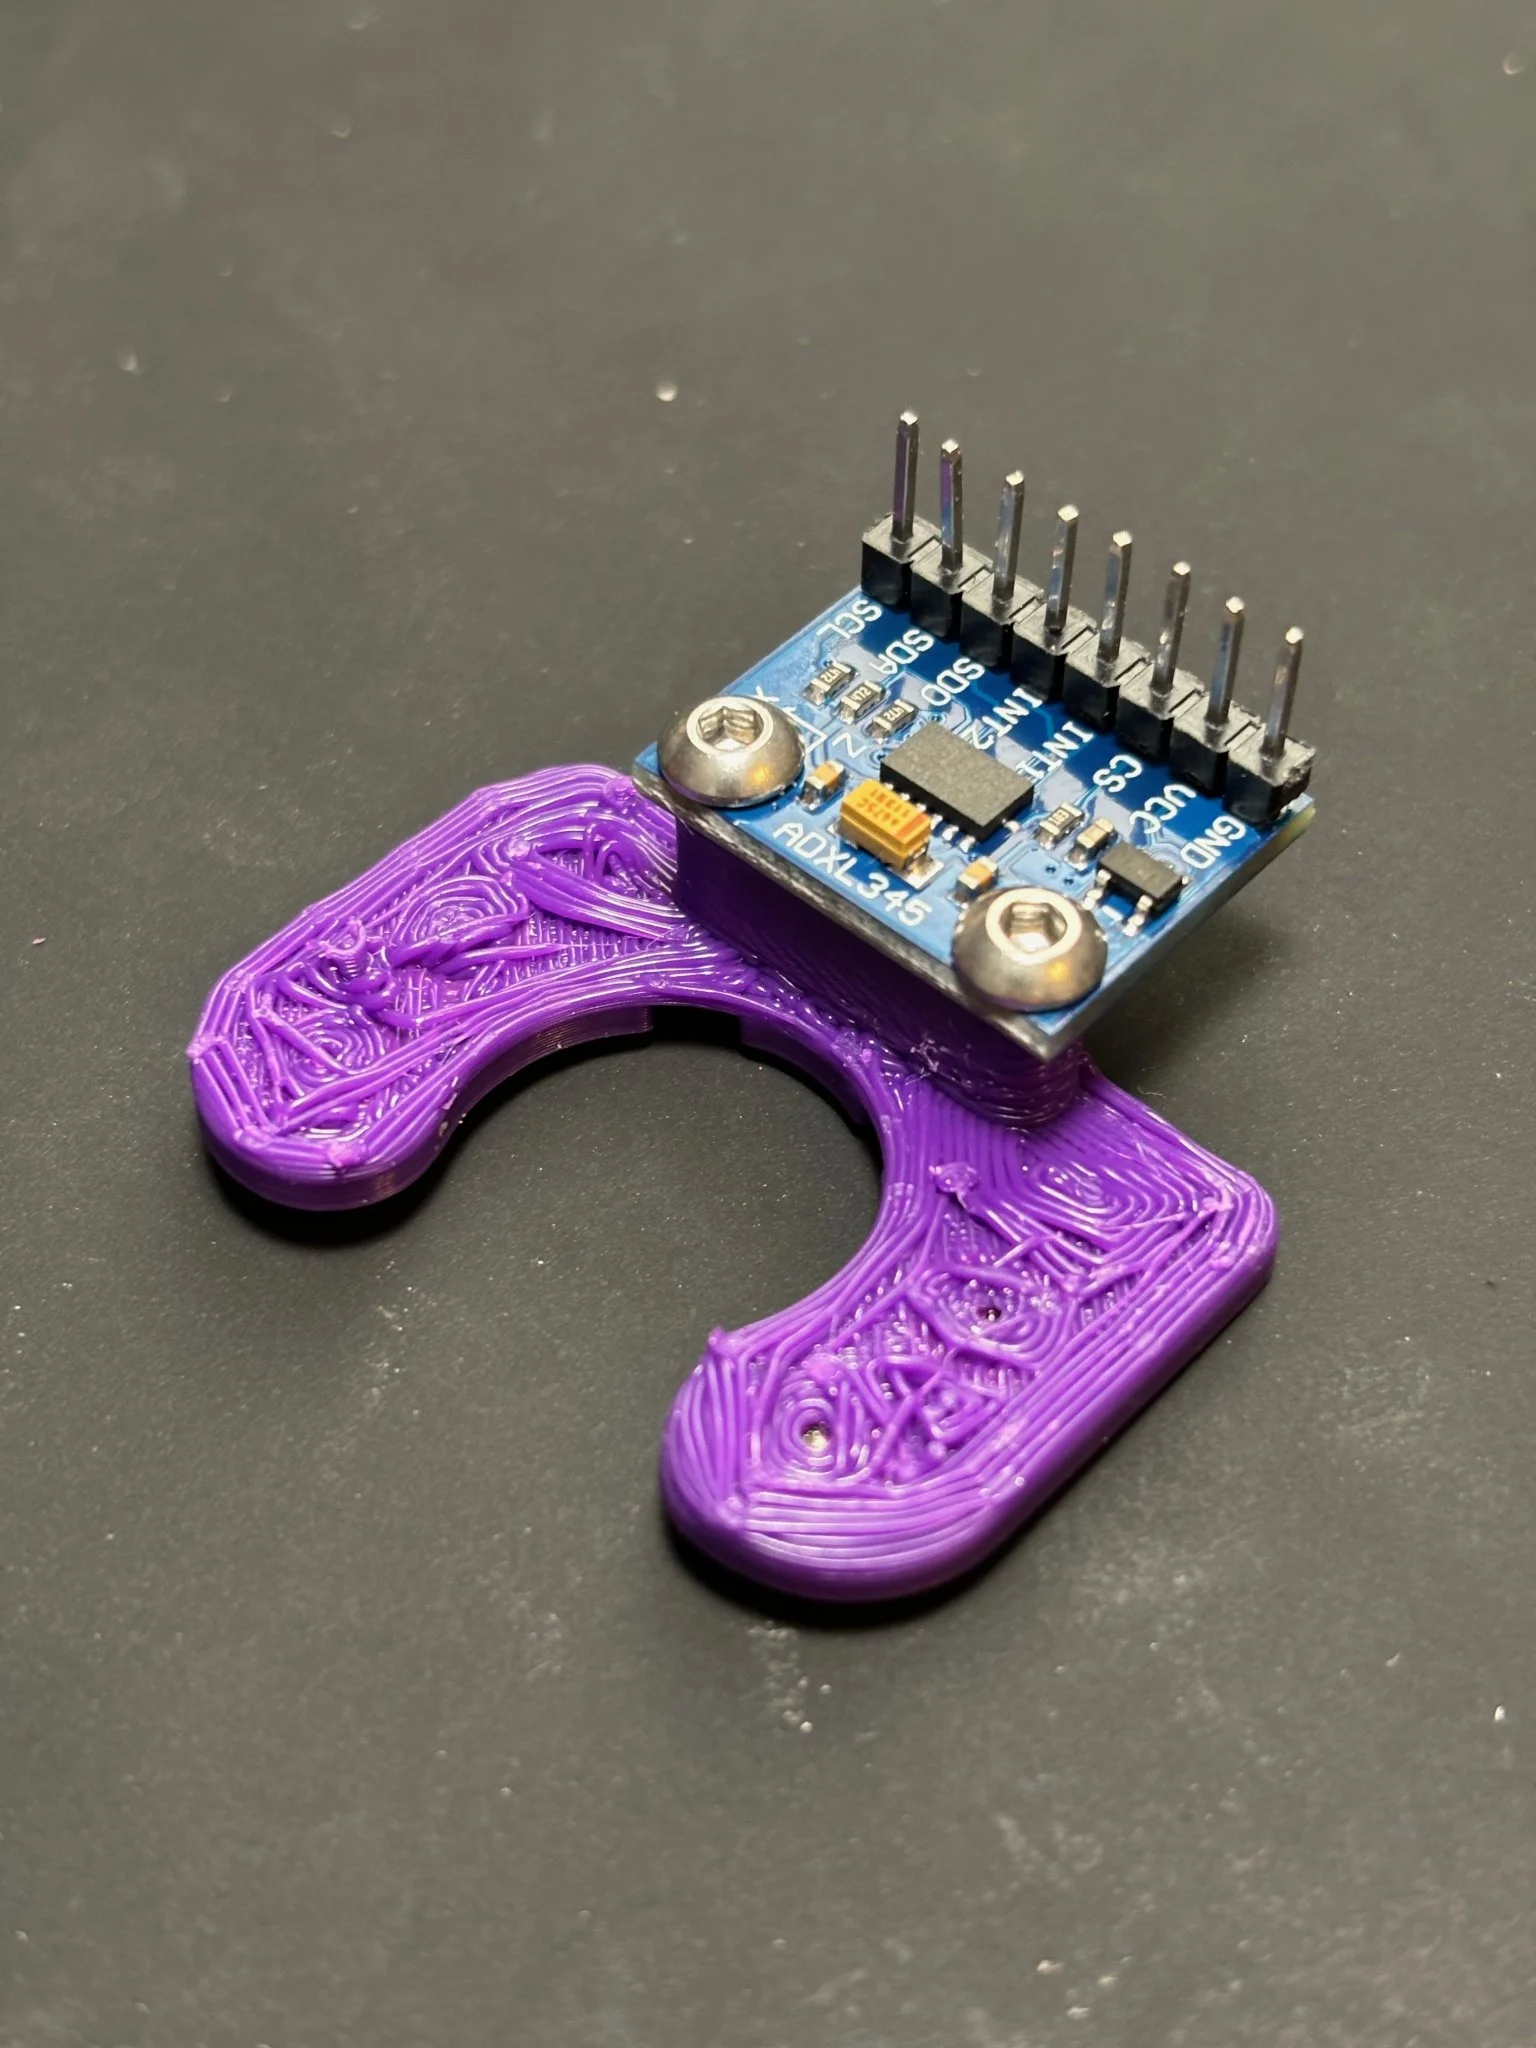
This project consists of a handful of very specific mounts for mounting an ADXL
345 Accelerometer to an Ender 3. In particular the All-In-One and X-Axis models
are designed to mount to the top mounting postion of a TH3D [Multimount][1], and
the Y-Axis model is designed to mount to some convenient screw holes on the
Y-Axis carriage of the Gulfcoast Robotics [3-Point Carriage][2] for the Ender 3.
If you don't have these specific items on your printer, the FreeCad files have
been provided so that you can customize them to hopefully work for your needs.
The latest source files can be found at https://gitlab.com/tpmoney/adxl-ender3-mount
As already noted, you will need the [Multimount][1] and [3-Point Carriage][2] in
order to use the file as is. In addition, you wil need:
The All-In-One (AIO) mount was the orignal design. The intent was something you
could screw into the hot end mount for X-Axis measurements and then quickly
unscrew and magnetically couple to the print bed for Y-Axis measurement.
Unfortunately, the magnets in my print bed and the magnets I chose for this
project were not strong enough together to keep the mount secure for mesurments.
The model and files are included here largely because I'd already made them and
maybe someone else will find them useful. The other noted problem with this
design is it is difficult to print due to the overhangs.
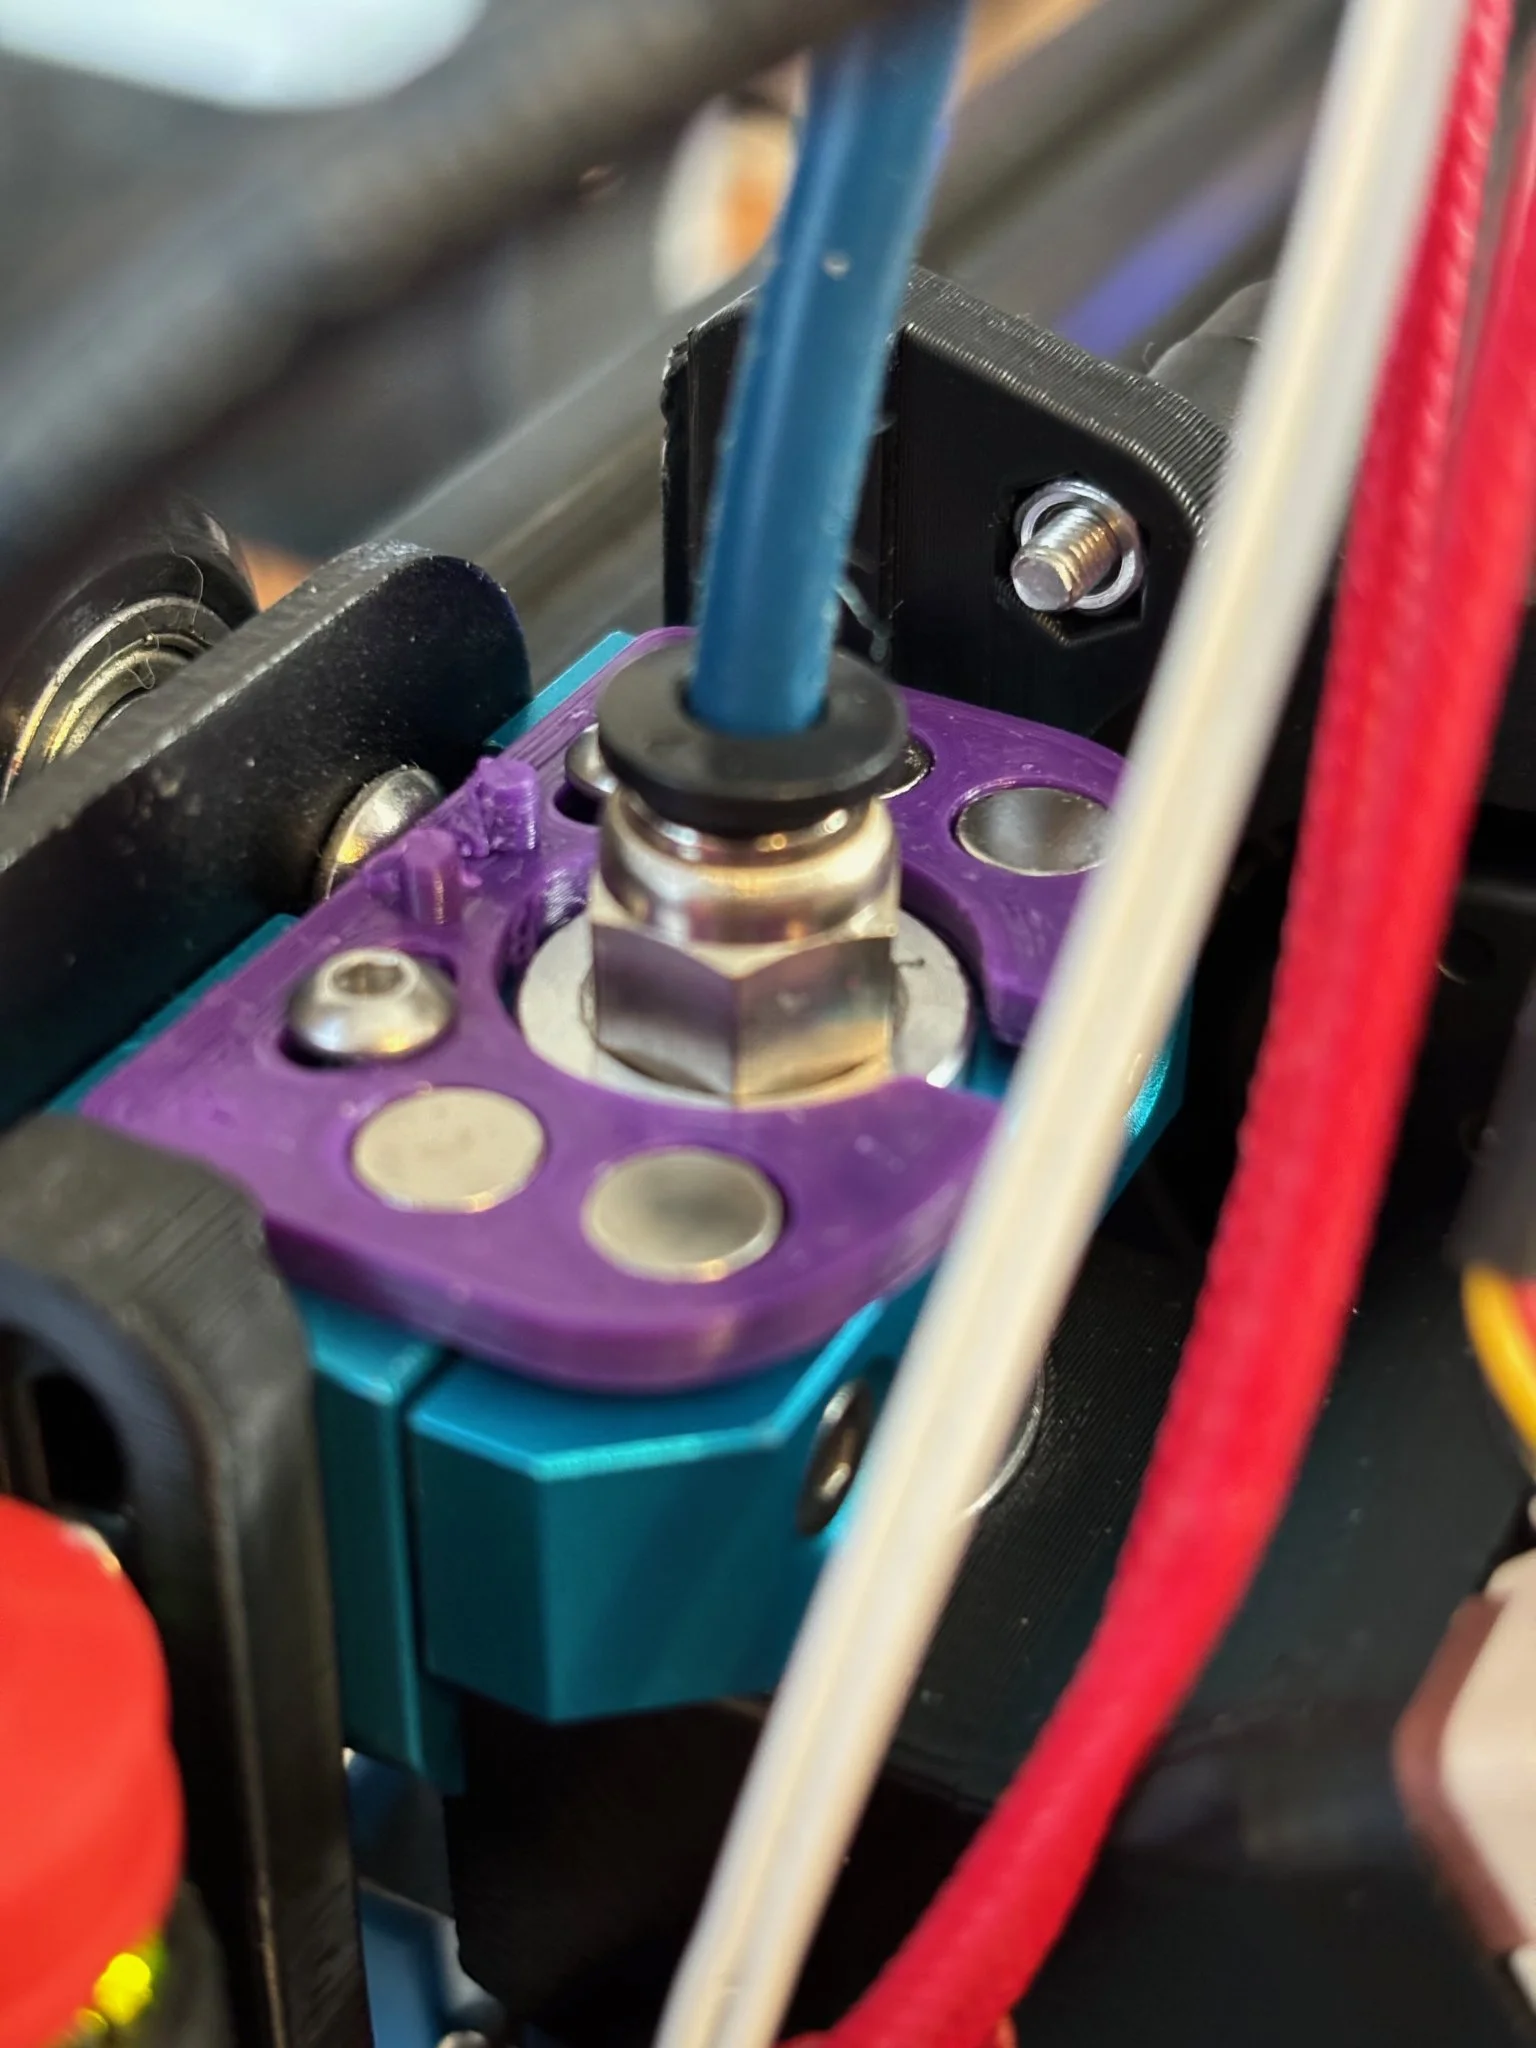
The other option is a 3 part X-Axis Base, Y-Axis Base and Magnetic Riser design.
In this design, you can permanently attach the X and Y Axis mounts using screws
and then move the sensor between them easily with the magnetic riser part. In
order to help ensure a positive and stable position, the riser is also located
in place with some extra locating pins.
Even on a relatively uncalibrated printer, these should be printable. In
general:
- Avoid crossing perimiters if your printer isn't well calibrated. The various
mounting positions are fairly tight fits and extra stringing and blobs will
really interfere with this.
- Use organic supports if your printer isn't dialed in, they're a bit easier
to remove at the expense of an uglier print
No special notes, this prints easily in the correct orientation
Print in the default orientation, Organic or normal supports for the mounting
tab work well here
This is the part that the ADXL sensor itself will be mounted to and that will
be moved between the two axis plates. Unfortunately this means it has a lot of
tiny cutouts on its bottom side. I hightly recommend printing this upside down
(with the ADXL mount holes facing down) and using supports. While this will
lead to an uglier mount, you'll have a much better time getting all the
magnets and locator pins to fit correctly. Just remember to add support
blockers in the ADXL mount holes or you'll need to drill them out at the end.
Remember to mark your magnet poles so that the riser and base magnets will
attract properly. The easiest way to do this is to mark the poles, but your
other option is to glue up all 4 magnets in the riser, then attach 4 more
magnets to them and use that orientation to transfer them to one of the bases,
then repeat the process for the other base.
This project is licensed under the CERN-OHL-W Version 2 Only. Please see the
LICENSE.txt file for more details.
[1]: https://www.th3dstudio.com/product/multimount-system-page/
[2]: https://gulfcoast-robotics.com/a/s/products/modular-y-carriage-plate-upgrade-creality-ender-3-point-leveling
[3]: https://www.amazon.com/dp/B07KJ9H31P
Byprusa-researchLikes0Downloads2.7K

 Bydet-manLikes0Downloads177

 Bytinx_1344834Likes1.2KDownloads6K

 BydarienLikes0Downloads1K

 Byla-cave-au-chatLikes0Downloads973

 ByvertigomakesLikes0Downloads565

 By3DPrintDemonLikes0Downloads334

 Bychris-hillLikes0Downloads268

 Bypeter-van-der-waalLikes0Downloads260

 ByhumebeamLikes0Downloads133


 BykingnothingLikes0Downloads188