



SolderMate - Fully 3D Printed Desk Soldering Companion
 ByleonicLikes0Downloads1.4K
Remix of Giá đỡ công cụ trống LowRider 3 CNC By V1Engineering
Build another version of this model.
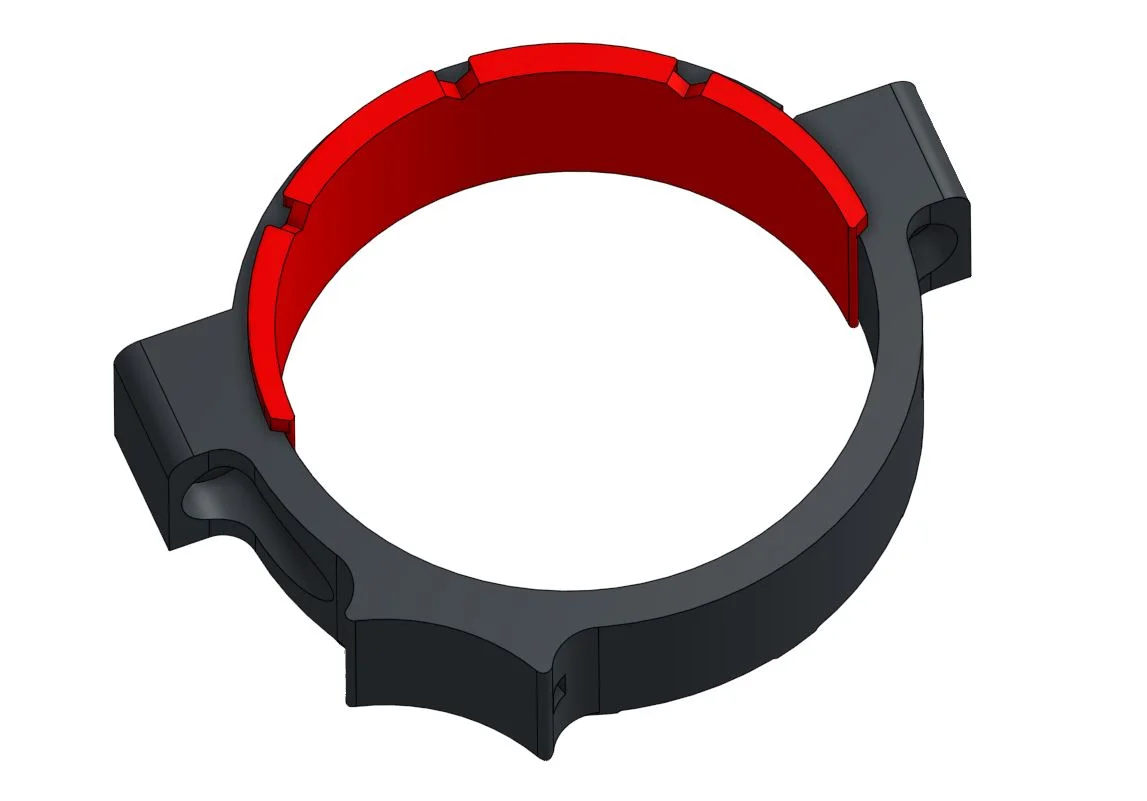
Three rotationally adjustable tramming shims. One large 2.25mm, Medium 1.7mm, and Small 1.2mm.
K, It’s kind of a pain to adjusting the tram on the LR3 so…
Print two Core straps of your choice along with two each of each size of shim. Replace the OEM straps and start with the large shim on top and small shim on the bottom. Tighten the bolts firmly and lower the cnc to check tram with the tramming tool of your choice. The farther out the diameter is of the tramming tool you use, the more accuracy you can get. Take note of how far off and to what side it’s off at. Adjust the top shim for big movements and the bottom for smaller increments. Loosen the bolts and rotate the shims to the direction of the “high side”. Where the shims are, will be the lowest points of their reach. If needed, use a flat head and hammer to rotate the shims. Tighten the bolts and repeat the operation. Rotating the shims accordingly. It’s like rotating the router tram to level… Hope this helps. Let me know if anyone needs these in any other format.
My LR3 was high around 2mm at 6” on the Xmin/Ymin direction. I ended up using the 1.7mm on the top strap and the 2.25mm on the bottom strap. Both rotated to the Xmin/Ymin direction. Thanks
ByleonicLikes0Downloads1.4K

 ByfifindrLikes500Downloads4K

 ByVC_DesignLikes679Downloads3.6K

 ByDan Schwartz SchwartzLikes744Downloads3.4K

 Byvc-designLikes0Downloads539

 Bythorin-oakenshieldLikes0Downloads536

 Bytorii-creative-studioLikes0Downloads453

 Bychubbs8697_2027893Likes585Downloads1.7K

 Byquibeck_3353173Likes965Downloads1.9K

 Bydenis-3dLikes0Downloads270

 ByRungeKuttaLikes229Downloads1.2K

 Bydelloo2008Likes0Downloads248