Bỏ qua, tới nội dung chính
F3D
Sovol SV01PRO Low Friction Spool Holder Bar Replacement… 1

2 hình

Máy In 3D

Sovol SV01PRO Low Friction Spool Holder Bar Replacement (uses bearings)

Tác giả Roscko

Lượt tải
50
Lượt thích
10
Lượt coi
312
Bình luận
1

File 5 807,1 KB

  • Spool_Holder_v22_-_Whole_Assembly_1768321415.3mf3MF · 174,7 KB
  • Spool_Holder_v22_-_Whole_Assembly_1768321417.f3dF3D · 300 KB
  • Spool_Holder_v22_-_Connector_Body_1768321418.stlSTL · 142 KB
  • Spool_Holder_v22_-_Plug_1768321419.stlSTL · 43,7 KB

Tạo biến thể bằng AI

Dựng một phiên bản khác của mẫu này.

Mở Studio

Thông tin

Mã mẫu
#62233
Danh mục
Máy In 3D
Ngày đăng

Mô tả

I didn't like how the factory filament spool holder bar was non-rotating, which meant extra friction of the unraveling filament spool on top of the extruder having to pull the filament through a filament sensor.

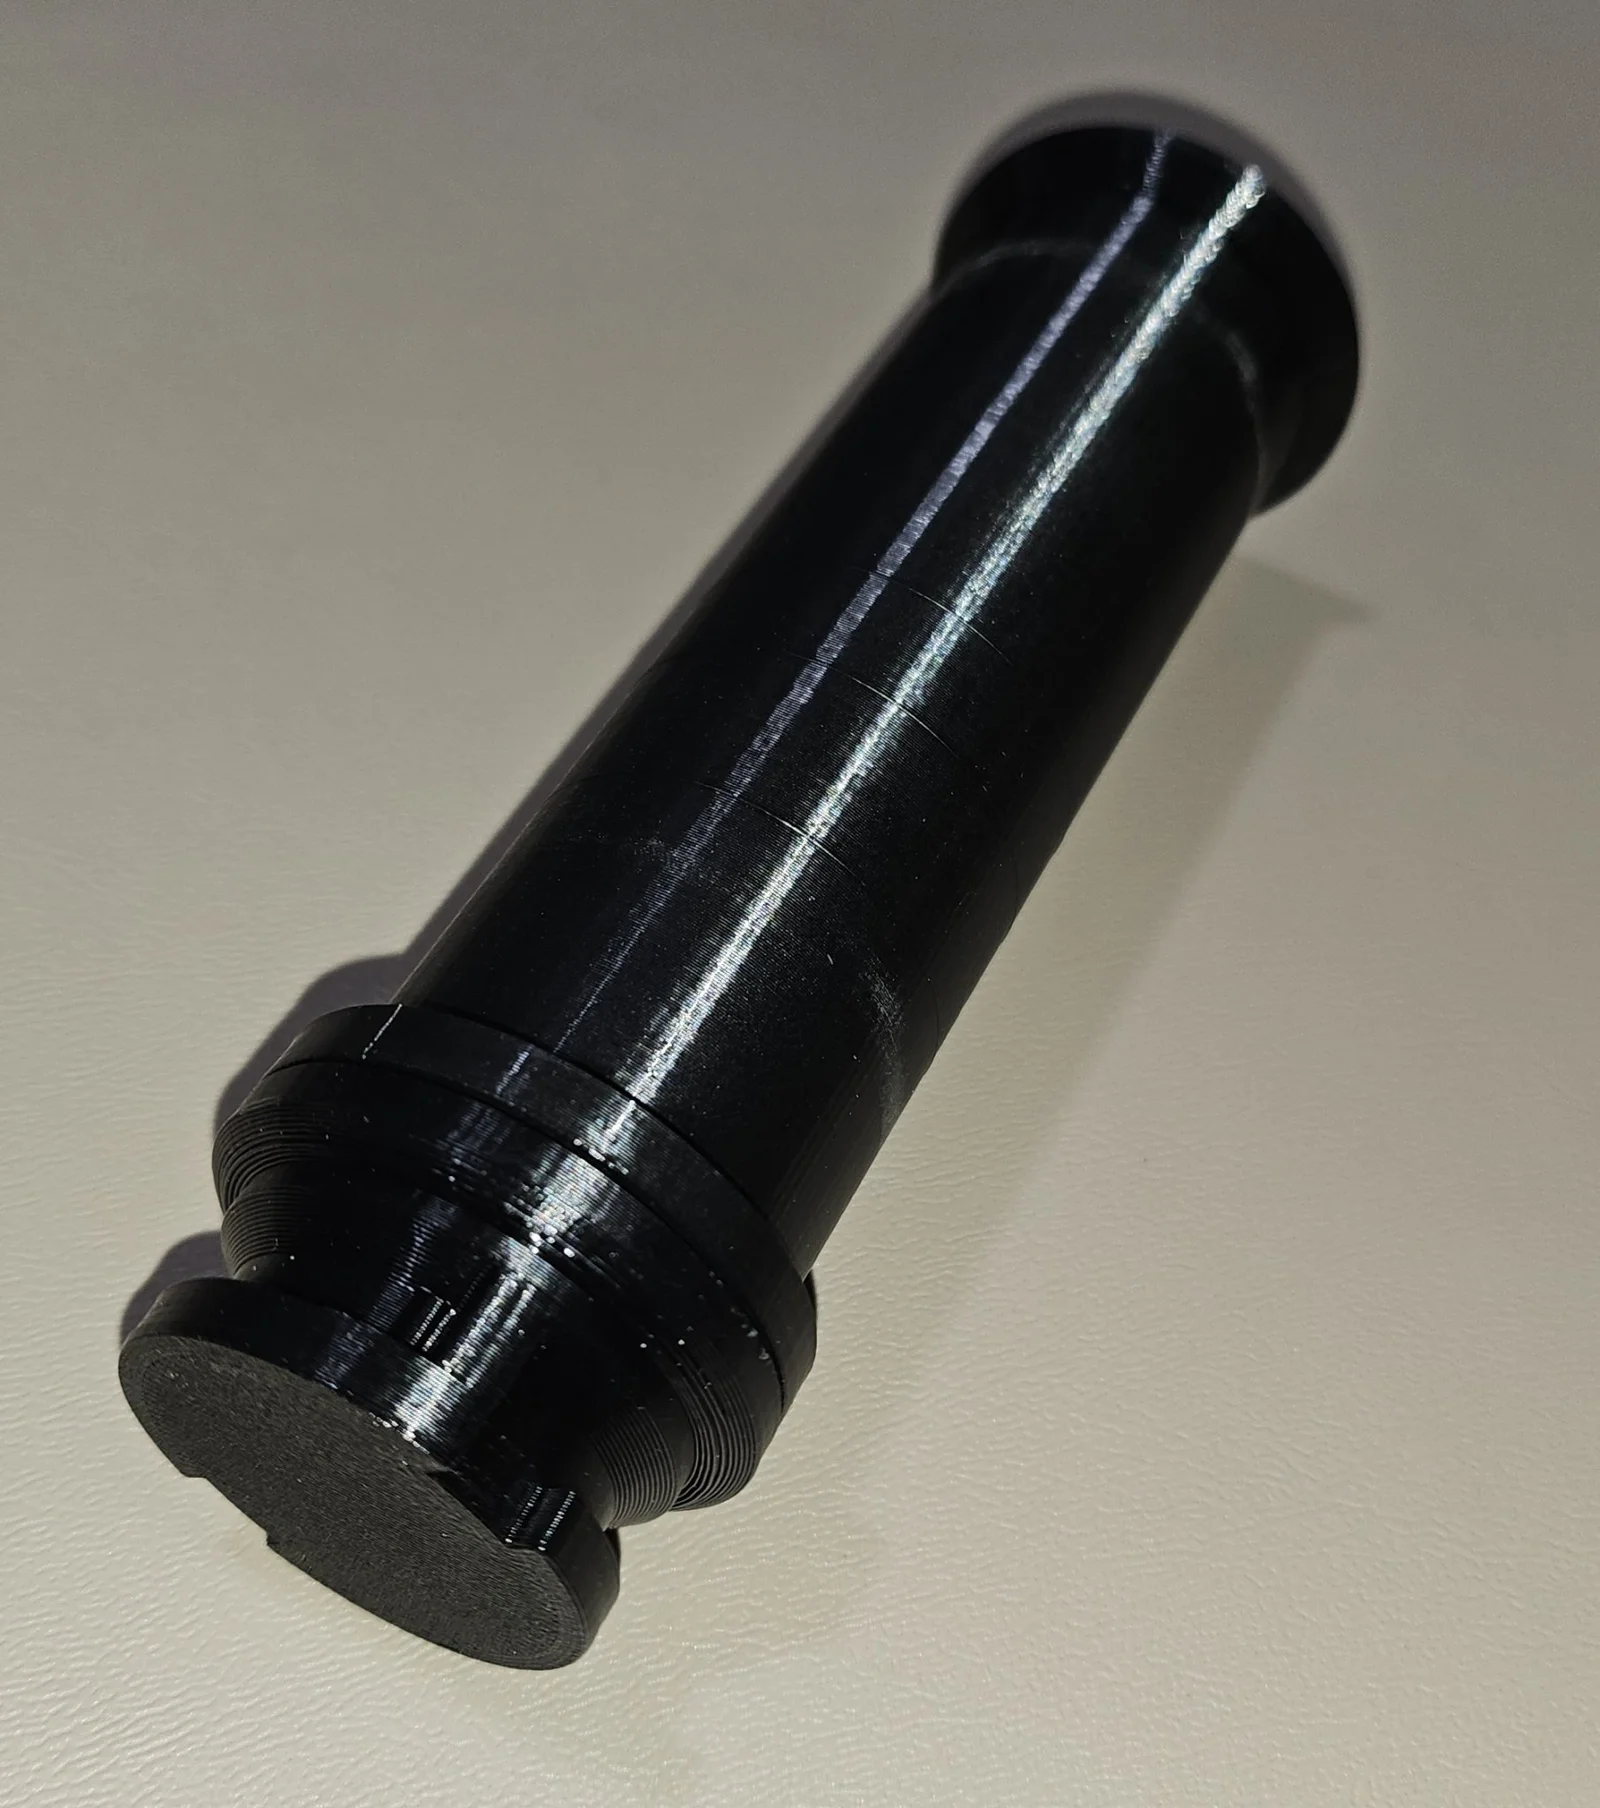
To remedy this, I've built a replacement spool holder bar that replaces the factory non-rotating one.

NOTE: you need to purchase two 608 2RS Ball Bearings (sized 8mm x 22mm x 7mm) in order for this replacement spool holder bar to work. I bought a pack of 10 from Amazon for just $5 USD here: https://a.co/d/4FRMvu5

Parts list and installation instructions:

  • Connector Body: this is the main structure that attaches into the twist-lock hole from the printer's factory filament spool holder arm. One of the ball bearings slide into the thin end of the cylinder all the way down to the cone base.
  • Outer Roller: the Connector Body (with one of the ball bearings installed, per above) is inserted into the outer roller. With the first ball bearing already on the Connector Body, the insertion should be a tight fit. When pressed in properly, there should only be about a 1 to 2 mm gap between the Connector Body flat face and the Outer Roller flat face. Once that's in place, insert the second ball bearing from the Outer Roller's open end and press down about 3 cm until it butts up against the internal ridge and can't be pressed in any further.
  • Plug: this “plugs” in the open end of the now-integrated Connector Body and Outer Roller, preventing these two parts from sliding apart again. It should be a friction fit to force the plug in. Depending on your printer print accuracy, you might have to open up your favorite 3D CAD software to adjust the diameters for tighter/looser fit.

The factory spool holder bar is easy to remove. Just grip the bar and twist counter-clockwise to unlock and remove.

Printing instructions:

  • I used PLA for maximum rigidity. You might be able to get away with PETG, but it might have too much flex for the Connector Body part.
  • The Connector Body has to be printed to be strong against bending loads due to the thin rod having to sustain the weight of the entire filament spool, so I used the following print settings:
    • 0.2 mm layer height
    • 4 perimeter layers
    • 1 mm minimum horizontal shell layers
    • 50% infill density
    • Cubic infill pattern
    • No skirts, no brims, no rafts, no supports
  • For the other 2 parts, you can use your favorite filament material and print settings. Note, however, that the Plug might either fit too tight or too loose if it's a different material than the Connector Body.
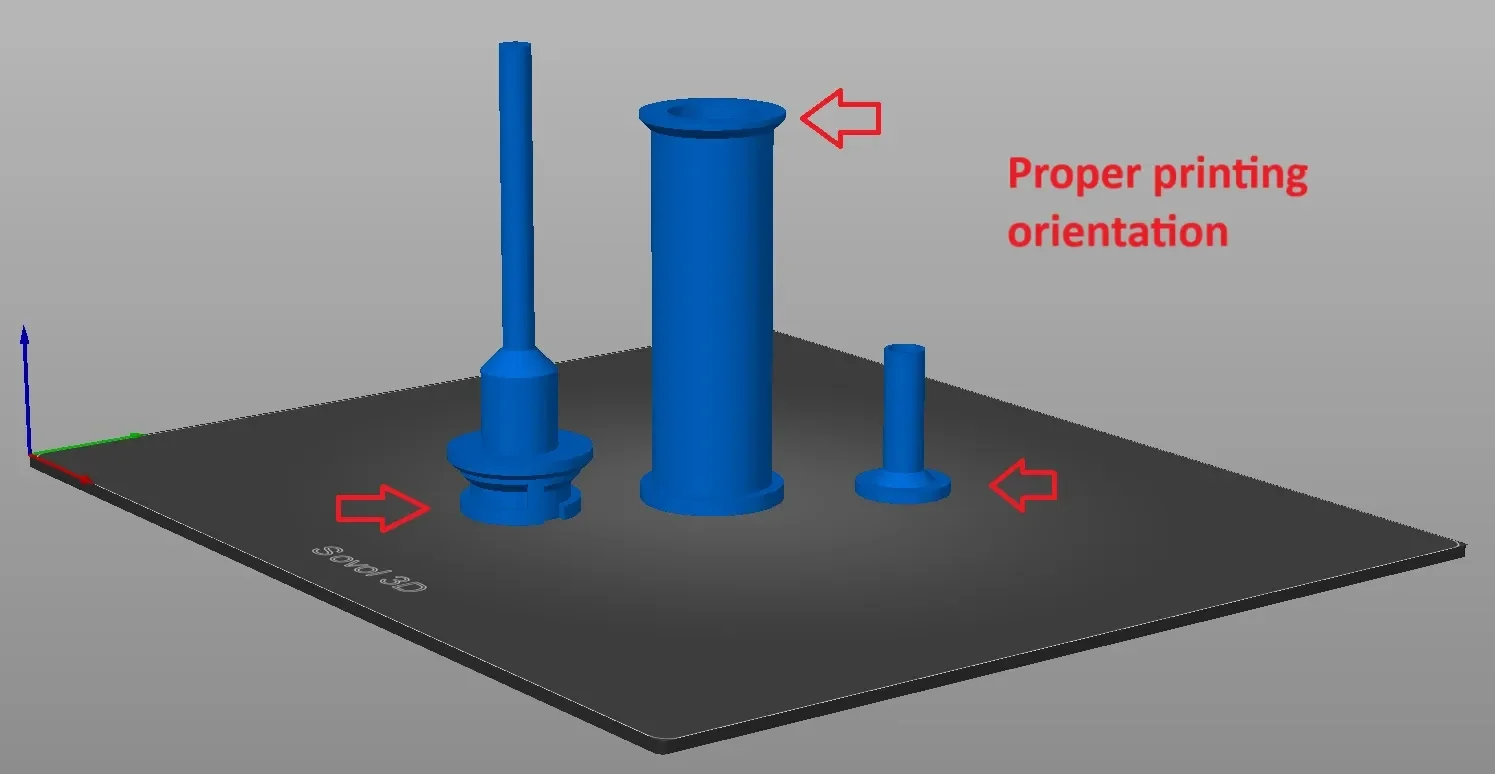
  • When orienting the print orientation for the parts in your slicer, all parts should be printed axially-perpendicular to the printer bed, with the “heavy-side down”. This includes the Outer Roller (to check this, the beveled flange should be above the other non-beveled flange). That way, the bevels all ensure that overhangs do not exceed 45 degrees, eliminating the need for supports. See attached picture for illustration.

I've uploaded not only the individual part STL files but also the whole assembly models in *.3mf and *.f3d (for you Fusion 360 users) in case you wanted to make some changes to the design.

Coi thêm Ẩn bớt

Thông số in

Định dạng
3mff3dstl
Số file mô hình
5
Tổng dung lượng
807,1 KB
File lớn nhất
300 KB

1 bình luận

Coi tất cả