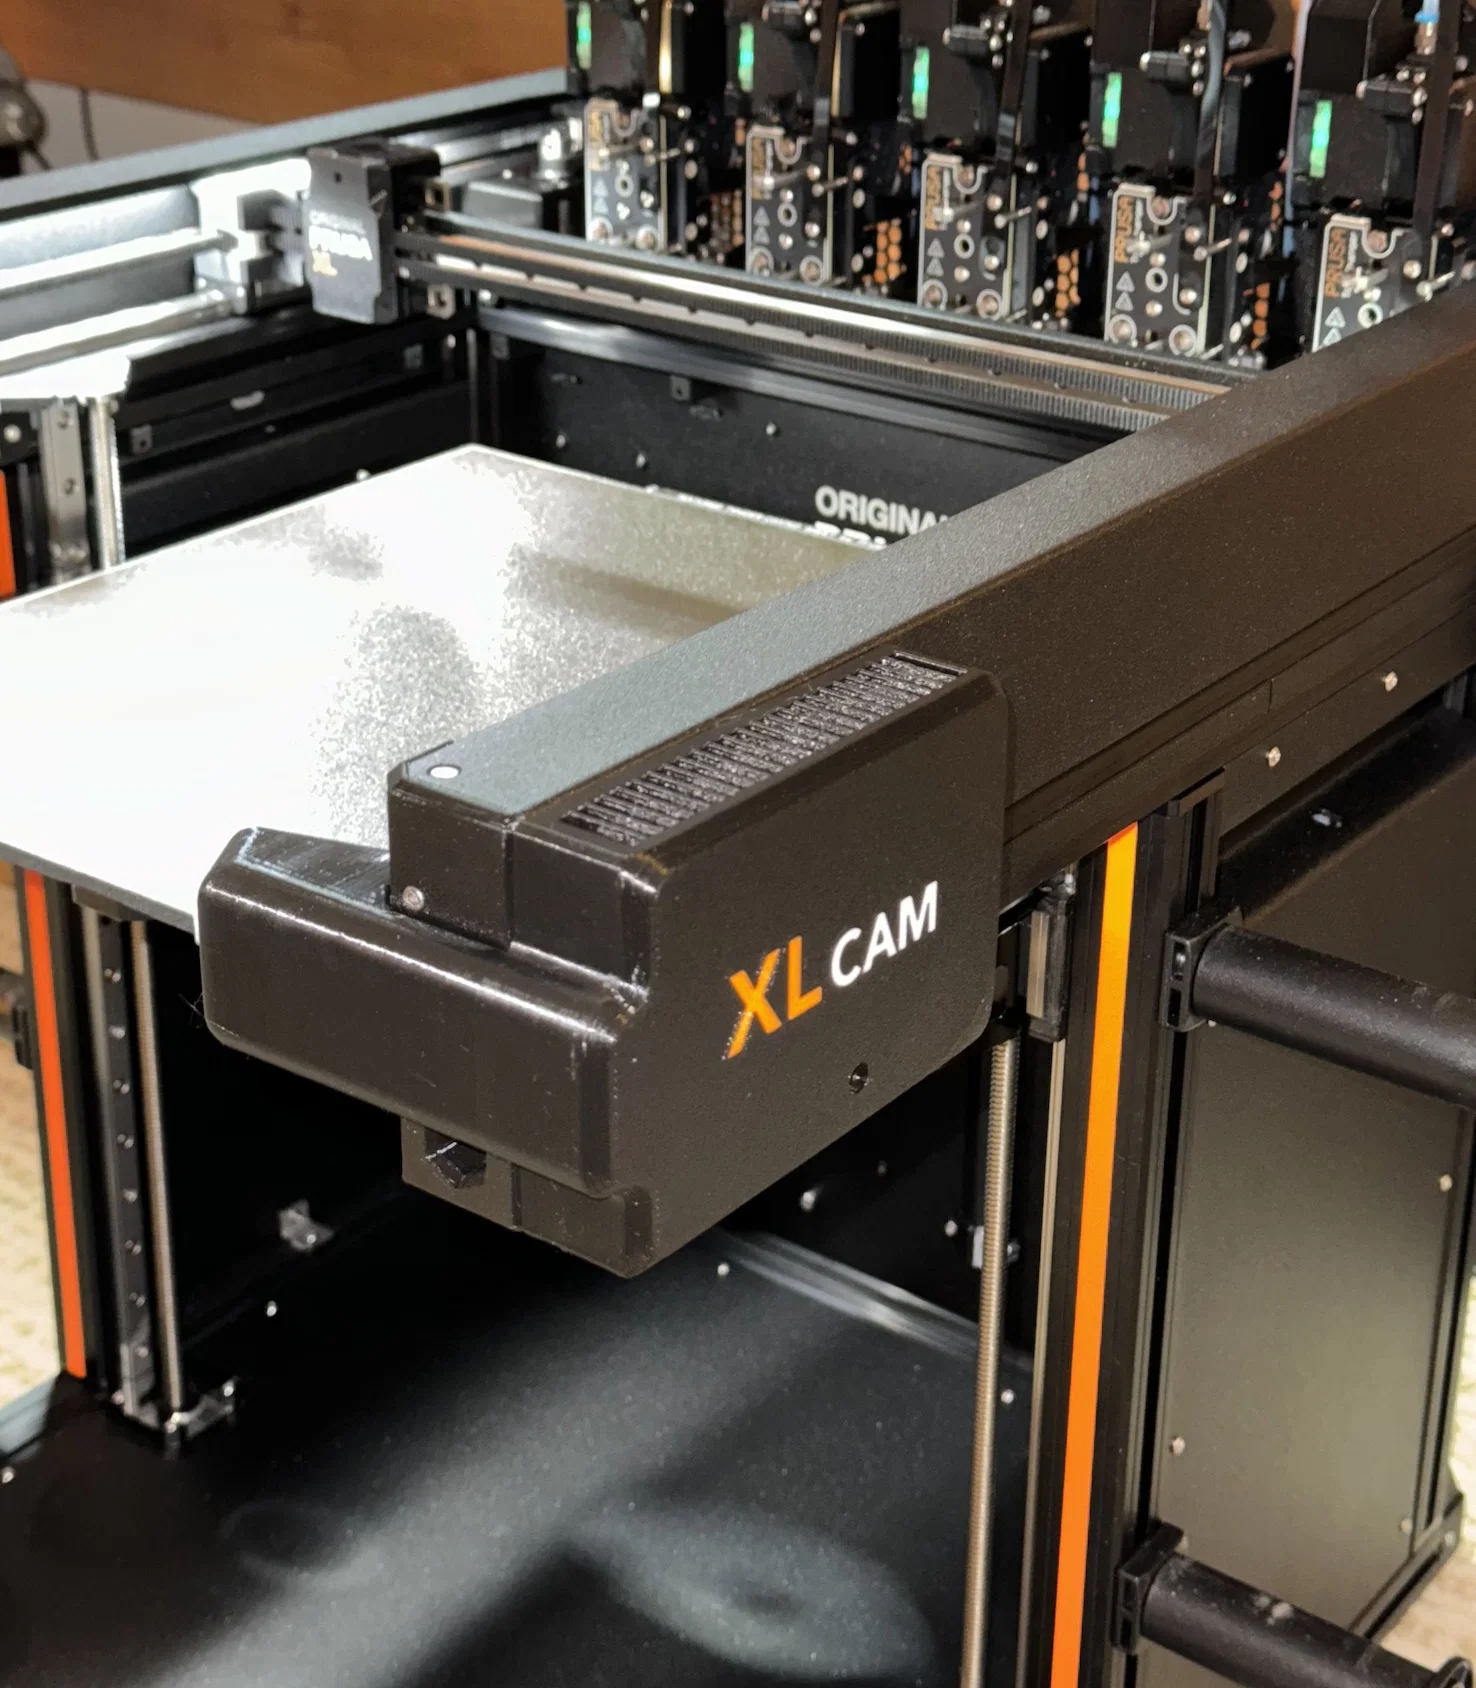
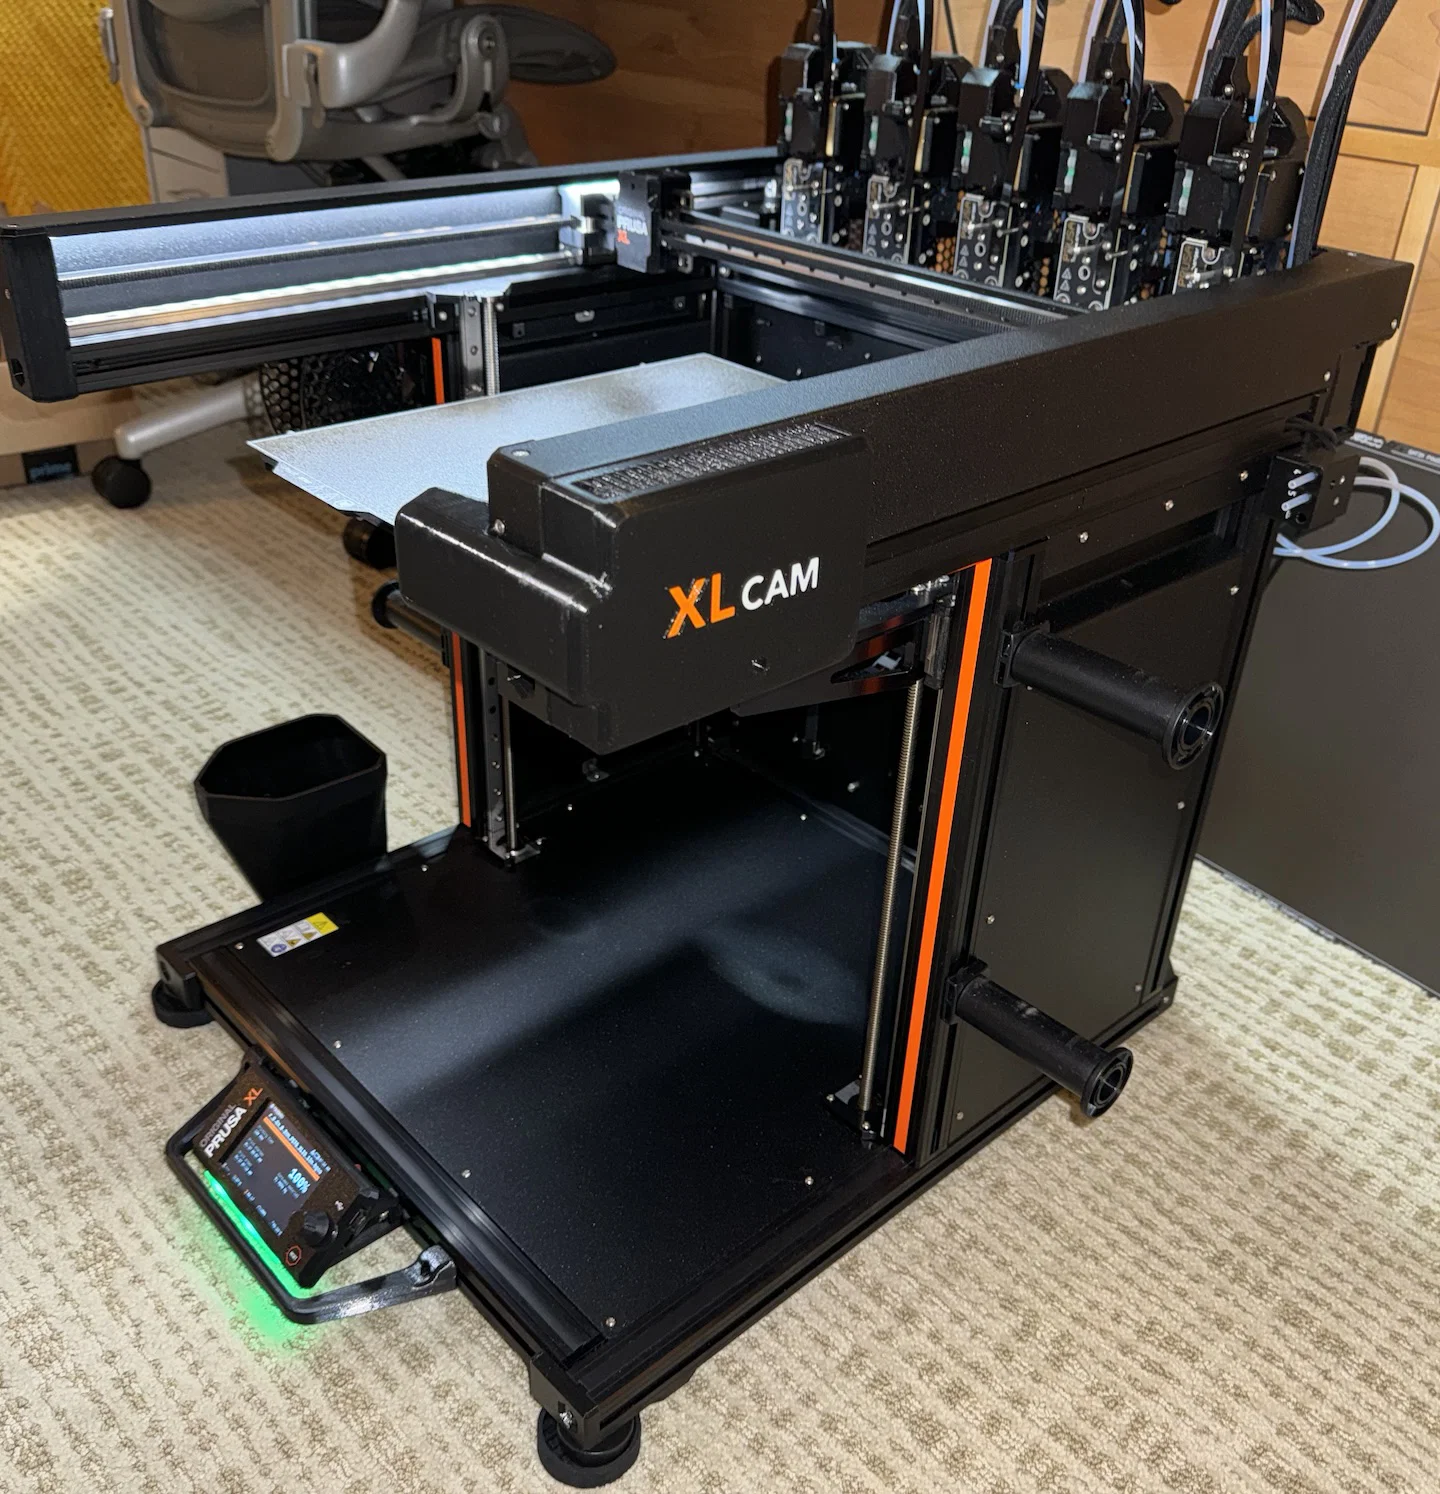
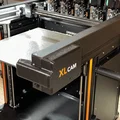
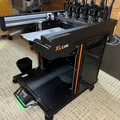
XLCam - Camera Raspberry Pi cho Prusa XL

Hộp case nhỏ gọn cho Raspberry Pi 4 và Pi Camera V2, gắn vào đầu tay đòn trên của Prusa XL. Có STL trái/phải, hướng dẫn in PETG, lắp ráp, đi dây và thiết lập stream + upload snapshot lên PrusaConnect.
Mô tả
Cập nhật 2024/04/27: Đã đăng XLCam v2. Góc nhìn tốt hơn và vị trí gắn mới.
Cập nhật 2024/04/02: Thêm link bộ ốc vít tổng hợp.
Cập nhật 2024/27/02: Thêm thông tin chỉnh hướng ngắm của camera.
Cập nhật 2024/29/01: Thêm link USB-C góc vuông và cáp camera dài. Ghi chú dung lượng 4GB dùng trên RPi 4.
In ấn
STL có sẵn cho cả gá lắp bên trái và bên phải. Mình in bằng PETG màu Đen, Cam, Trắng. Trong PrusaSlicer, đặt hướng mẫu nằm trên mặt phẳng, rồi paint supports ở các mép dưới của phần ốp che camera. Đặt supports ở chế độ enforcers only.
Lắp ráp
Raspberry Pi 4 (mình dùng bản 4GB) và camera V2 được giữ cố định bằng vài con ốc cho mỗi phần. Bạn sẽ cần cáp ribbon dài hơn cho camera và một adapter USB-C góc vuông cho dây nguồn. Dây USB-C và dây ethernet có thể đi xuống theo khe trên thanh nhôm định hình (aluminum extrusion). Có kèm một file STL cho nắp che rãnh (Chanel cover) dạng bấm (snap) vào đúng vị trí.
USB-C right angle
Long camera cable
Screw Assortment
Dùng 1 con ốc 4mm và 1 T-nut để cố định hộp lên máy.
Module camera và Pi được bắt bằng ốc nhỏ (xem link bộ ốc tổng hợp ở trên; cực tiện cho đủ kiểu dự án).
Bạn có thể thêm một hoặc vài vòng đệm (washer) phía sau module camera ở một hoặc hai trụ để chỉnh hướng camera theo ý.
Phần mềm
Mình set Pi để phát video stream trong mạng nội bộ và đồng thời upload ảnh snapshot lên PrusaConnect mỗi 20 giây. Bạn dùng phần mềm nào cho Pi cũng được, hướng dẫn cho cấu hình mình dùng nằm bên dưới:
Bắt đầu với image bản lite của RPi OS mới nhất; mình dùng Bookworm 64-bit. Đặt host name; mình dùng “xlcamera”. Đặt user name và password.
Khởi động Pi và SSH vào tại xlcamera.local.
Kiểm tra Camera
libcamera-hello
Tăng GPU memory
sudo nano /boot/config.txt
thêm dòng sau:
gpu_mem=256
Cài gói (Packages)
sudo apt update
sudo apt install git
sudo apt-get install imagemagick
Cài Streamer - https://github.com/ayufan/camera-streamer
git clone https://github.com/ayufan-research/camera-streamer.git --recursive
sudo apt-get -y install libavformat-dev libavutil-dev libavcodec-dev libcamera-dev liblivemedia-dev v4l-utils pkg-config xxd build-essential cmake libssl-dev
cd camera-streamer/
nano html/camera.html
<html>
  <head>
    <title>XLCam</title>
        <meta http-equiv="content-type" content="text/html;charset=utf-8">
  </head>
  <body  style="margin: 0; padding:0;">
         <div>
          <img id="stream" src="./?action=stream" style="width: 100vw; height: 100vh; object-fit: contain; object-position: 50% 0%;" />
         </div>
  </body>
</html>
nano cmd/camera-streamer/http.c
thêm:
extern unsigned char html_camera_html[];
extern unsigned int html_camera_html_len;
và
{ "GET", "/camera", http_content, "text/html", html_camera_html, 0, &html_camera_html_len },
Build
make
sudo make install
Thiết lập service
nano service/camera-streamer-printercam.service
; Official Raspberry Pi v2.1 8MP camera based on the Sony IMX219 chip
; https://www.raspberrypi.com/products/camera-module-v2/
;
[Unit]
Description=camera-streamer web camera for Pi Camera on Raspberry PI
After=network.target

; v2 camera
ConditionPathExists=/sys/bus/i2c/drivers/imx219/10-0010/video4linux

[Service]
User=root
ExecStart=/usr/local/bin/camera-streamer \
  --camera-path=/base/soc/i2c0mux/i2c@1/imx219@10 \
  --camera-type=libcamera \
  --camera-format=YUYV \
  ; camera module v2
  --camera-width=1640 --camera-height=1232 \
  ; use full height for all streams
  --camera-snapshot.height=1232 \
  --camera-video.height=1232 \
  --camera-stream.height=1232 \
  --camera-fps=15 \
  ; use two memory buffers to optimise usage
  --camera-nbufs=2 \
  ; bump brightness slightly
  --camera-options=brightness=0.1 \
  --camera-options=sharpness=9 \
  --camera-options=noisereductionmode=HighQuality \
  --http-listen=0.0.0.0 \
  --http-port=80 \
  --rtsp-port

DynamicUser=yes
SupplementaryGroups=video i2c
Restart=always
RestartSec=10
Nice=10
IOSchedulingClass=idle
IOSchedulingPriority=7
CPUWeight=20
AllowedCPUs=1-2
MemoryMax=250M

[Install]
WantedBy=multi-user.target
Chạy service
sudo systemctl enable $PWD/service/camera-streamer-printercam.service
sudo systemctl start camera-streamer-printercam
sudo systemctl stop camera-streamer-printercam
Trạng thái (Status)
journalctl -xef -u camera-streamer-printercam
tmp làm ramdisk
sudo nano /etc/fstab
thêm:
tmpfs /tmp tmpfs rw,nosuid,noatime,nodev,size=256M,mode=1777 0 0
Reboot
Live stream lúc này sẽ có tại:
xlcamera.local/camera
Prusa Connect
nano uploadsnapshots.sh
Fingerprint: Đây là một chuỗi duy nhất để định danh camera. Ví dụ:
a606dbc84f08373703b8eb6c4d7805b1fd687c45
Hãy đổi 10 chữ số trong chuỗi đó thành các chữ số ngẫu nhiên khác là ổn.
Token: Đăng nhập Prusa Connect, vào trang Camera của máy in, rồi thêm một “Other camera” mới. Dùng token được hiển thị trong script bên dưới.
--------------------
#!/bin/bash

# Set default values for environment variables
: "${HTTP_URL:=https://webcam.connect.prusa3d.com/c/snapshot}"
: "${DELAY_SECONDS:=20}"
: "${LONG_DELAY_SECONDS:=60}"

FINGERPRINT="???"
TOKEN="???"
SNAPSHOTURL="http://127.0.0.1/snapshot"

sleep "5"

while true; do
    now=$(date)

    # grab from streamer
    curl -s "$SNAPSHOTURL" -o /tmp/output.jpg

    # If no error, upload it.
    if [ $? -eq 0 ]; then
        # echo "$now: Uploading snapshot..."

        datestr=$(date)
        convert /tmp/output.jpg -quality 85 -filter lanczos -resize 800 -pointsize 18 -fill white -undercolor '#00000080' -gravity southwest -annotate +10+10 "${datestr}" /tmp/annotated.jpg

        # POST the image to the HTTP URL using curl
        curl -X PUT "$HTTP_URL" \
            -H "accept: */*" \
            -H "content-type: image/jpg" \
            -H "fingerprint: $FINGERPRINT" \
            -H "token: $TOKEN" \
            --data-binary "@/tmp/annotated.jpg" \
            -s \
            --compressed

        # Reset delay to the normal value
        DELAY=$DELAY_SECONDS
    else
        echo "$now: Snapshot returned an error. Retrying after ${LONG_DELAY_SECONDS}s..."

        # Set delay to the longer value
        DELAY=$LONG_DELAY_SECONDS
    fi

    sleep "$DELAY"
done
Quyền (Permissions)
Cho phép file chạy được
chmod +x uploadsnapshots.sh
crontab -e
điền
@reboot /home/<user>/uploadsnapshots.sh >> /home/<user>/snapshots.log 2>&1
Tạo file log:
echo > snapshots.log
Reboot và mọi thứ sẽ chạy ngon lành.
Giấy phép

File mô hình


Chưa có bản in nào được khoe. Hãy là người đầu tiên!

Chưa có bình luận nào. Hãy là người đầu tiên!