



Bộ sưu tập 11 nhân vật mô hình Mecca Chameleon in 3D vui nhộn
 Tác giảZED4EverLượt thích313Lượt tải5,2 N
Dựng một phiên bản khác của mẫu này.
 Vỏ bảo vệ (Enclosure) cho màn hình CYD (Cheap Yellow Display)Tác giảTeachingTech · 12/03/2026
 Vỏ XTouch Ultimate P1P P1S / Lắp Ráp Dễ Dàng / Nhiều Tùy ChọnTác giảFixThisBuildThat · 18/12/2025
 Hộp đựng Xtouch cho Bambu Lab P1P / P1STác giảWSDesEng · 14/12/2025
 Chỉnh sửa standoff XtouchTác giảWhiskeyGorilla · 14/12/2025
Tổng quan
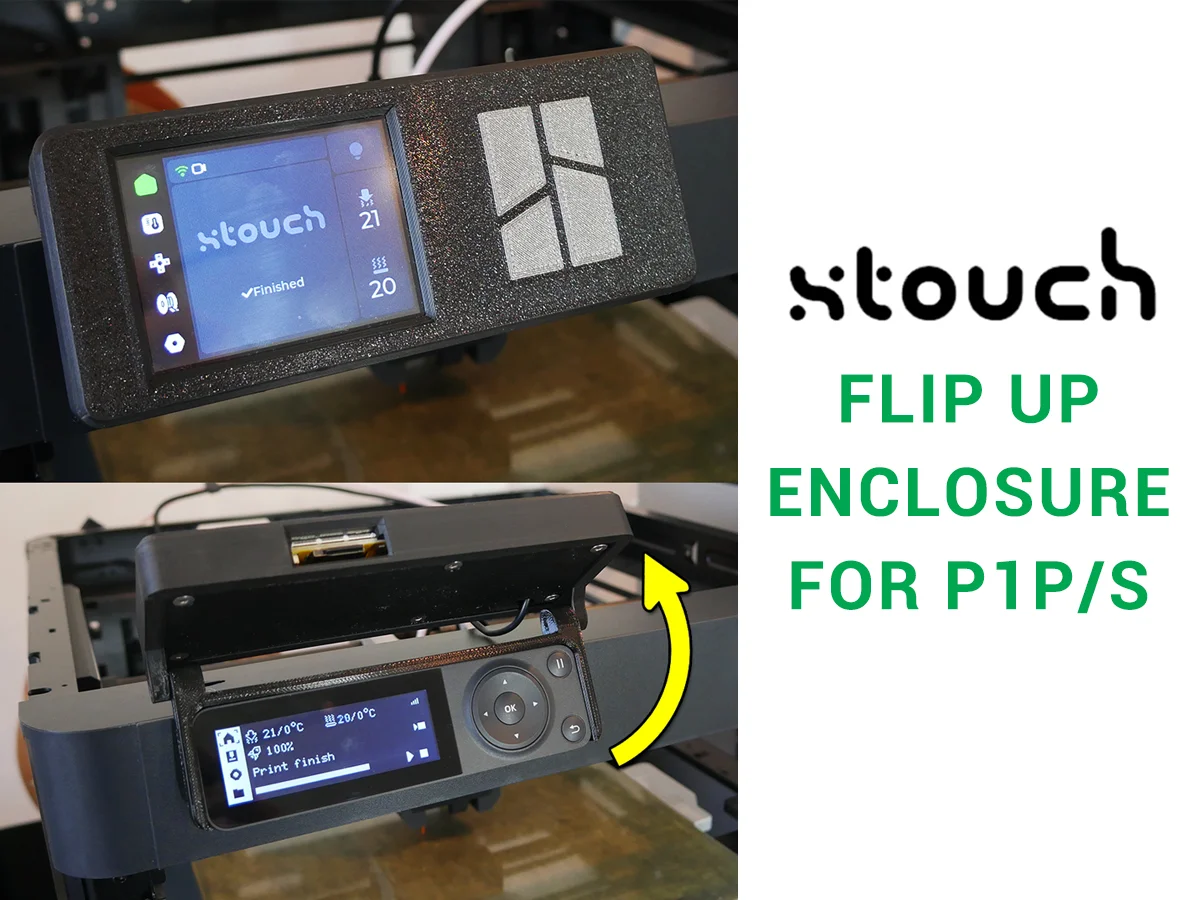
A simple enclosure for the xtouch P1P/S interface by xperiments: https://github.com/xperiments-in/xtouch
This version houses the ESP32 touch screen in a way that replaces the standard printer controls, but swivels up out of the way to reveal them when needed. You get the appearance of a single touch screen, without losing access to the original control panel.
A video guide to installing xtouch and assembing this enclore can be found here:
Source CAD
My modifications were made in Onshape. Even if you don't have an account, you can still export the parts in a format of your choice by right clicking on them:
Printing
There are three parts to be printed. Each can be made in whatever material you choose. I used PLA. Parts are aleady oriented correcly and no support material is needed.
For the front cover, there is a plain version and a version with a BL logo for multicolour printing.
Hardware
The required ESP32 touch screen is linked on the xtouch GitHub readme.
A USB-A to USB-B micro cable approxmately 200mm in length is ideal. I speculate that a cable as short as 150mm might just reach, and if the cable was longer, the enclosure has space to tuck in the excess.
6 x M3 x 12mm countersunk bolts for attaching the rear to the front pieces.
2 x M3 x 12mm bolts for attaching the enclosure to the adaptor.
Assembly
Assembly is simple and is covered step by step in the video above.
Tác giảZED4EverLượt thích313Lượt tải5,2 N

 Tác giảBasementLABLượt thích888Lượt tải1,5 N