



Bộ sưu tập 11 nhân vật mô hình Mecca Chameleon in 3D vui nhộn
 ByZED4EverLikes313Downloads5.2K
Build another version of this model.
 Vỏ bảo vệ (Enclosure) cho màn hình CYD (Cheap Yellow Display)ByTeachingTech · 03/12/2026
 Vỏ XTouch Ultimate P1P P1S / Lắp Ráp Dễ Dàng / Nhiều Tùy ChọnByFixThisBuildThat · 12/18/2025
 Hộp đựng Xtouch cho Bambu Lab P1P / P1SByWSDesEng · 12/14/2025
 Chỉnh sửa standoff XtouchByWhiskeyGorilla · 12/14/2025
Overview
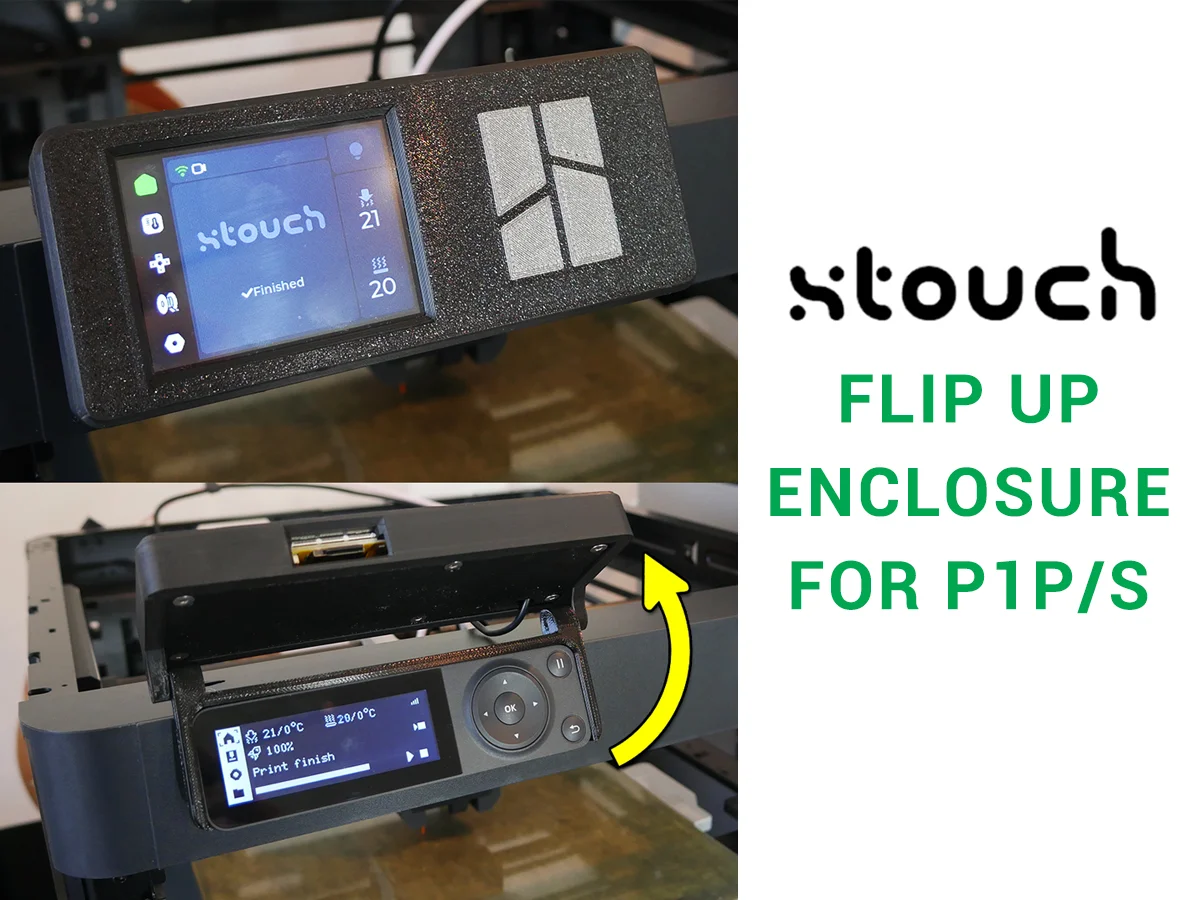
A simple enclosure for the xtouch P1P/S interface by xperiments: https://github.com/xperiments-in/xtouch
This version houses the ESP32 touch screen in a way that replaces the standard printer controls, but swivels up out of the way to reveal them when needed. You get the appearance of a single touch screen, without losing access to the original control panel.
A video guide to installing xtouch and assembing this enclore can be found here:
Source CAD
My modifications were made in Onshape. Even if you don't have an account, you can still export the parts in a format of your choice by right clicking on them:
Printing
There are three parts to be printed. Each can be made in whatever material you choose. I used PLA. Parts are aleady oriented correcly and no support material is needed.
For the front cover, there is a plain version and a version with a BL logo for multicolour printing.
Hardware
The required ESP32 touch screen is linked on the xtouch GitHub readme.
A USB-A to USB-B micro cable approxmately 200mm in length is ideal. I speculate that a cable as short as 150mm might just reach, and if the cable was longer, the enclosure has space to tuck in the excess.
6 x M3 x 12mm countersunk bolts for attaching the rear to the front pieces.
2 x M3 x 12mm bolts for attaching the enclosure to the adaptor.
Assembly
Assembly is simple and is covered step by step in the video above.
ByZED4EverLikes313Downloads5.2K

 ByBasementLABLikes888Downloads1.5K