



Kẹp giữ sợi Filament
 Bytinx_1344834Likes1.2KDownloads6K
Build another version of this model.
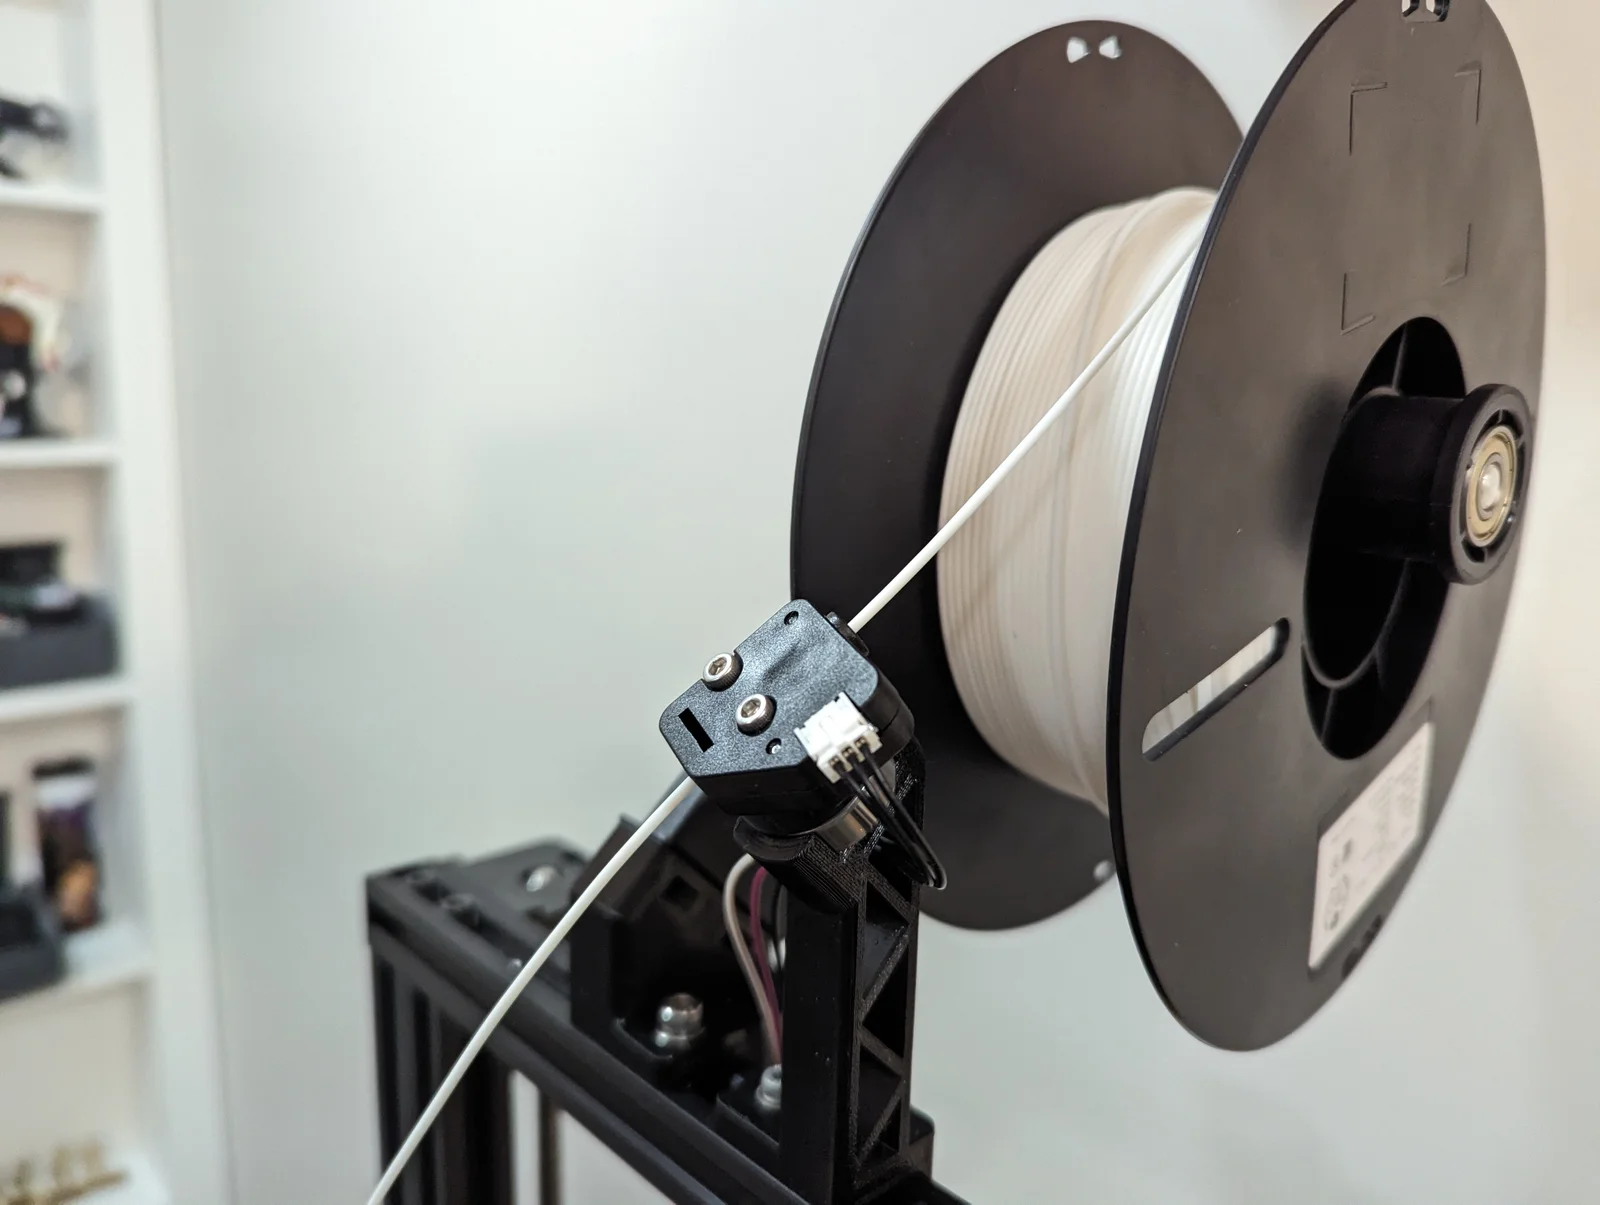
After converting my Aquila X2 to a direct drive, I wanted to retain the function of the filament sensor. I also wanted to ensure that I didn't lose any print volume. This will also work with an Ender 3 v2 or any other clones of it.
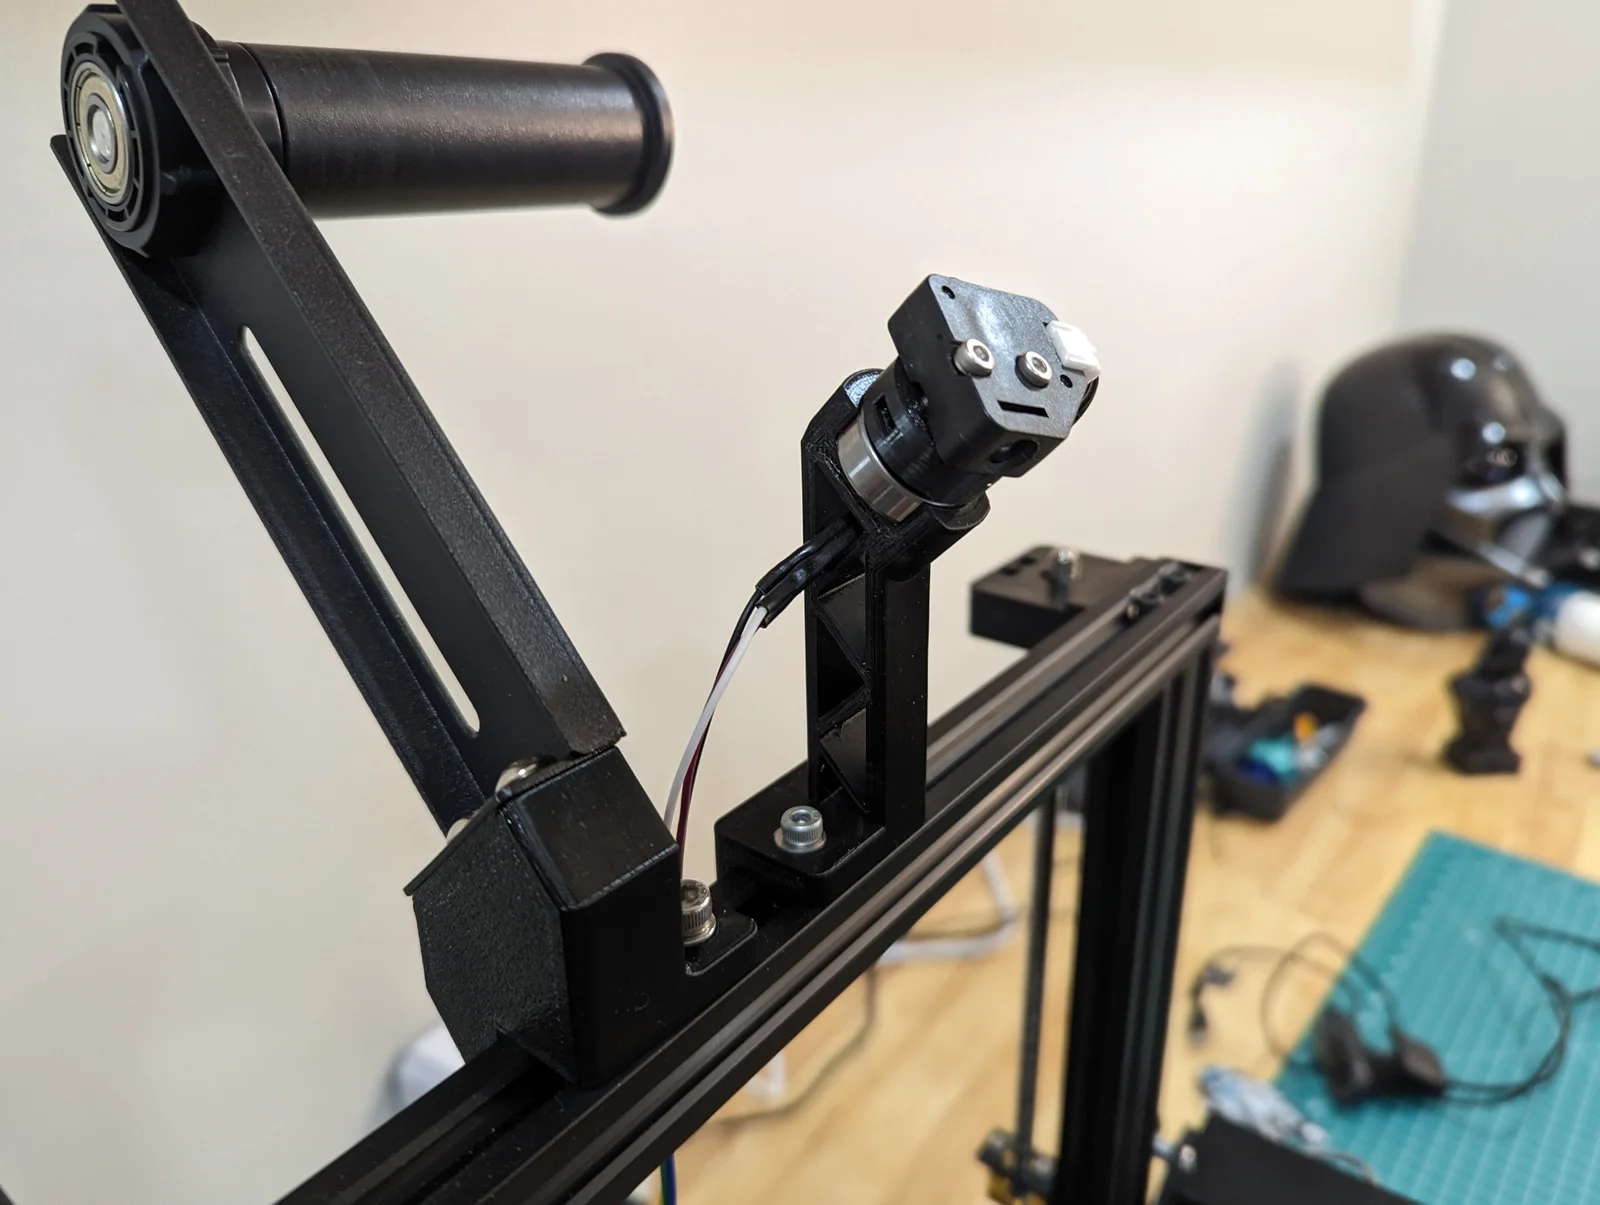
The spool bracket rotates the spool 90 degrees + 45 degrees rearward. The filament sensor bracket uses a 608 bearing to allow the movement needed for taller prints.
The brackets are attached to the frame with a single t-nut/bolt ( I think I used the same bolts that were used for the carry handle). You will need to drop the t-nut into the channel of the frame first , then mount the bracket and line up the holes to screw it in. I designed it this way so nothing else has to be removed from the top rail to install these, and it also allows the brackets to be printed on their side so that the layer lines will be stronger.
The stock spool is attached to the bracket with the existing bolts; I replaced the t-nuts with regular spare M5 nuts.
The filament sensor attaches to a mount with M3 bolts; this mount is press fitted into the 608 bearing that is press fit in the arm of the bracket.
I printed everything in PETG and have had no issues with the single bolt mounting solution on the spool; it is plenty sturdy.
Bytinx_1344834Likes1.2KDownloads6K

 Byprusa-researchLikes0Downloads780

 Byla-cave-au-chatLikes0Downloads965

 ByjensaLikes0Downloads128

 ByAlex_3996727Likes29Downloads67

 Bypeter-van-der-waalLikes0Downloads255

 ByBrokentooth_designsLikes17Downloads147

 Byarhi_585078Likes64Downloads542

 ByfilamentalistLikes71Downloads110

 Bygafyx3dLikes0Downloads121

 ByPengLordLikes32Downloads112

 ByHanzo3dLikes155Downloads415