




Grippy Broom Holder
 Byvc-designLikes0Downloads3.2K
Build another version of this model.
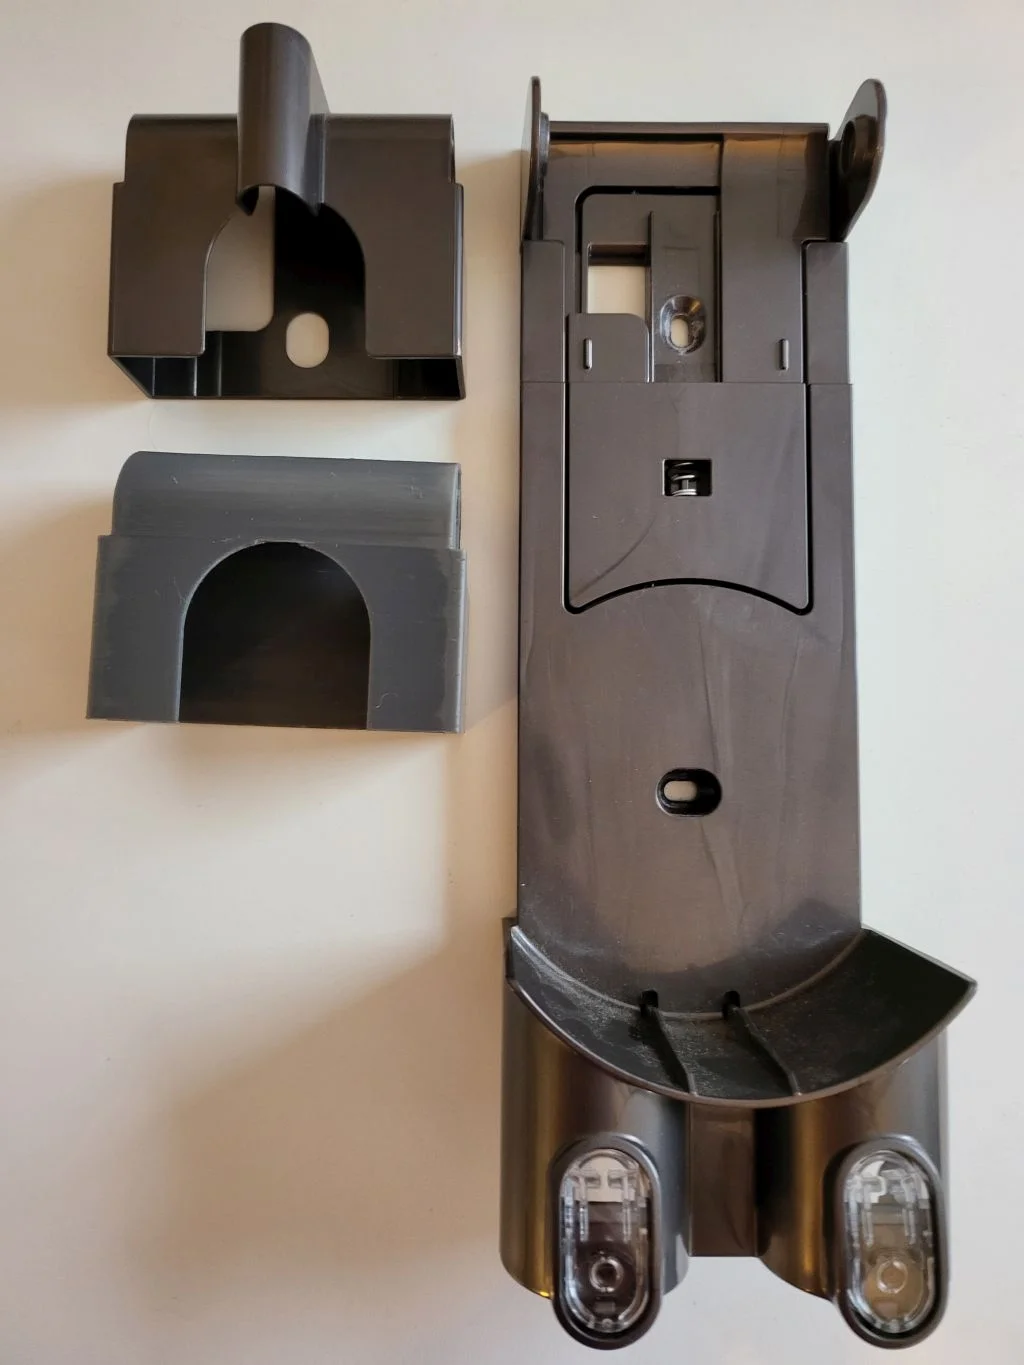
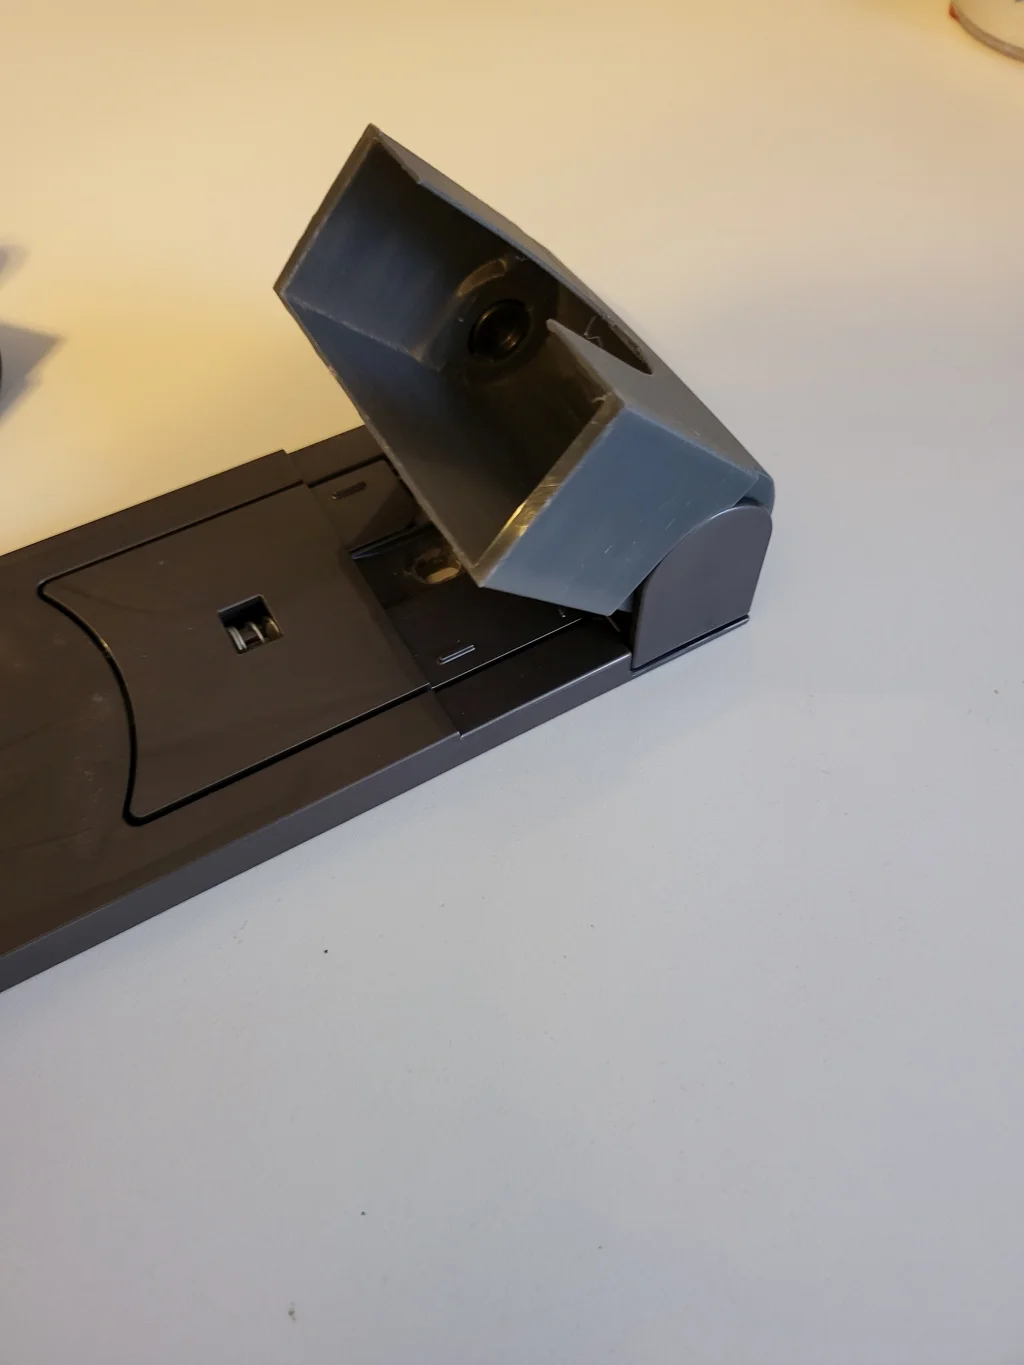
The batteries in my Dyson V6 vacuum died at a young age like so many others and I couldn't stomach the nearly $100 replacement pack. Especially when I could buy an adapter to allow the use of DeWALT 20v batteries which I'm already eyeballs deep into and have many of. The problem I found is this new adapter without any battery on it is thicker than the stock battery pack. So it didn't fit in the upper pivoting portion of the stock wall mount. I originally was just going to make a whole new wall mount but I liked the stock one so I switched gears and recreated the part with interference. You can just pop the old one out and insert this replacement in it's place. You'll also need to pop out the plug in there as well since a new battery adapter doesn't have any plug there and it would interfere if left in place. I printed in PLA without any supports with no real issues.
Some points of note:
This was designed to hold the Dyson V6 with the battery adapter installed but without a DeWALT battery installed. This is for 3 reasons, the first being the depth of the vacuum would be quite a bit further off the wall causing a steep angle, 2nd was the additional weight of the battery pack could put stress on the mount leading to early failure and lastly there are quite a number of different form factors for the DeWALT batteries (I have 4 physically different sizes myself and none of those are the 60v line). So making the adapter for a specific battery could limit the total number of people able to use this. In my case I mounted a spare battery charger next to the vacuum and just take the battery on and off with use. I might return to this later if I find this an inconvenience.
Next is I matched the factory part all thickness as close as I could so it makes this "feel" thin. I have been using this for nearly 2 weeks now and have had no issues. If anyone is having trouble with this breaking let me know and I can make a version with thicker walls. Or take the cad files and have some fun that suits your setup best.
Byvc-designLikes0Downloads3.2K

 BySeppoTakaloLikes960Downloads1.9K

 ByleonicLikes0Downloads1.4K

 ByZED4EverLikes313Downloads5.2K

 ByfifindrLikes500Downloads4K

 ByVC_DesignLikes679Downloads3.6K

 ByKNIN_CustomLikes112Downloads440

 ByDan Schwartz SchwartzLikes744Downloads3.4K

 Bythorin-oakenshieldLikes0Downloads531

 Bytorii-creative-studioLikes0Downloads448

 ByUpcrid3D_1585693Likes808Downloads2.1K

 ByWilko_SLOLikes935Downloads2K