



CORE One/+ INDX printed parts
 Byprusa-researchLikes0Downloads2.7K
Build another version of this model.
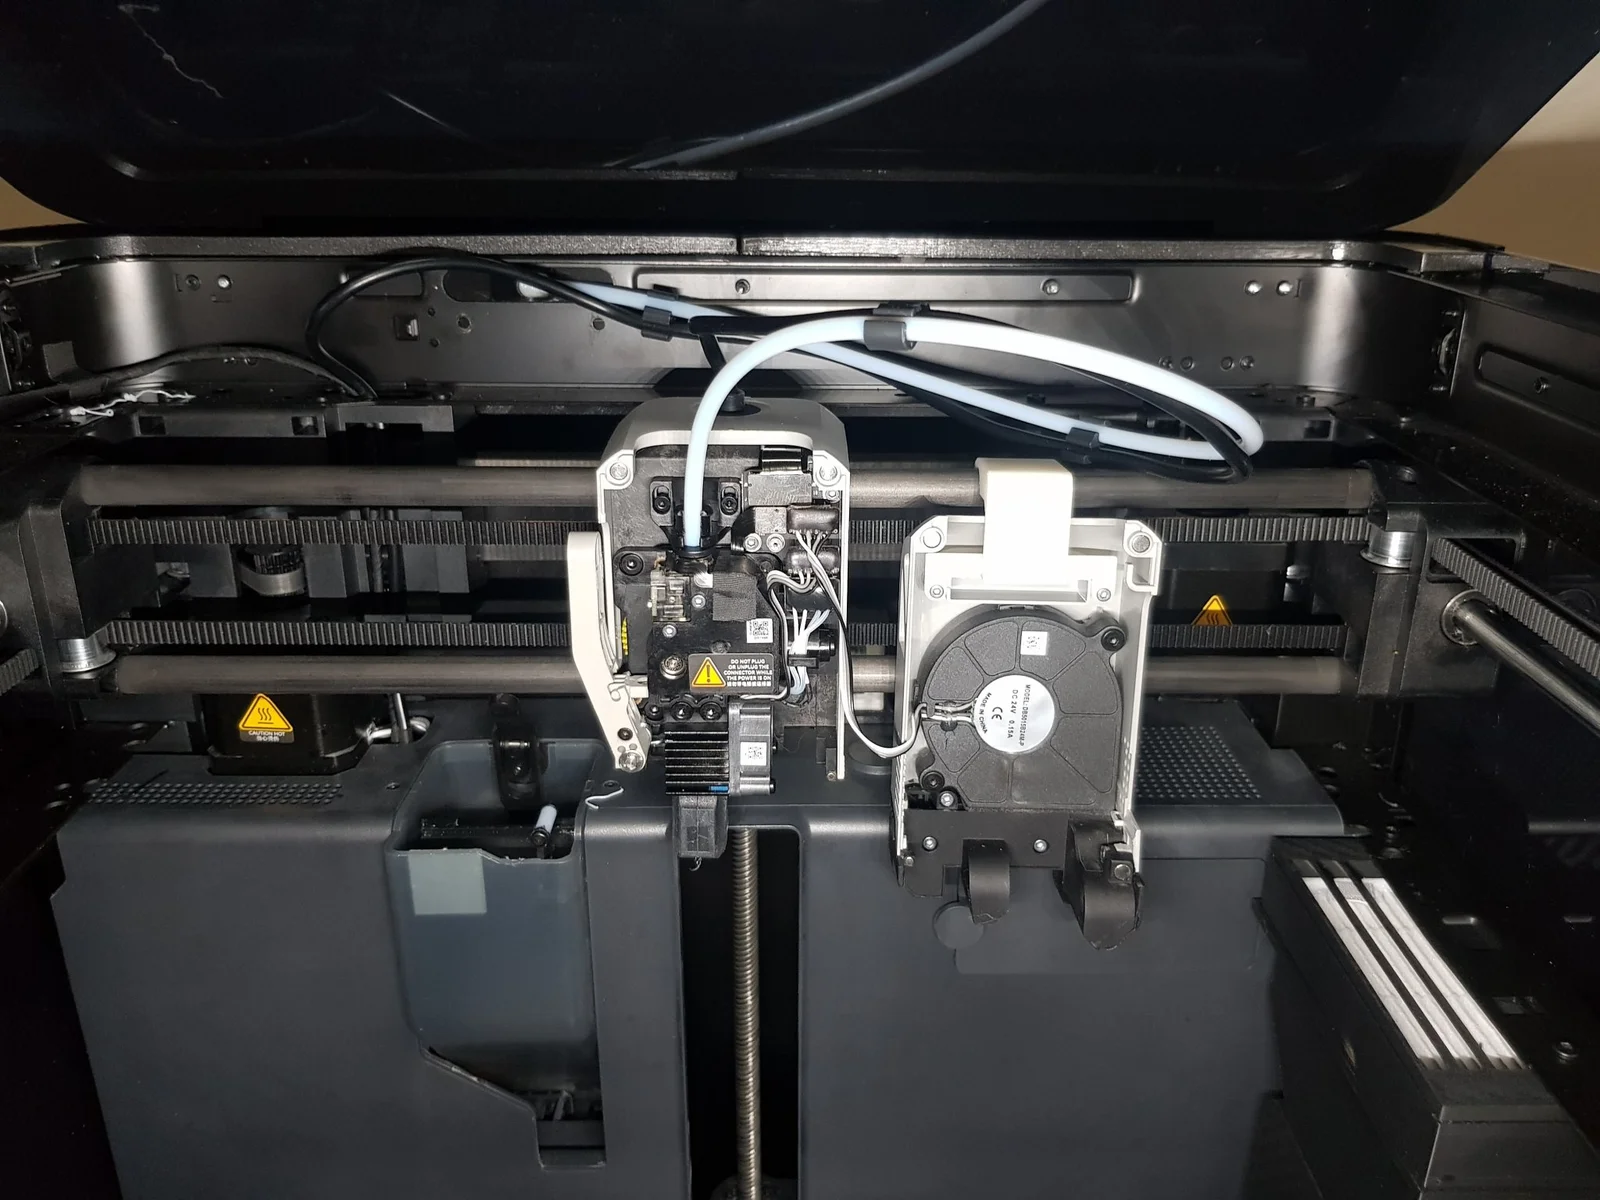
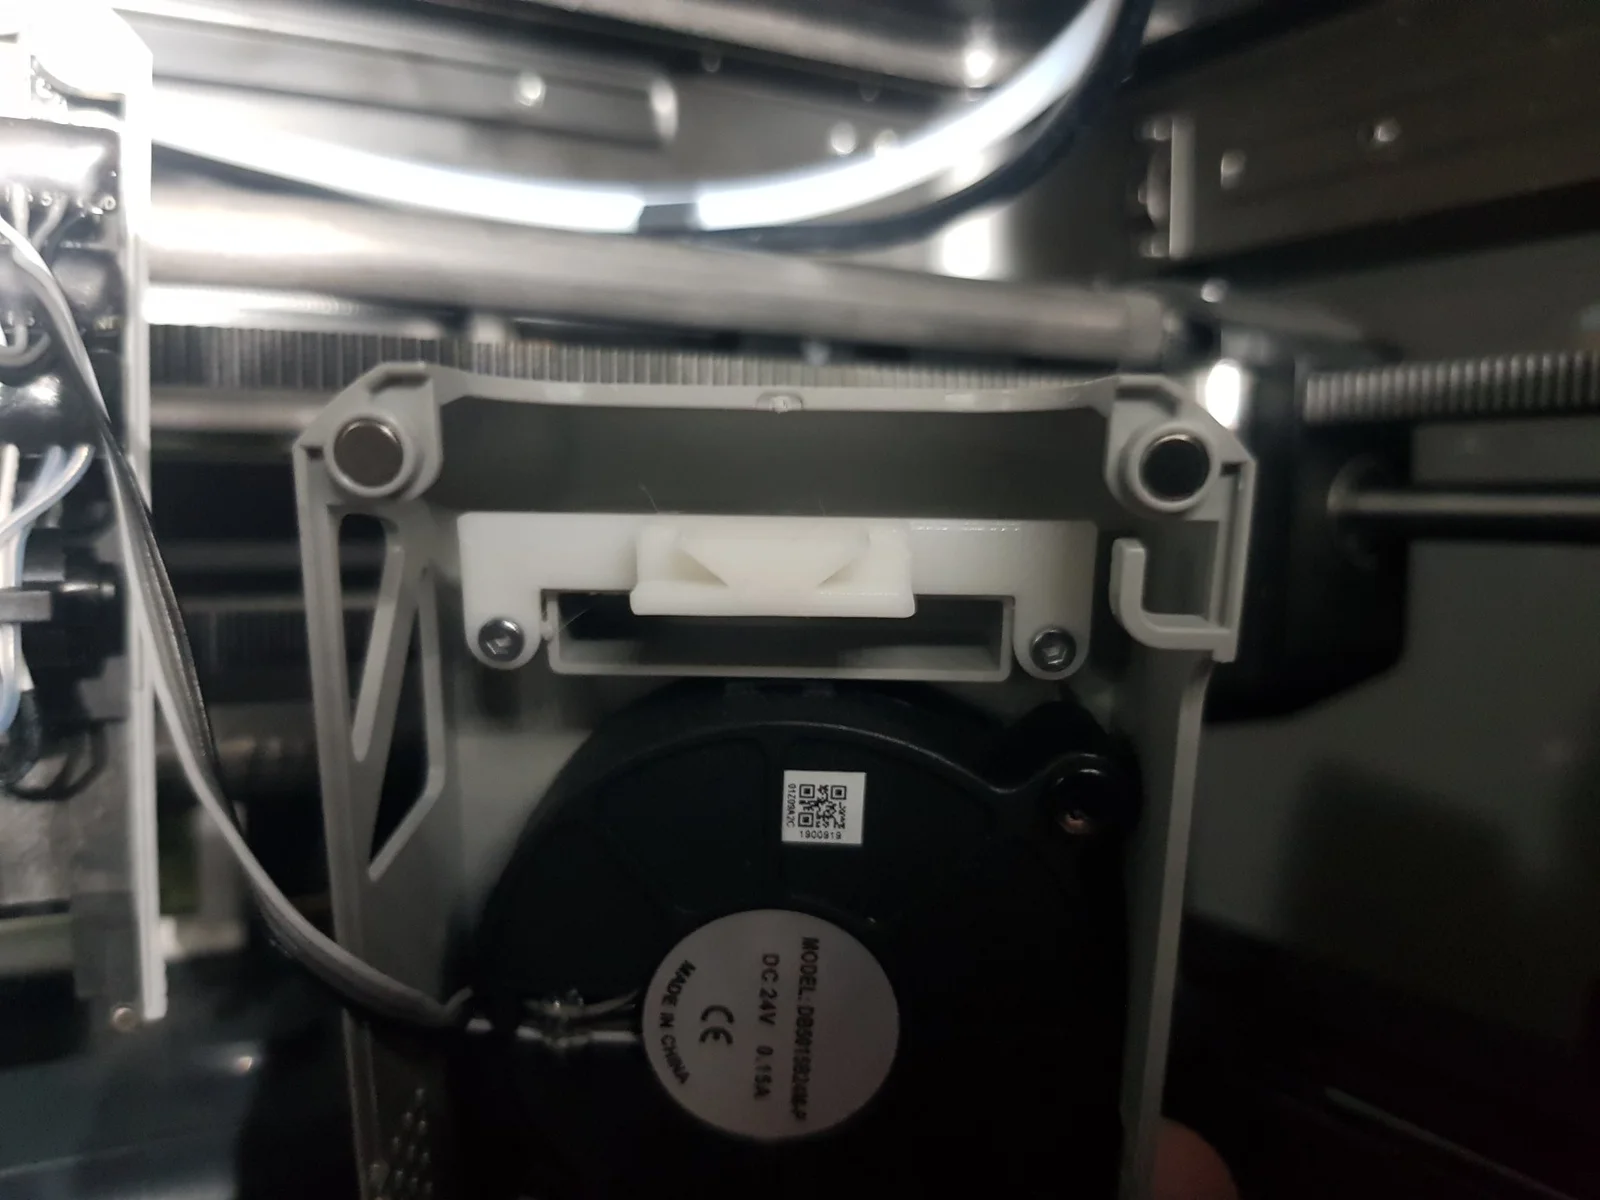
Previously, when I've have to remove the toolhead cover to perform hotend maintenance, I've had to unplug the part cooling fan and set the cover aside. But I don't think unplugging and plugging in the small connector and stretching the thin wires is good for them, so I created this semi-permanently attached hook which keeps the cover out of the way by hooking over the top carbon rail.
* Initially, I just made this to suit my P1P, which has a blank slot with holes on the back of the toolhead cover. But on the X1C this slot has a circuit board screwed onto it (for the light-up Bambu Lab text?). I've modified the mount so it should clear the circuit board on the X1C cover. Please let me know if you have an X1C and it doesn't work and feel free to remix as required.
If you have a P1P, the 2 tiny screws needed for the mounting holes are in the spares bag named “For Extruder”. For an X1, you'll have to remove the 2 screws, mount the hook and re-use the screws to secure it. They should be sufficiently long to do this.
**** CAUTION!! ****
The dovetailed hook part (A) MUST be removed from the fixed part (B) when using the printer, otherwise the hook will hit the very front of the machine during calibration.
Always keen to hear feedback if it works for you, or if it needs tweaking at all :)
I printed this in PETG but it should be fine to print in PLA, PLA(+)
Designed in Tinkercad
Byprusa-researchLikes0Downloads2.7K

 Bydet-manLikes0Downloads177

 Bytinx_1344834Likes1.2KDownloads6K

 BydarienLikes0Downloads1K

 Byla-cave-au-chatLikes0Downloads973

 ByvertigomakesLikes0Downloads565

 By3DPrintDemonLikes0Downloads334

 Bychris-hillLikes0Downloads268

 Bypeter-van-der-waalLikes0Downloads260

 ByhumebeamLikes0Downloads133


 BykingnothingLikes0Downloads188