



Thị trấn nến tealight hiện đại Giáng Sinh (dùng 1 hoặc 3 nến LED)
 ByMaxTLikes527Downloads1.7K
Build another version of this model.
(German description below)
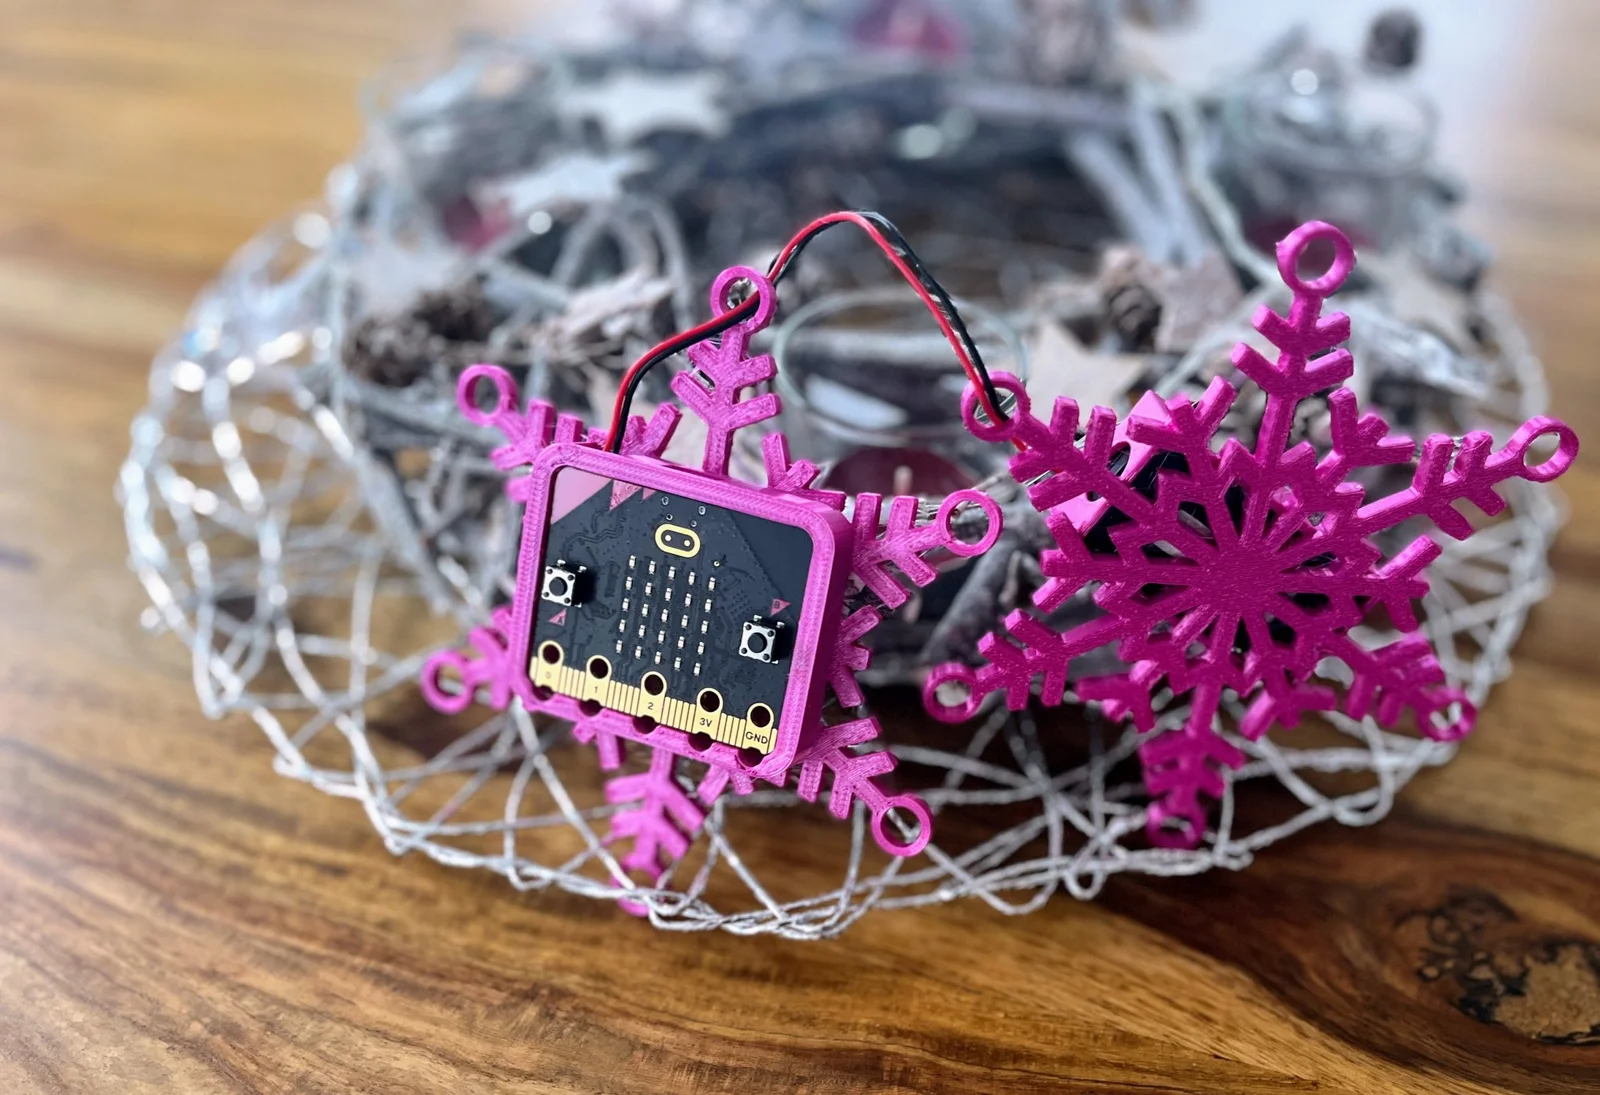
We want to use the Micro:bit for my company's Advent coding. It should also look festive.
Our apprentices will program the Christmas micro:bits with the young people. Let's see what comes out!
I used deleyCON Silk PLA violett with moderate temperatures on my Prusa MINI+:
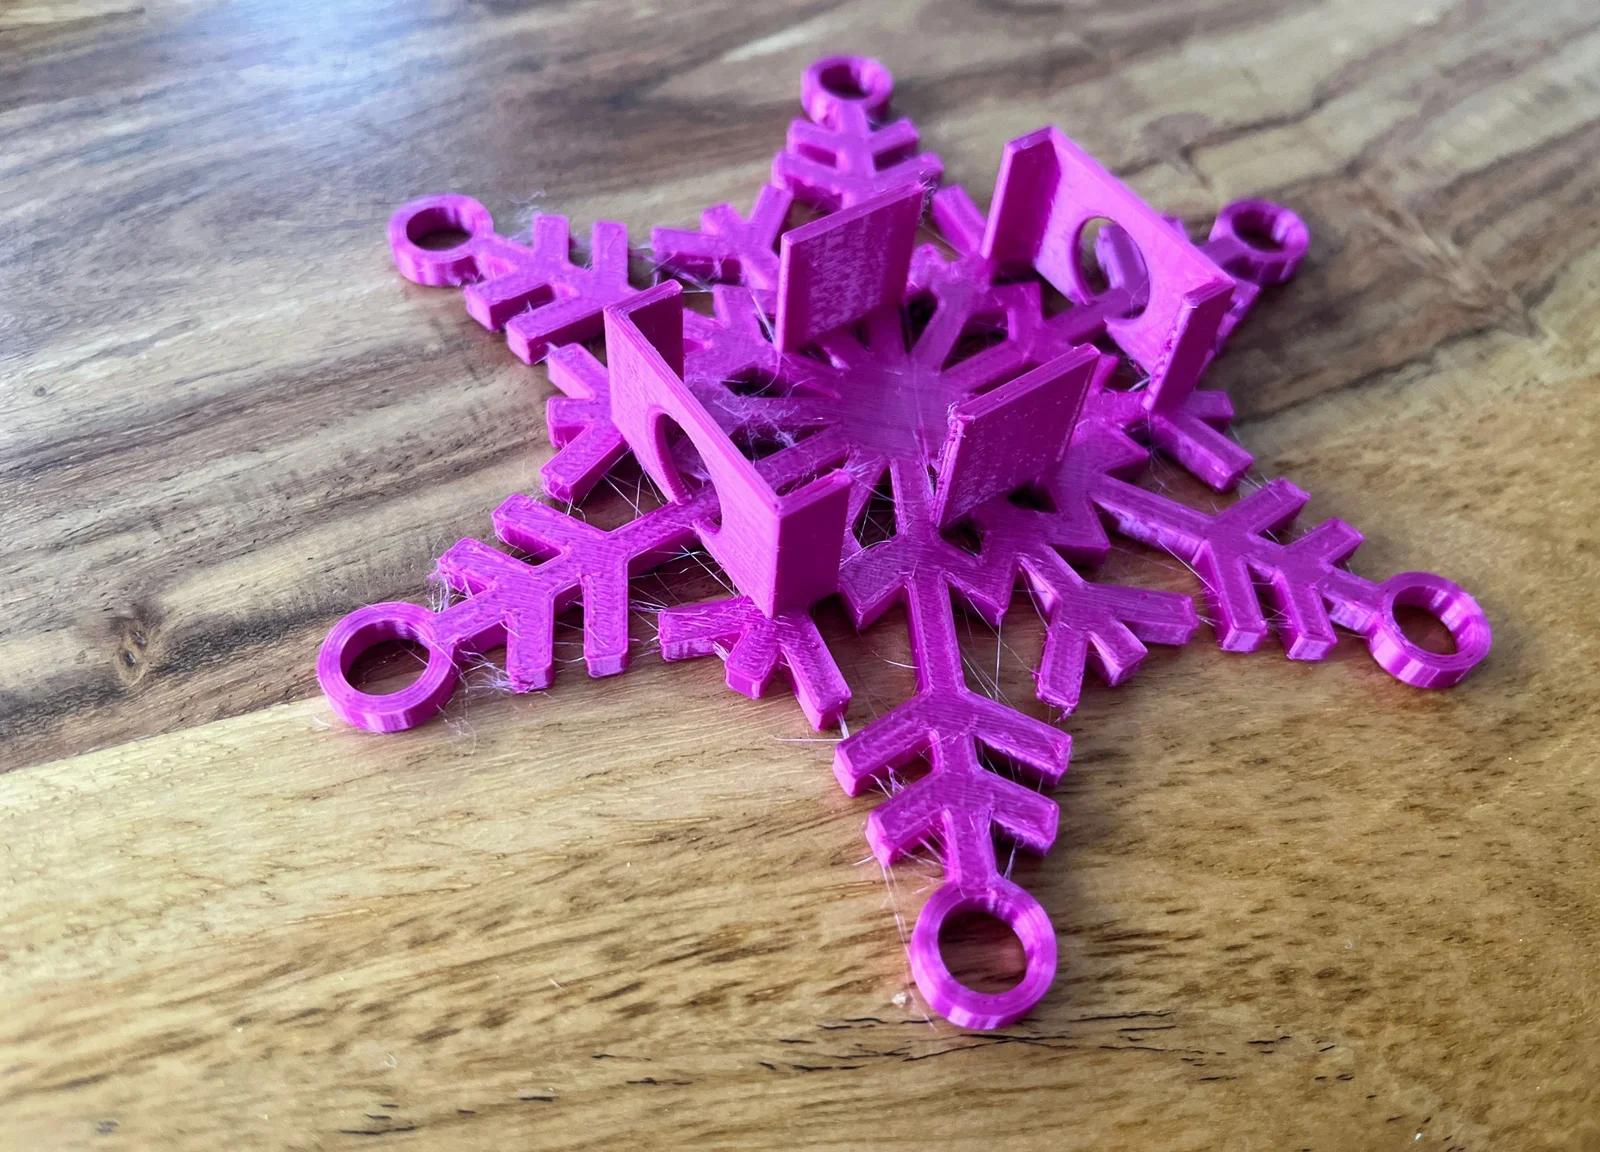
The Micro:Bit can simply be clipped into the holder.
First insert the batteries in the battery pack. Then guide the connection cable through one of the circular openings and carefully push the battery pack into the holder. The battery pack snaps into place and can be easily pulled out again, e.g. to change the batteries.
------
Für das Advents Coding meiner Firma wollen wir den Micro:bit verwenden. Dabei sollte dieser auch adventlich aussehen.
Unsere Auszubildenden werden die Weihnachts-Micro:bits mit den Jugendlichen programmieren. Mal sehen, was herauskommen wird!
Ich habe deleyCON Silk PLA violett mit moderaten Temperaturen auf meinem Prusa MINI+ verwendet:
Der Micro:Bit kann einfach in die Halterung eingeklippt werden.
Beim Batteriepack zunächst die Batterien einsetzen. Dann führt man das Anschlusskabel durch eine der kreisförmigen Öffnungen und drückt vorsichtig den Batteriepack in die Halterung. Der Batteriepack rastet ein und kann auch wieder leicht herausgezogen werden, um z.B. die Batterien zu wechseln.
ByMaxTLikes527Downloads1.7K

 ByCraftswomanczLikes3.8KDownloads15.7K

 ByJaySA121_663828Likes149Downloads1.3K

 ByLucas_396449Likes137Downloads1.3K

 ByTripleGWorkshopLikes49Downloads194

 ByAmalthea_559742Likes125Downloads958

 ByHuMaLikes52Downloads669

 ByBobbyHalen_121490Likes141Downloads606

 ByFlorianProchn_367378Likes180Downloads542

 BymeafdesignsLikes830Downloads2K

 By3DPrintyLikes656Downloads1.9K

 ByMCdeltaT_264915Likes498Downloads424