



Kẹp giữ sợi Filament
 Bytinx_1344834Likes1.2KDownloads6K
Build another version of this model.
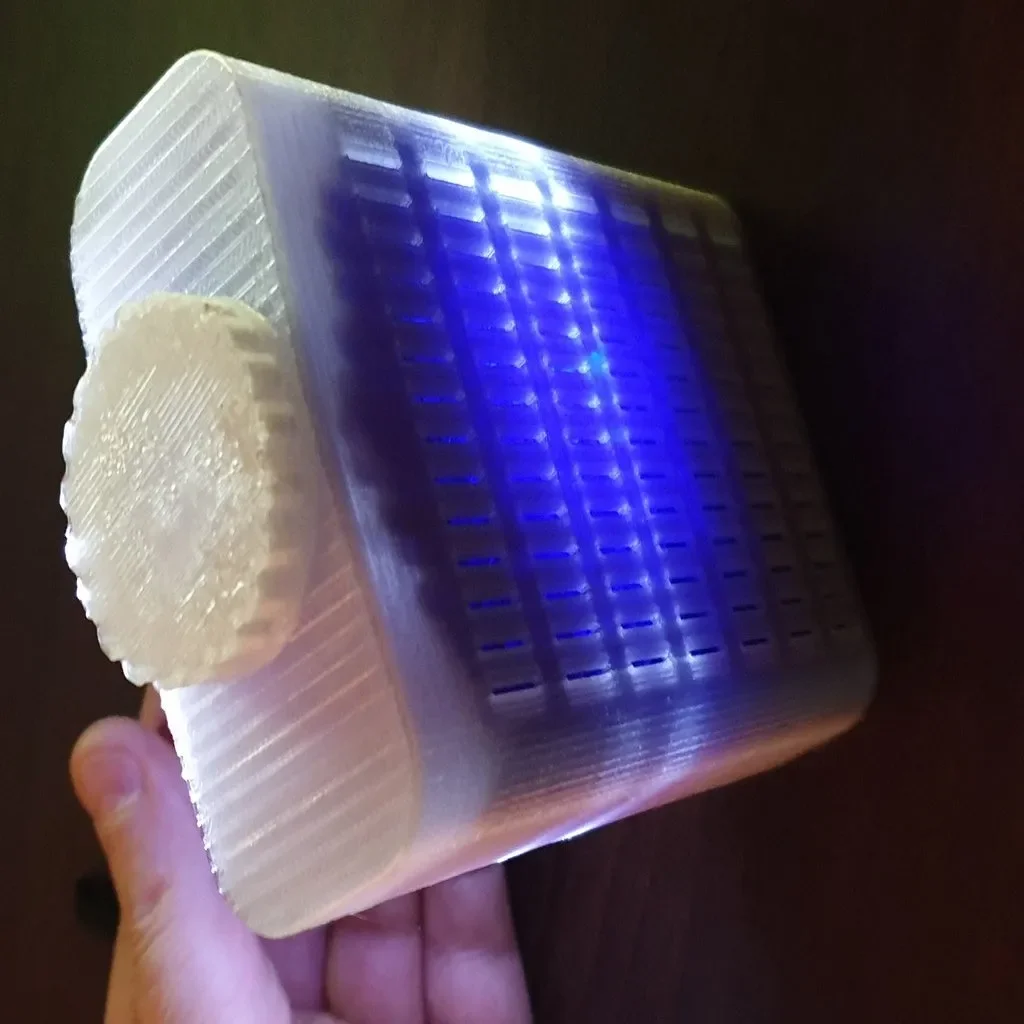
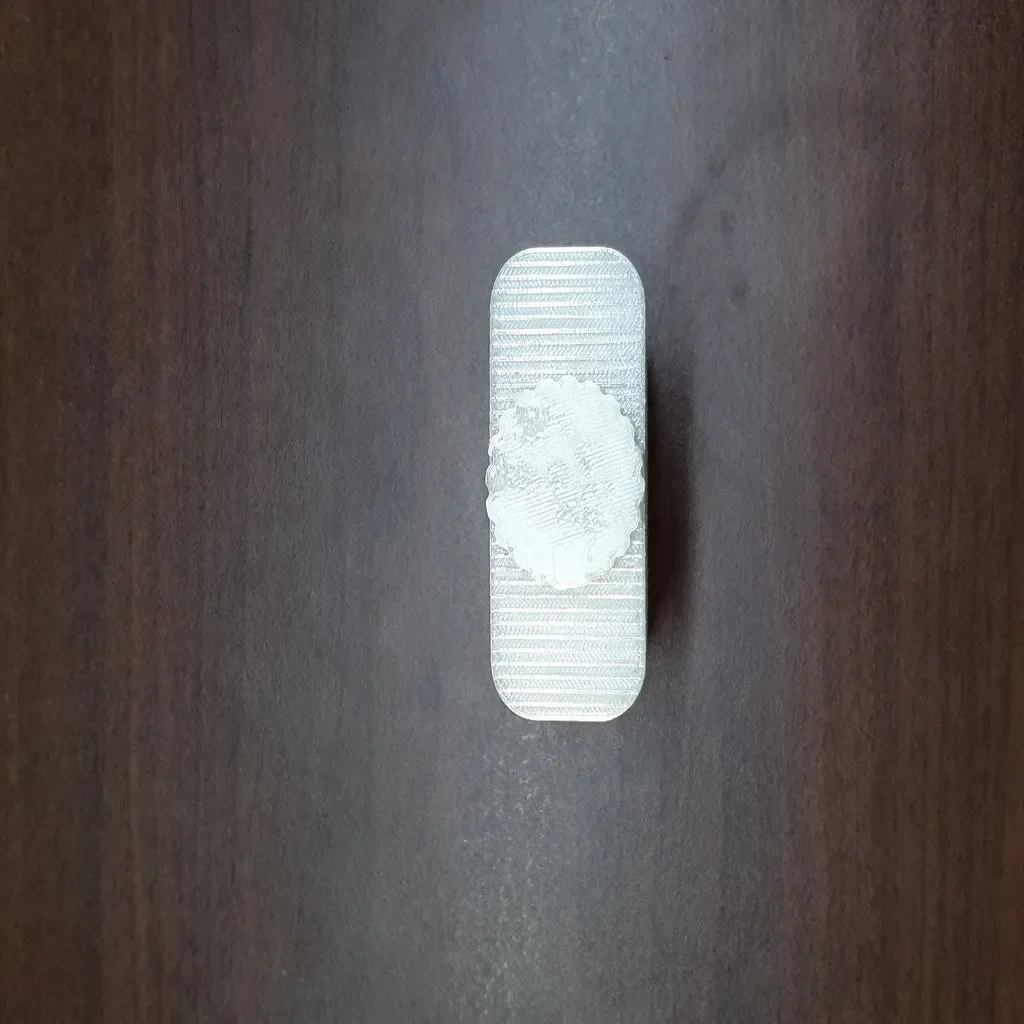
This desiccant box is sized to fit inside a display cabinet so that it is not visible and hides inside in one of the corners. This is effectively a remake of my "Desiccant Container with Screw Cap" - https://www.thingiverse.com/thing:3930740
The screw cap or flask design makes it very easy to change the desiccant.
Do you want to modify a design and don't know how. We can help and often work for free, email us to ask. See the contact details on our webpage.
For more of my designs check out my website: https://3domcontact.wixsite.com/3dom
Don't forget if you print something we have shared, to share your story and photos with us in return.
This desiccant box is sized to fit inside a display cabinet so that it is not visible and hides inside in one of the corners. This is effectively a remake of my "Desiccant Container with Screw Cap" - https://www.thingiverse.com/thing:3930740
The screw cap or flask design makes it very easy to change the desiccant.
Printer Brand: Prusa
Printer: i3 MK3
Rafts: No
Supports: No
Resolution: 0.2
Infill: 20%
Filament: Prusa PETG Transparent
Notes:
Material and colour are not important, but I prefer to use Transparent filament to make monitoring the condition of the beads much easier.
The beads that I buy come Blue and change to a light pink as they get saturated.
Print with the main body standing up and the screw cap with the flat side down. If printed this way I don't use any supports.
There is a single thickness layer that will bridge beneath the hole in the top. This negates the need for supports and ensures a clean start for the hole.
It needs to be removed after printing. I prefer to use a hot sculpt tool which also seals any loose ends.
Bytinx_1344834Likes1.2KDownloads6K

 Bygummiegecko8477Likes0Downloads169

 Bychukwufumnanya-arinzechukwuLikes0Downloads154

 BydalleLikes0Downloads152

 BynasikLikes0Downloads123

 Byarhi_585078Likes64Downloads547

 ByCapitaineBobLikes19Downloads147

 ByHanzo3dLikes155Downloads417

 ByGeek5DLikes147Downloads491

 ByBrokentooth_designsLikes23Downloads412

 Byalexsbot_2498533Likes16Downloads83

 Bycrawler-3903250Likes0Downloads911