



Kẹp giữ sợi Filament
 Bytinx_1344834Likes1.2KDownloads6K
Build another version of this model.
“limit switches parts.3mf” is a ready prepared Bambuslicer-project including supports etc.
If you do not use BambuSlicer, you may use the also included 4 single pieces instead.
You may also have a look at my OnShape-project. Beware: it might be a little messy.
OnShape-project “LimitSwitch”
You need
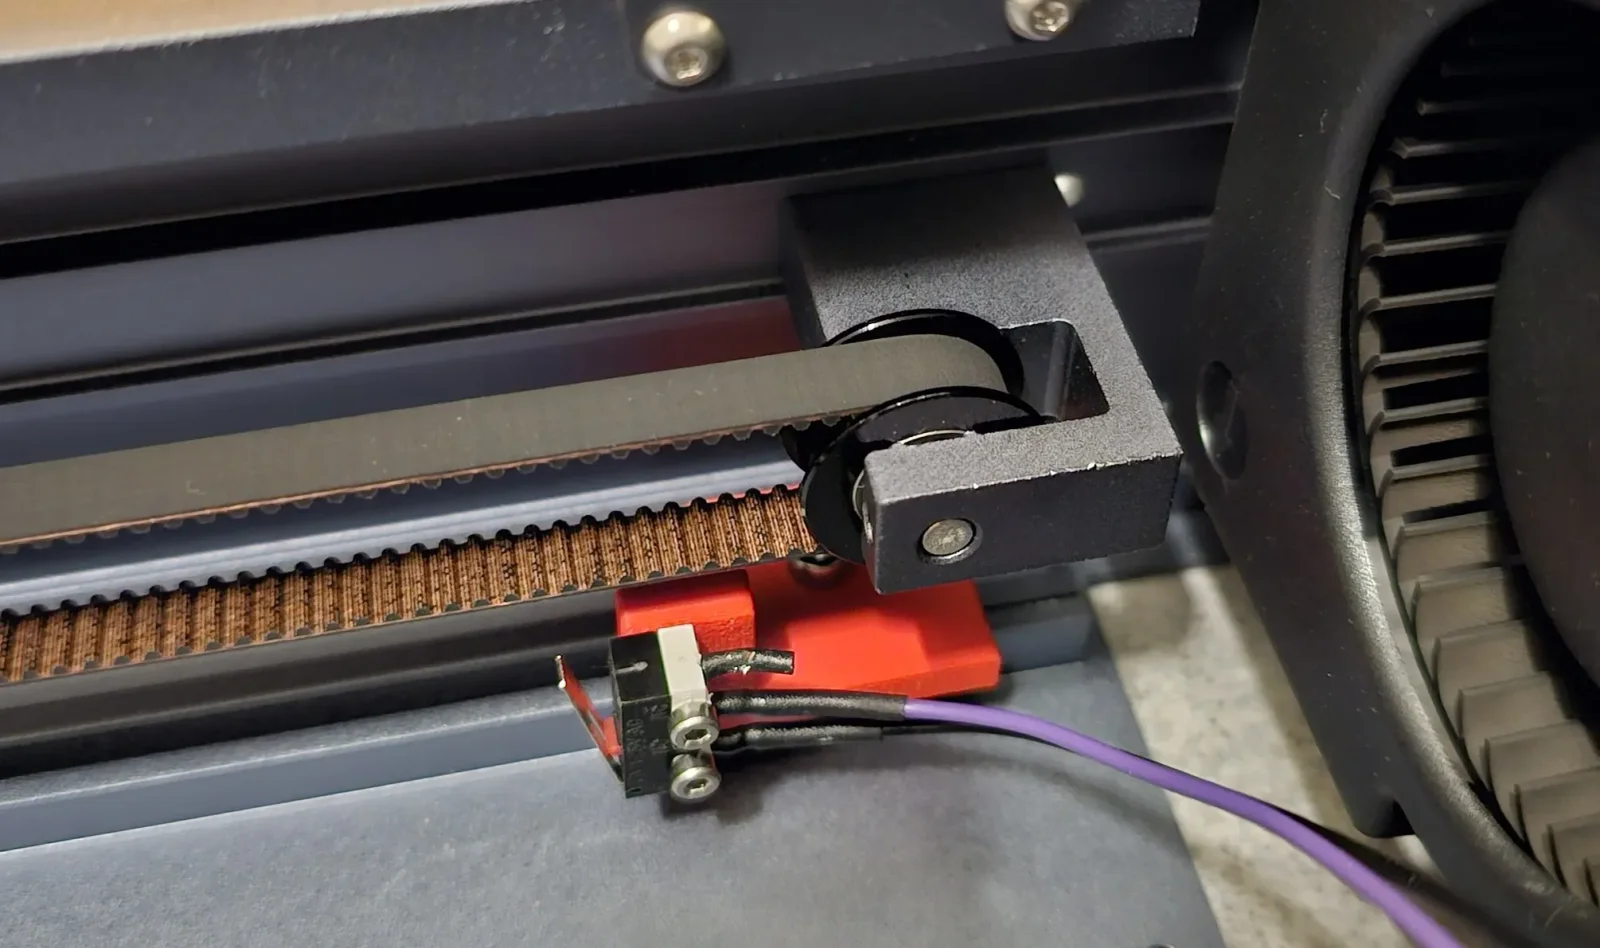
To mount it on the X axis, it is best to remove the gantry. Then you can slide the nut into the v-groove from the side.
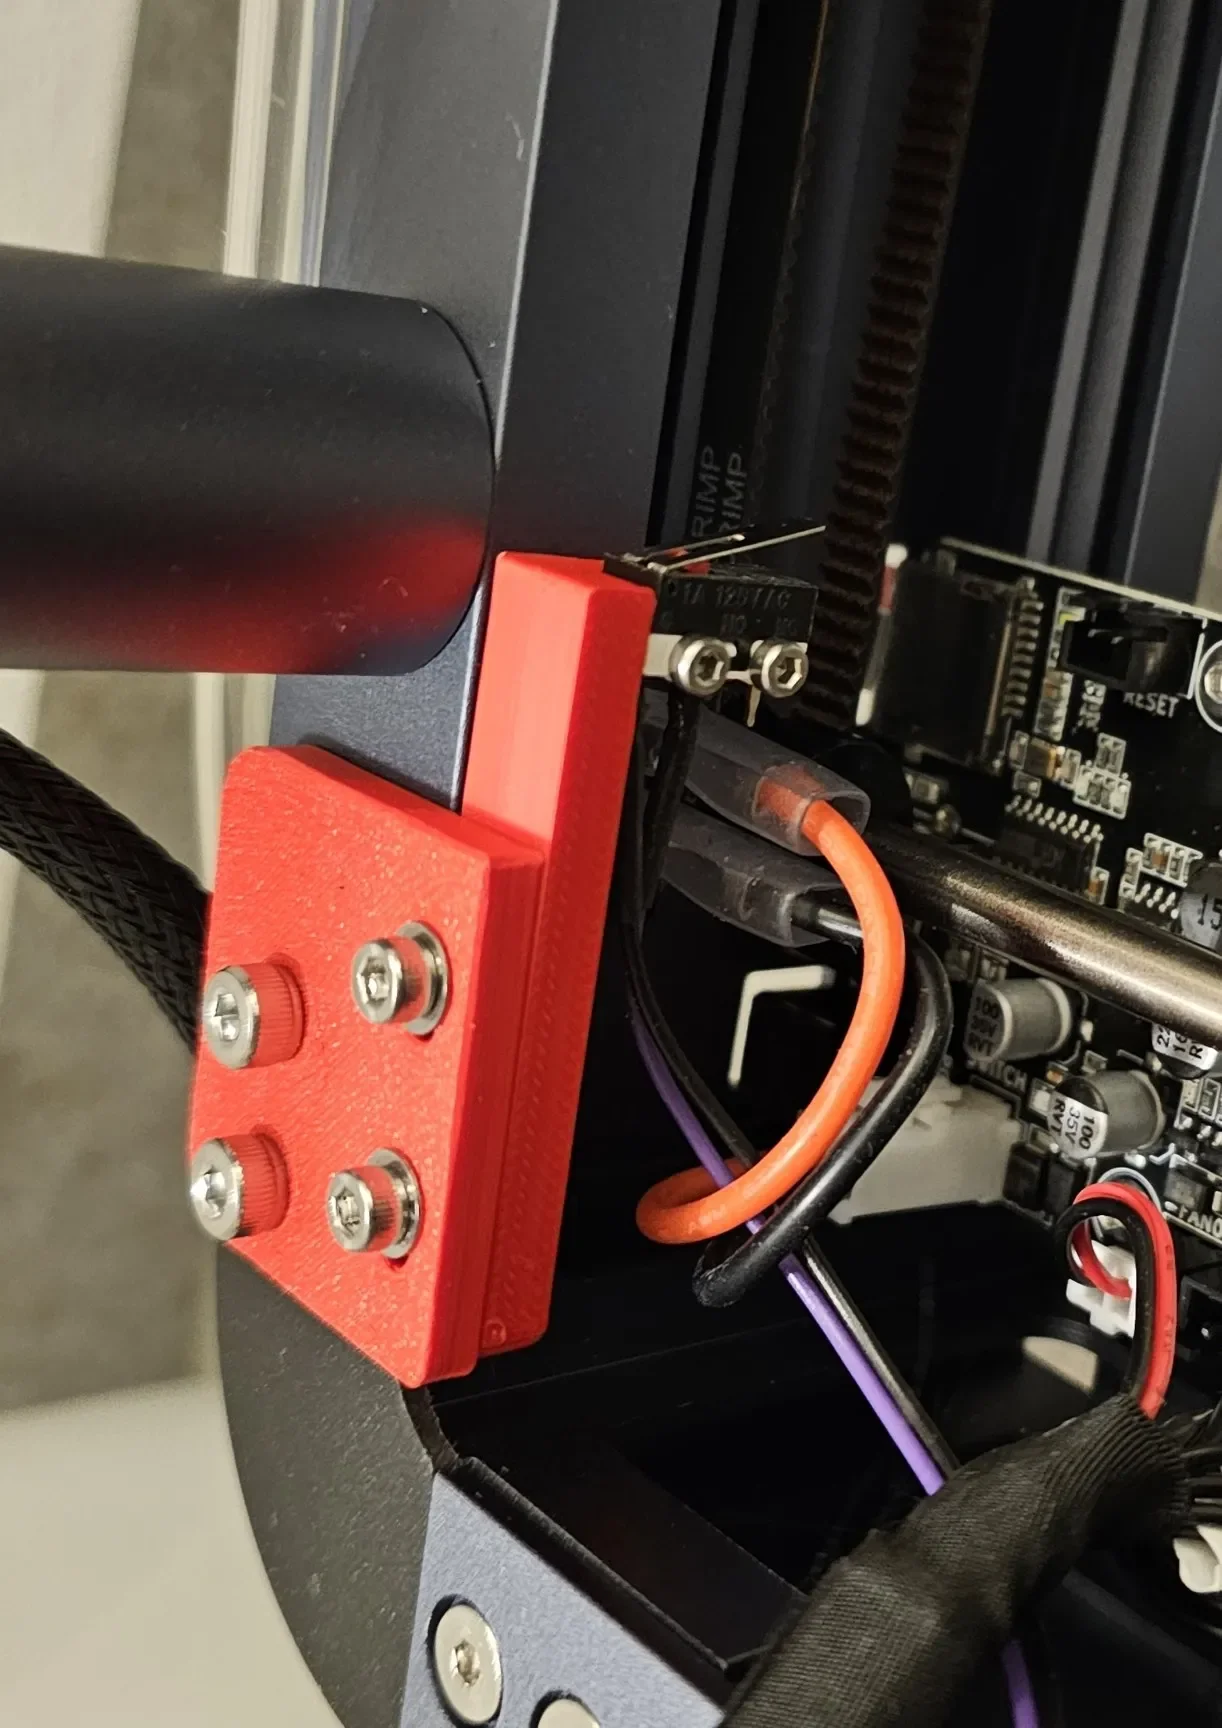
To mount it on the Y axis: remove the 2 screws from the frame under the power on button. Fix plate instead with two M4x12 screws. Fix the microswitch to the L-shaped piece and fix this to the plate.
For the wiring:
I took inspiration from these project. You may find additional information there:
Bytinx_1344834Likes1.2KDownloads6K

 Byla-cave-au-chatLikes0Downloads967

 Byprusa-researchLikes0Downloads2.7K

 Byarhi_585078Likes64Downloads542

 ByHanzo3dLikes155Downloads415

 Bypedro-schattanekLikes0Downloads251

 BydarienLikes0Downloads1K

 ByGeek5DLikes147Downloads487

 ByBrokentooth_designsLikes23Downloads410

 Bycrawler-3903250Likes0Downloads907

 ByvertigomakesLikes0Downloads563

 ByWyomingWolf_261196Likes52Downloads431