




CORE One/+ INDX printed parts
 Byprusa-researchLikes0Downloads2.7K
Build another version of this model.
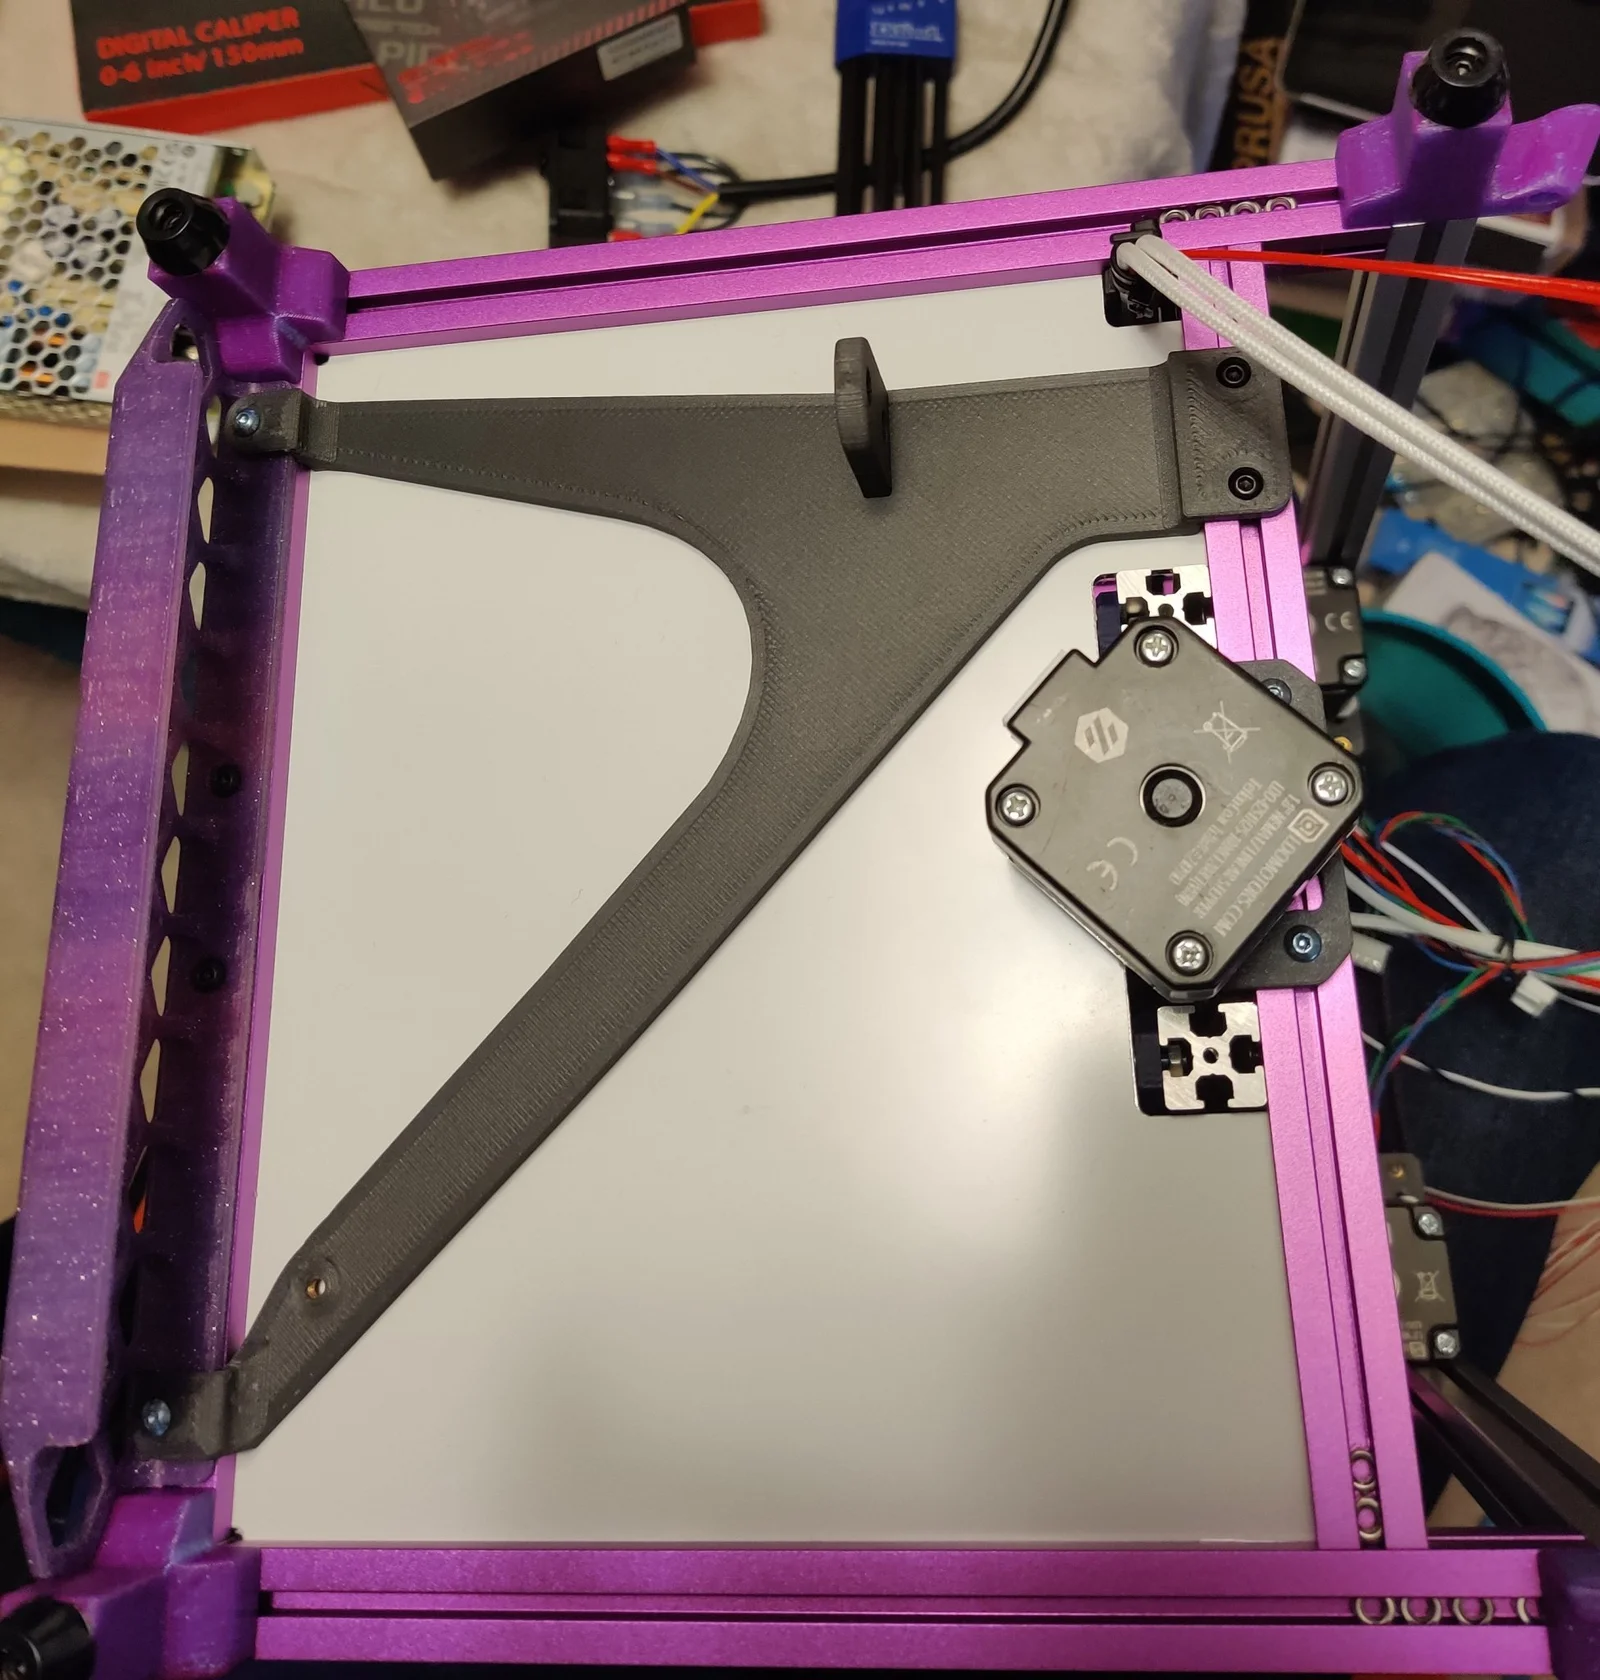
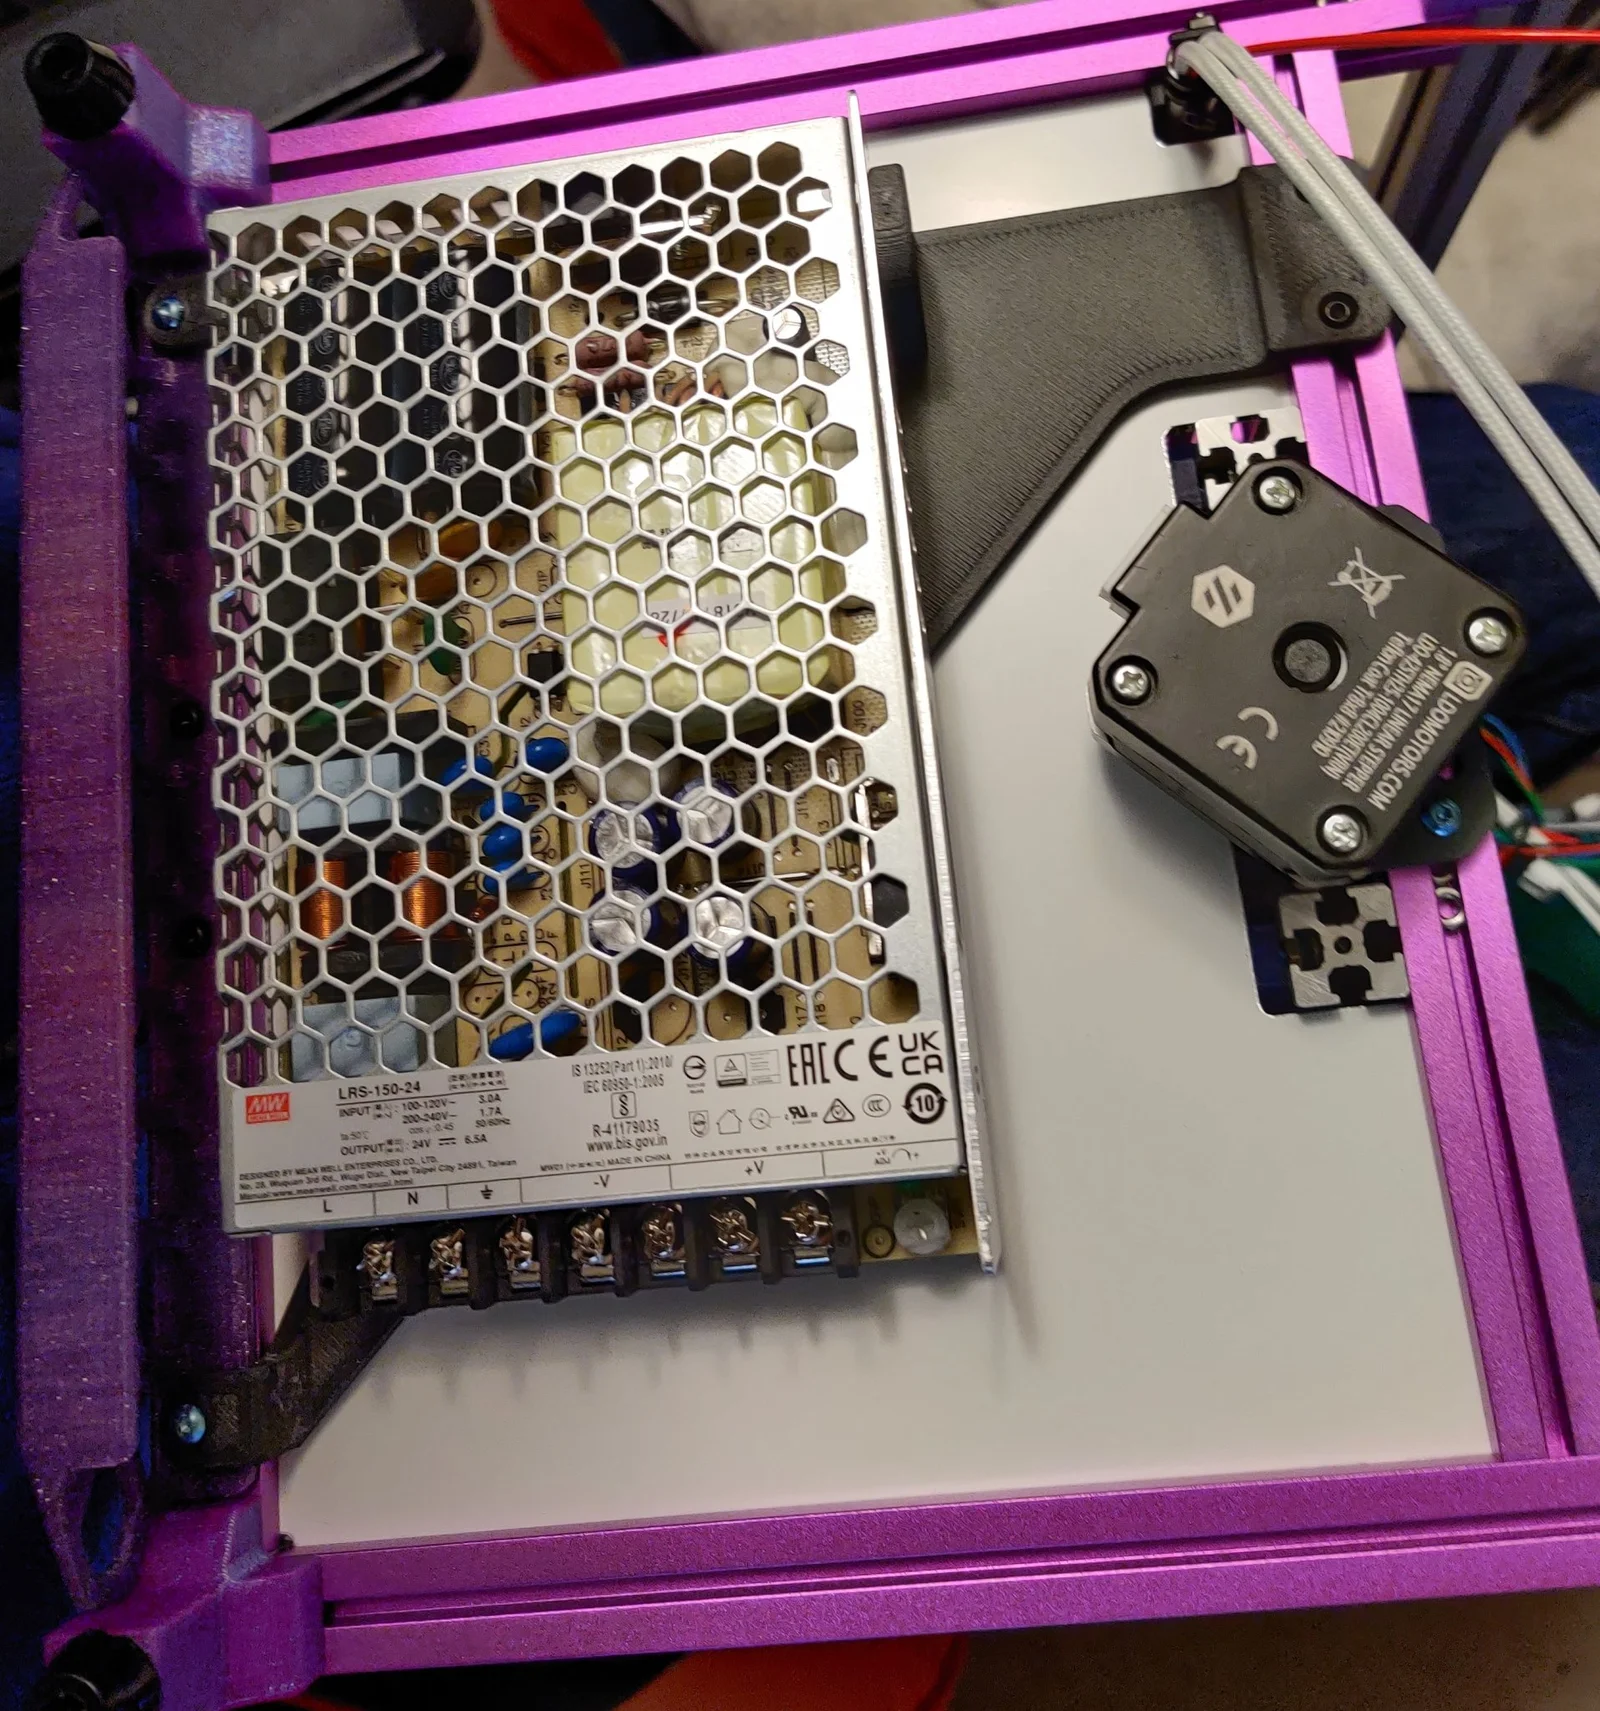
This is a bracket adapter for mounting a Meanwell LRS-150-24 power supply to the bottom of a Voron0.1 or Voron0.2 3d printer. It isn't that I distrust modern adhesives, I just might want to replace the power supply one day and I don't want to deal with adhesives if I ever do. I uploaded two versions with different sized threaded insert holes.
On my Voron0.1 I wasn't planning to install a DC/DC buck converter onto my printer so I had free space on the printer to use for the bracket. If you do plan to use the buck converter it may be possible to just mount it on top of the bracket with some extra long screws (assuming you remember to load extra nuts in that piece of extrusion). I may add another version that has holes that line up with the buck converter mounting holes if there is some interest. The Voron0.2 doesn't use the buck converter and I believe I left space for the fan that cools the Raspberry Pi, let me know if I didn't leave enough space.
Hardware:
5x M3 6mm screws
2x M3 10mm screws
2x M3 nuts
1x Threaded insert
I have four models since there are two different sized holes (4.1 or 4.6 mm) for heat set inserts for each model of Voron (0.1 or 0.2). The heat set inserts I had needed a 4.1 mm hole whereas the normal Voron designs use a 4.6 mm hole.
Printing: I used Prusa carbon fiber polycarbonate blend filament for my bracket because it is super durable and doesn't warp hardly at all, which is important for a large flat print like this. I also had to use supports as I didn't see a clever design trick to avoid them. The current default slicer settings worked flawlessly for me, though, and I was able to break most of the supports off cleanly by hand. It was pretty painless.
Update 3/25/23: I just added two more files for brackets that should fit a Voron 0.2. The bracket should still clamp on top of the front bottom skirts. It might not be the cleanest looking thing, but it should fit. If you noticed I keep using the word “should”, it's because I don't have a Voron 0.2 built so I haven't tested the fitment. Please let me know how it goes if you print the 0.2 version and if I need to make changes to the files. Also, you will need to capture two extra nuts in the bottom extrusion (the one the z motor bracket mounts to) so make sure you do that in the course of your build because it will probably be a pain to do once you are to the point that you are mounting the PSU.
Update 11/8/23: I uploaded a new version of the bracket that will mount flush to the frame, for those people who will not be using the front skirting. There are two for different sizes on the heat set insert, just like the other files.
Byprusa-researchLikes0Downloads2.7K

 Bytinx_1344834Likes1.2KDownloads6K

 ByPrintStructorLikes0Downloads131

 BydarienLikes0Downloads1K

 Byla-cave-au-chatLikes0Downloads965

 ByvertigomakesLikes0Downloads562

 By3DPrintDemonLikes0Downloads326

 Bychris-hillLikes0Downloads261

 Bypeter-van-der-waalLikes0Downloads254

 ByhumebeamLikes0Downloads128


 ByAnthonyDouri_1604724Likes24Downloads224