
Ender 3 V3 SE - Thanh đèn Creality (Nâng cấp)
- Downloads
- 219
- Likes
- 27
- Views
- 2,187
- Remixes
- 1
- Comments
- 10
Files 2 165.6 KB
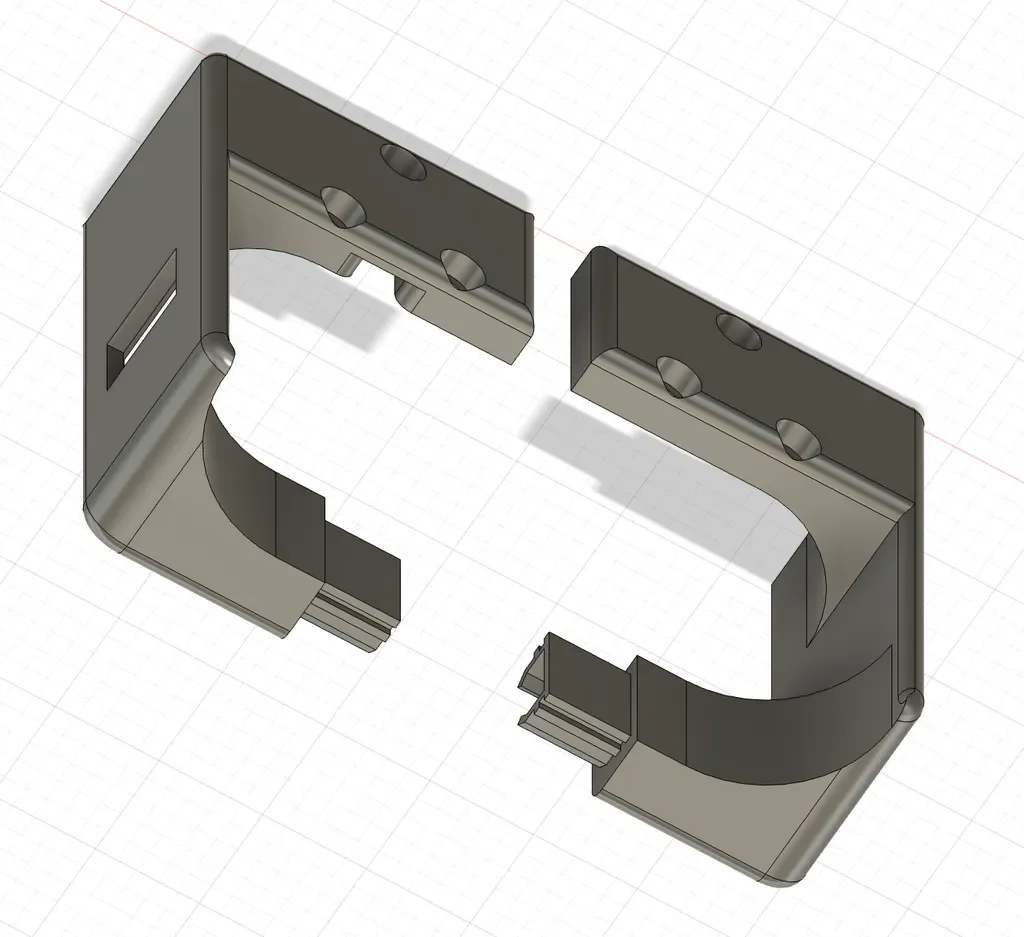
- Left_Bracket_Retrofit_1765689916.stlSTL · 91.5 KB
- Right_Bracket_Retrofit_1765689917.stlSTL · 74.1 KB
Make a variant with AI
Build another version of this model.
Remix versions 1
See all 1 remixDetails
- Model ID
- #60733
- Category
- Ý Tưởng Khác
- Published
- License
- GNU General Public License v2.0
Description
NOTE: My Thingiverse imports duplicated this entry with updates. Go here (https://www.printables.com/model/590337-ender-3-v3-creality-light-bar-retrofit) for the more updated models for both the V2 and S1 light bars.
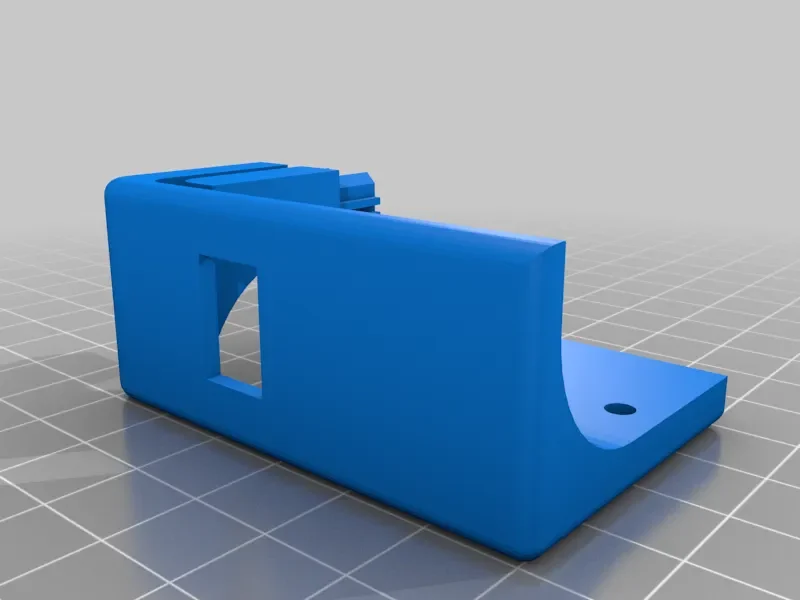
This set of brackets allows mounting the official Creality Light Bar kit to your Ender 3 V3 SE printer (tested here on my SE version). Find this item on Amazon for as cheap as $20.
The frame of this printer is much lighter than the V2 and contains no v-slots for hiding cables.
But there's a hidden trick!!
The vertical frame channels are hollow inside. As luck would have it, the left-hand channel also has a hole pre-cut underneath the printer base for pulling wires through. The only catch: there isn't a hole in the top of the frame.
Before you continue: note that you WILL be drilling a hole in your brand new printer for this installation.
If you're still here and want to continue, then do so at your own risk. These steps are really simple though. I took snapshots of each step, so refer to those as you proceed
Bracket Assembly
- Print out both brackets. No need for supports on either one, but print them on end (the side that will be facing outward
- Remove the 3 screws from the top of the frame, starting on the right side
- Place the bracket in place and use the original screws to mount the bracket in place. The screws should counter-sink into the bracket, just don't over-tighten
- Remove the screws from the left-side bracket and set them aside for now
- Drill a small hole in the top frame bar, very near the front, and in between the 2 screws.I used a 1/4 inch bit
- Push the cable from the light bar kit down into this hole in the top frame bracket
- Remove the switch from the original light bar bracket. Use a small screwdriver to pop it right out. Push the switch into the new bracket you just printed and install the push connectors
- After connecting to the light bar, push the bar onto the brackets and re-mount the left side bracket with the original screws
Wiring Connections
- Remove the power cord from the printer to avoid shock
- Flip the printer on its side and remove the screws from the bottom panel. Pull the panel down carefully as the wiring cable is slid into the panel
- Find the positive/negative power connections on the main control board. These should be standard red/black. The bed power cables are labeled as such. Do not use these 2 terminals.
- Loosen the screws and push the ferrules from the light bar wires into the positive/negative terminals (or crimp/splice/solder together if you prefer)
- Screw the bottom panel back on, making sure not to pinch the wiring cables
And you're done!
Print Settings
Printer Brand:
Creality
Printer:
Ender-3 v2
Rafts:
No
Supports:
No
Resolution:
Standard - 0.02mm
Infill:
20%
Filament: Creality PLA Any
Notes:
Slice the brackets on end to print with no support. By "ends" I mean the side that will be facing outward once installed.
Category: 3D Printer Parts
Print spec
- Formats
- stl
- Model files
- 2
- Total size
- 165.6 KB
- Largest file
- 91.5 KB