



Tay nắm cửa cho bộ khung Prusa IKEA LACK V2 từ 3D Sourcerer
 By3DSourcererLikes48Downloads382
Build another version of this model.
[UPDATE: October 1, 2020]:
I uploaded a zip-file, which contains the .f3d and .step files for your convenience. Just delete the stl extension from the filename.
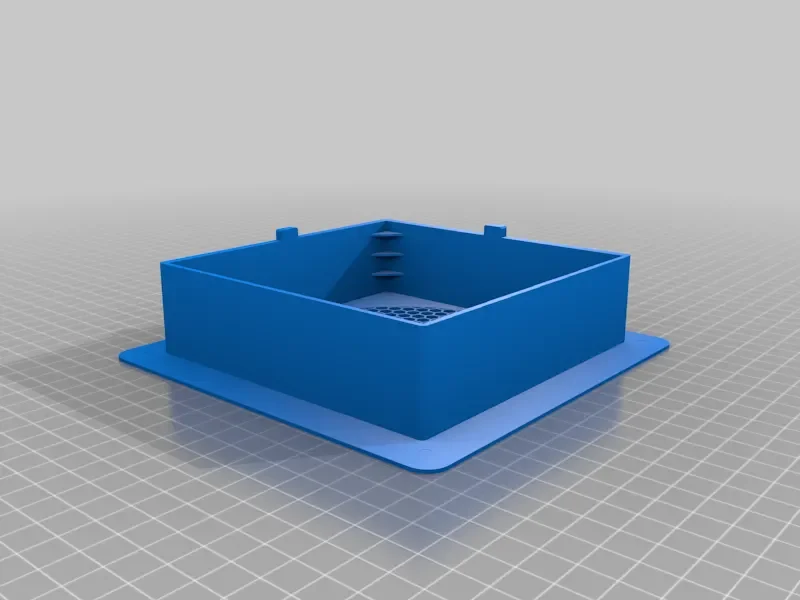
This is a remix of the 120mm fan duct from moriaty_ (https://www.thingiverse.com/thing:4495123). Credits to him!
I use this duct for my Noctua NF-A12x25 5V PWM, which I temperature control by a BM280 sensor connected to Octoprint with Enclosure plugin.
Here is also my housing I use for the sensor https://www.prusaprinters.org/prints/117037-lack-bme280-sensor-mount-for-ender-3
I took the design and made some adjustments to fit my needs:
*IMPORTANT: I extruded the inner distance from 50mm to 60mm due to the +10mm of the suspended ceiling. If you want to use my design, then please take this into account. Thanks!
Printer Brand:
Creality
Printer:
Ender 3 Pro
Rafts:
No
Supports:
Yes
Resolution:
0.2
Infill:
20%
Filament:
[
Notes:
The supports are recommended for the top part to hold the corners for the filters. I used tree supports in Cura as they were easier to remove.
To cut out the holes cleanly I used a Multi-Cutter from Bosch.
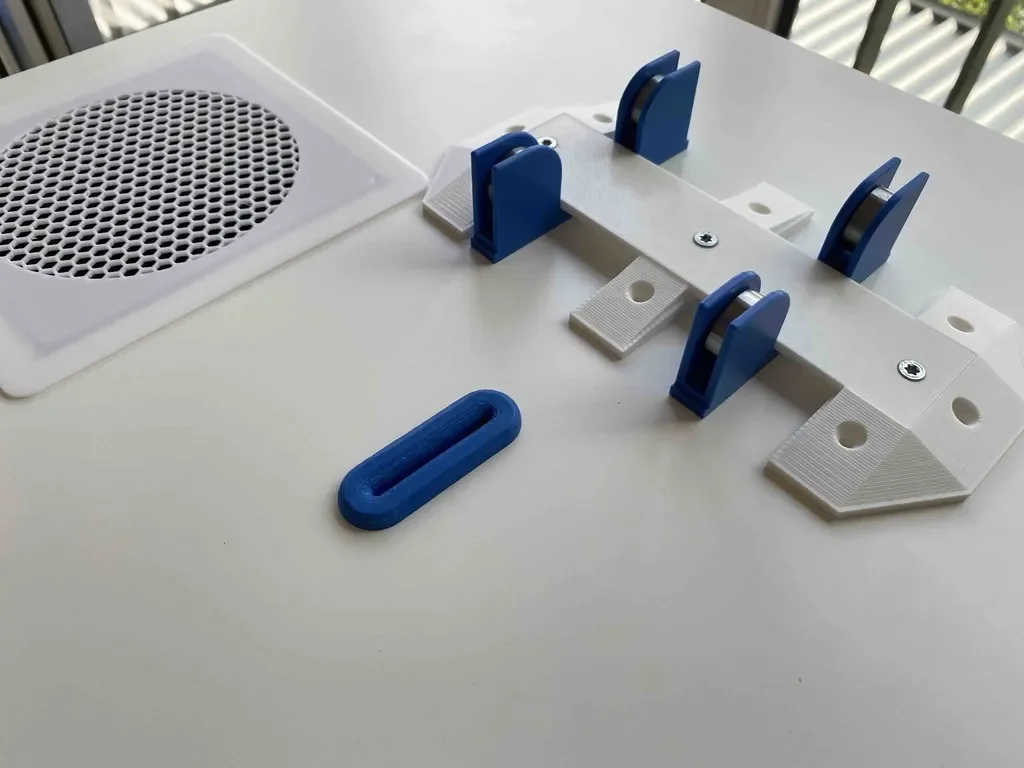
To mount lower part I used 4 x 4x20mm SPAX screws.
Cut-out for bottom part
Cut-out for top part
Imported the original STL to Fusion 360, converted it to BRep and re-designed it.
If you like my stuff then please leave a 👍 and post a make. Thanks!
By3DSourcererLikes48Downloads382

 Bytinx_1344834Likes1.2KDownloads6K

 Bygummiegecko8477Likes0Downloads171

 Bychukwufumnanya-arinzechukwuLikes0Downloads155

 BydalleLikes0Downloads153

 BynasikLikes0Downloads125

 Byenrico-galluzzoLikes0Downloads198

 Byarhi_585078Likes64Downloads547

 ByHanzo3dLikes155Downloads417

 ByGeek5DLikes147Downloads491

 ByIangenuityLikes0Downloads8
