



Bộ sưu tập 11 nhân vật mô hình Mecca Chameleon in 3D vui nhộn
 ByZED4EverLikes313Downloads5.2K
Build another version of this model.
Info
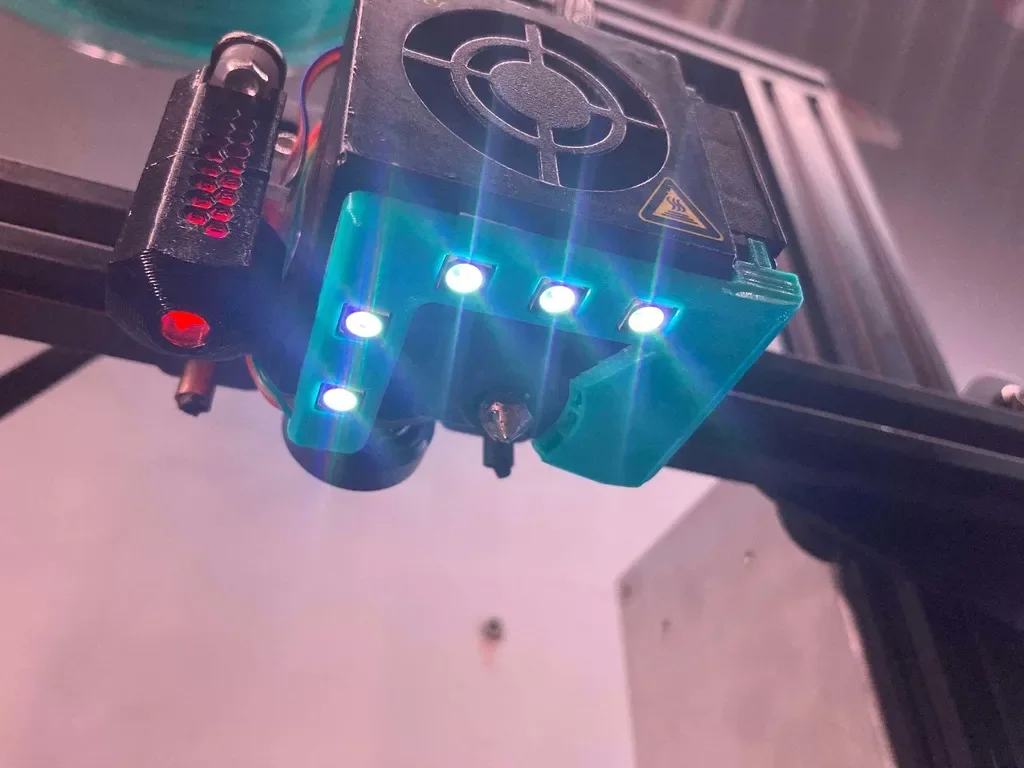
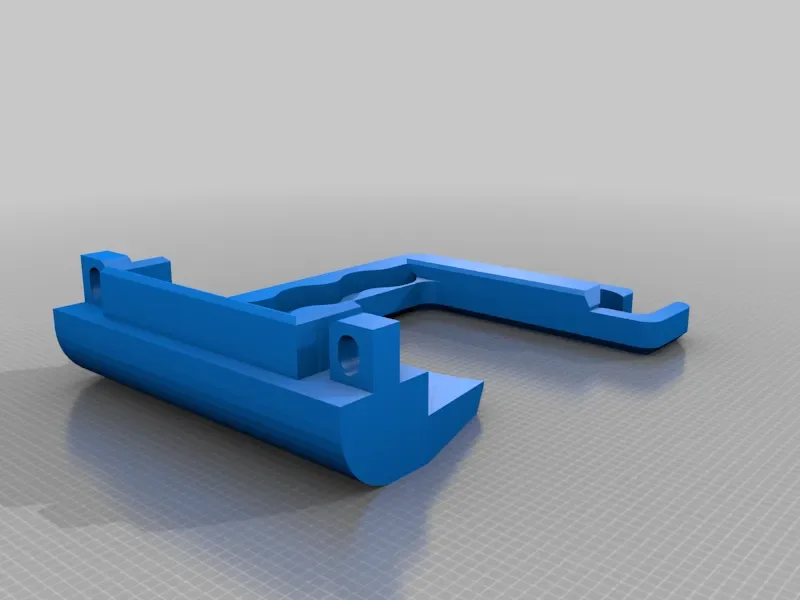
This is a part cooling system made by this guy along with my approach on hotend Neopixels.
You will need
Installation
Firmware
Designed in
Firmware
Hardware
Printer Brand:
Creality
Printer:
Ender 3 Pro
Rafts:
No
Supports:
No
Resolution:
0.2
Infill:
25%+
Filament: Devil's Design PLA, ABS, PETG Black
Category: 3D Printing
ByZED4EverLikes313Downloads5.2K

 ByBasementLABLikes888Downloads1.5K

 Bydan-sabauLikes0Downloads2.5K

 ByLadyCamille_261526Likes41Downloads190

 ByleonicLikes0Downloads1.4K

 ByEduardoGomes_515288Likes14Downloads197

 ByGradyEnglish_575309Likes30Downloads115

 ByfifindrLikes500Downloads4K

 ByVC_DesignLikes679Downloads3.6K

 ByDan Schwartz SchwartzLikes744Downloads3.4K

 Byvc-designLikes0Downloads3.2K

 Bythorin-oakenshieldLikes0Downloads529