

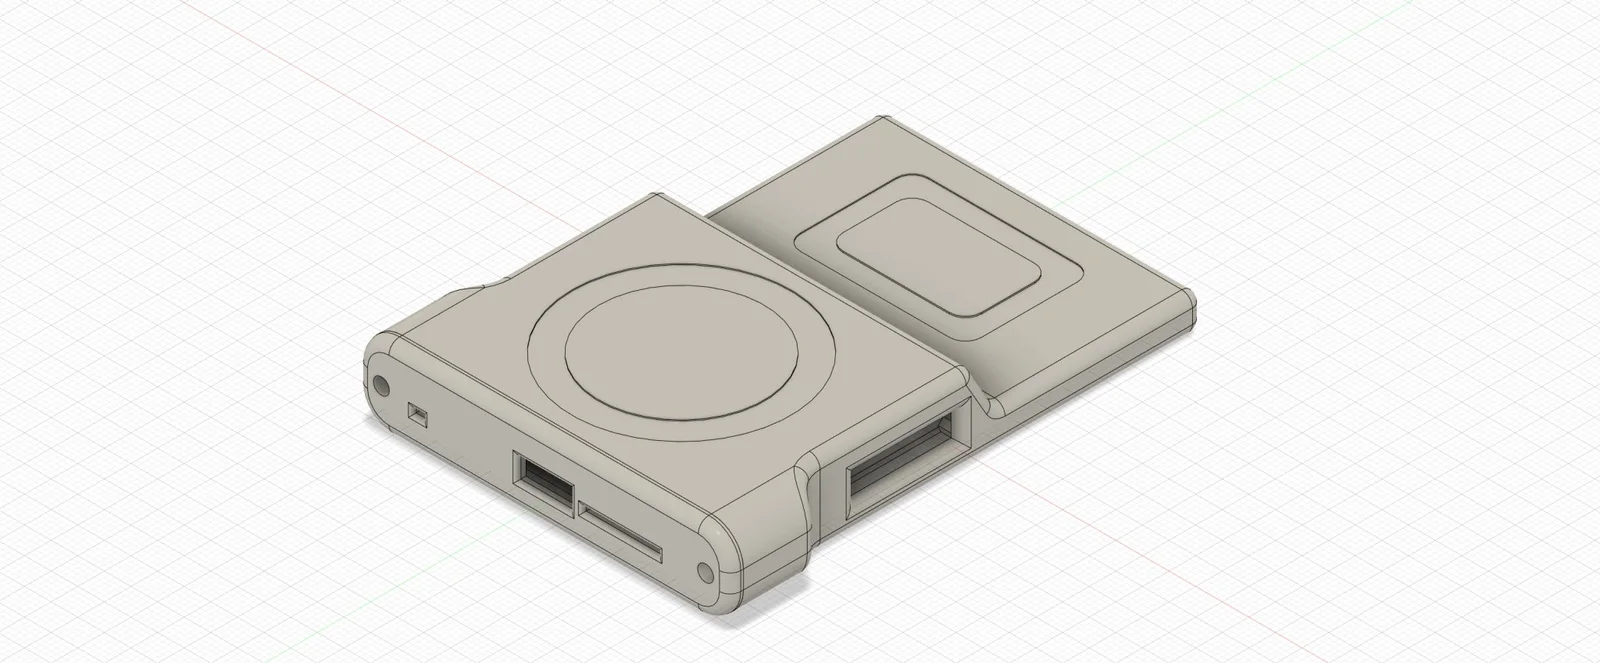
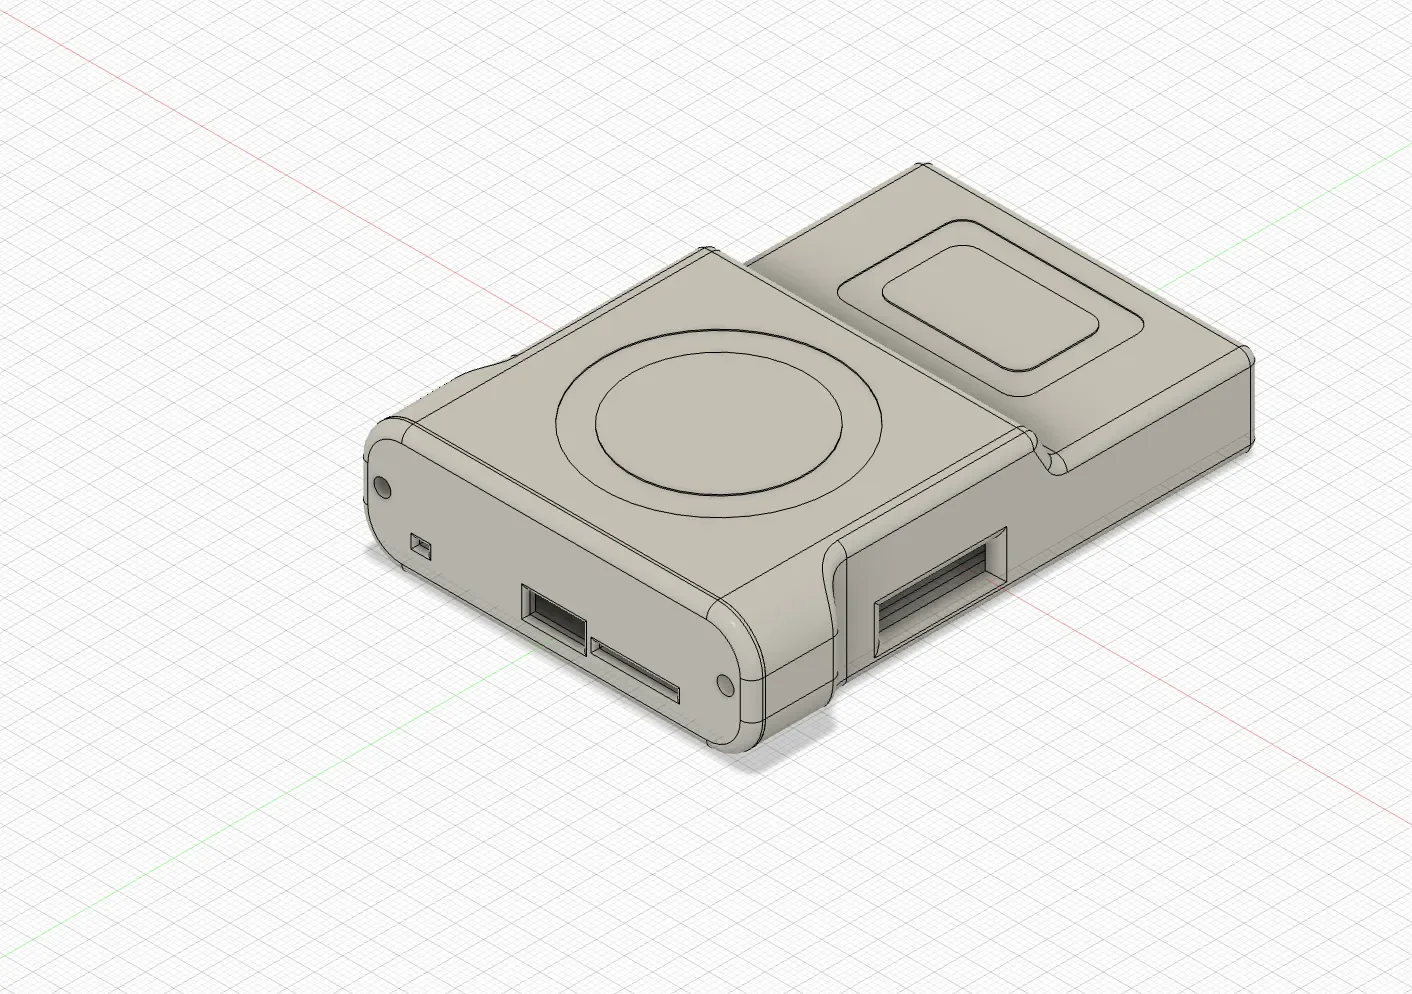



Ốp lưng cho Samsung S22 Ultra
 ByckthLikes148Downloads2.4K
Remix of Vỏ bảo vệ Proxmark3 Easy Slim vừa vặn như găng tay By MakenModify_170962
Build another version of this model.
Though by design in order to keep bulk and weight to a minimum, the original model was quite flimsy and susceptible to breakage (especially when interacting with the button).
Note: There are two versions of the “Slim” case that accommodate different revisions of the Proxmark3 Easy board. See the update below.
This version:
There's a bonus slim version, which requires you to remove the middle circuit board (which serves no function) and the two screws and mounting posts nearest to the HF antenna end. BE CAREFUL WITH THIS ONE -it's a really tight fit, and could end up being a one-way transaction when it comes to inserting your Proxmark. You may have to cut it out if you wish to remove it, or you may have some luck pulling at one of the board spacers with some pliers. To use the slim version, you have to leave the rear screws and posts out completely.
Print with a 0.4mm nozzle. For the main body, print standing on its open end. For the lid, print on its face.
The lid can be affixed with 2xM3x8 bolts
Update 9th December 2024:
I had to buy a new Proxmark3 Easy, which has a slightly different PCB design to my last version. This meant the case no longer fit. I've added a new variant of the “slim” model that works with this new case. You'll know which one you need based on the USB port layout. If your button and side USB port are next to each other, you need the original version. If there is a large gap between the button and side USB port, you'll need the new version. The only downside of the new version is that you can no longer access the side USB port - it's too close to the front edge of the board to make a cutout for it without affecting the functionality and aesthetics of the case.
Others had been asking for this revision, so: Merry Christmas.
ByckthLikes148Downloads2.4K

 BynasikLikes0Downloads276

 ByftoerringLikes79Downloads189

 ByFosphorLikes20Downloads240

 ByJaronLikes310Downloads1K

 Byw3rN42Likes127Downloads938

 ByjatinLikes0Downloads147

 ByrmeyLikes0Downloads210

 By3dwakeLikes0Downloads361

 ByDiscotehkLikes35Downloads158


 ByjoranLikes0Downloads215