




New
SolderMate - Fully 3D Printed Desk Soldering Companion
 ByleonicLikes0Downloads1.4K
Build another version of this model.
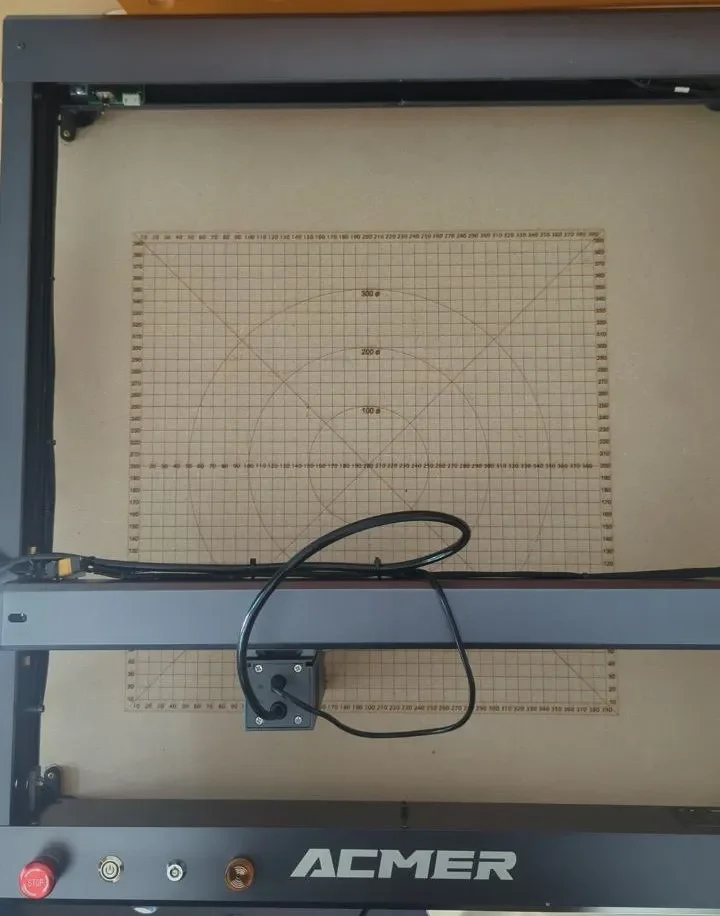
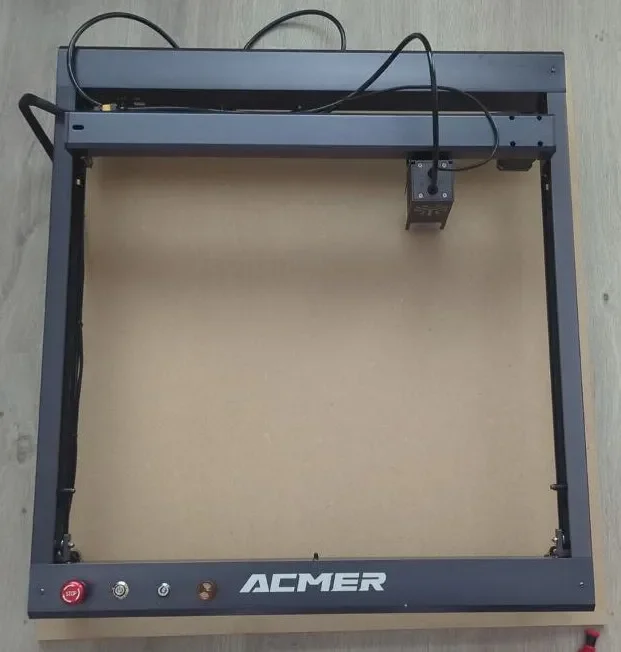
A friend of mine wanted to build his own base plate for the ACMER P2 laser engraver. I designed these positioners which allow a separation of base plate and laser engraver for better storage and flexible use. The positioners allow the printer to be aligned with high repeatability on the base plate.
The positioners are supposed to fit the original ACMER risers I linked below. Alternatively you can print risers yourself, which are provided by the user @Les impressions D'ega:
https://www.printables.com/model/614031-risers-50-mm-acmer-p2-module
Original risers (Please measure your risers to check the fit):
The grid shown on the images is provided by the Youtuber Gipfelholz.
Channel:
https://m.youtube.com/channel/UCcsYNmZAtStYBq_1e1lpB1g
Grid:
https://werkzeugshop.gipfelholz.de/wp-content/uploads/2022/07/Laser-Gitter-400x400-1.zip
I would be happy to see some of your makes posted :)
Source files in the Alibre Atom format is available but the website does not allow the upload. If you need it send me a message.
ByleonicLikes0Downloads1.4K

 ByfifindrLikes500Downloads4K

 ByVC_DesignLikes679Downloads3.6K

 ByDan Schwartz SchwartzLikes744Downloads3.4K

 Bychubbs8697_2027893Likes585Downloads1.7K

 Byquibeck_3353173Likes965Downloads1.9K

 ByRungeKuttaLikes229Downloads1.2K

 ByJeremyVillalo_760366Likes68Downloads767

 ByZED4EverLikes313Downloads5.2K

 Bykjus_448782Likes314Downloads674

 ByelitailLikes0Downloads130

 ByvadimsLikes0Downloads120