



Ốp lưng cho Samsung S22 Ultra
 ByckthLikes148Downloads2.4K
Build another version of this model.
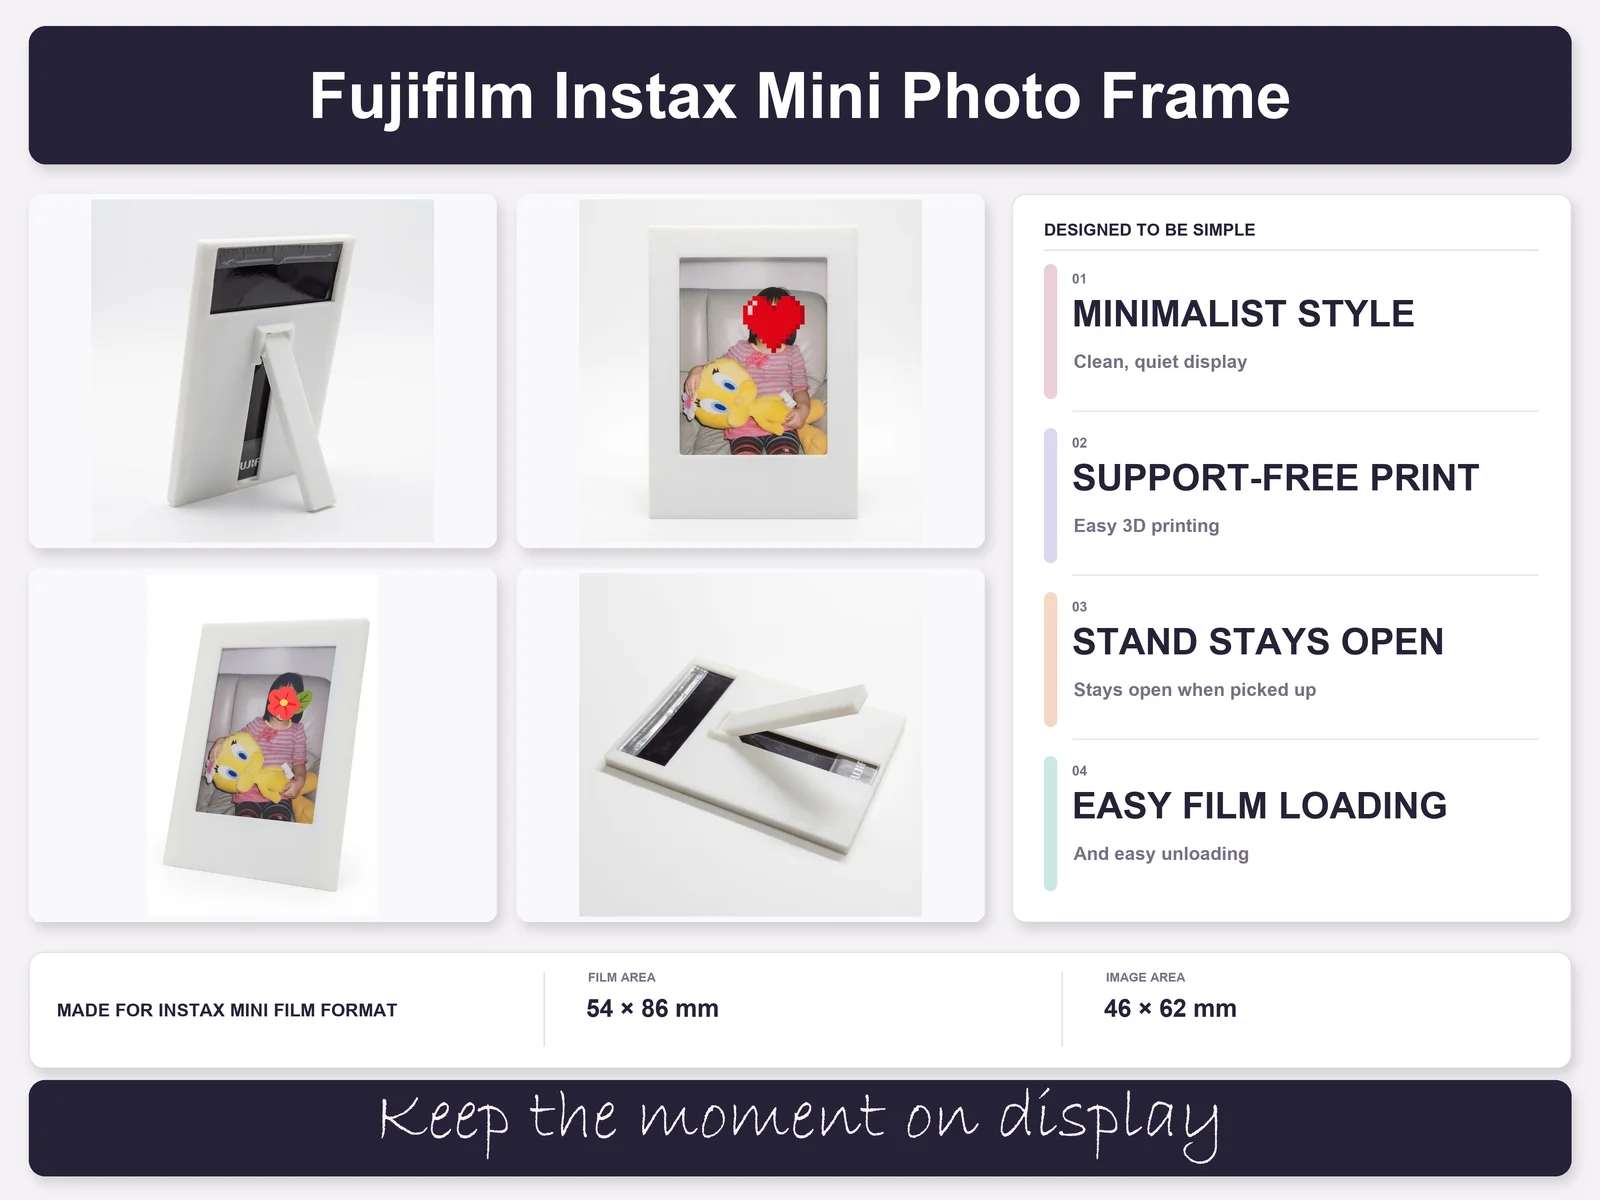
Designed for Instax Mini enthusiasts who want a stylish, functional way to display their favorite photos.
Each Fujifilm Instax Mini print measures 86 mm × 54 mm (3.4 in × 2.1 in) overall, with a photo image area of 62 mm × 46 mm (2.4 in × 1.8 in).
Most frames for this format are either overly basic (simple blocks with basic slots) or difficult to print due to large unsupported overhangs.
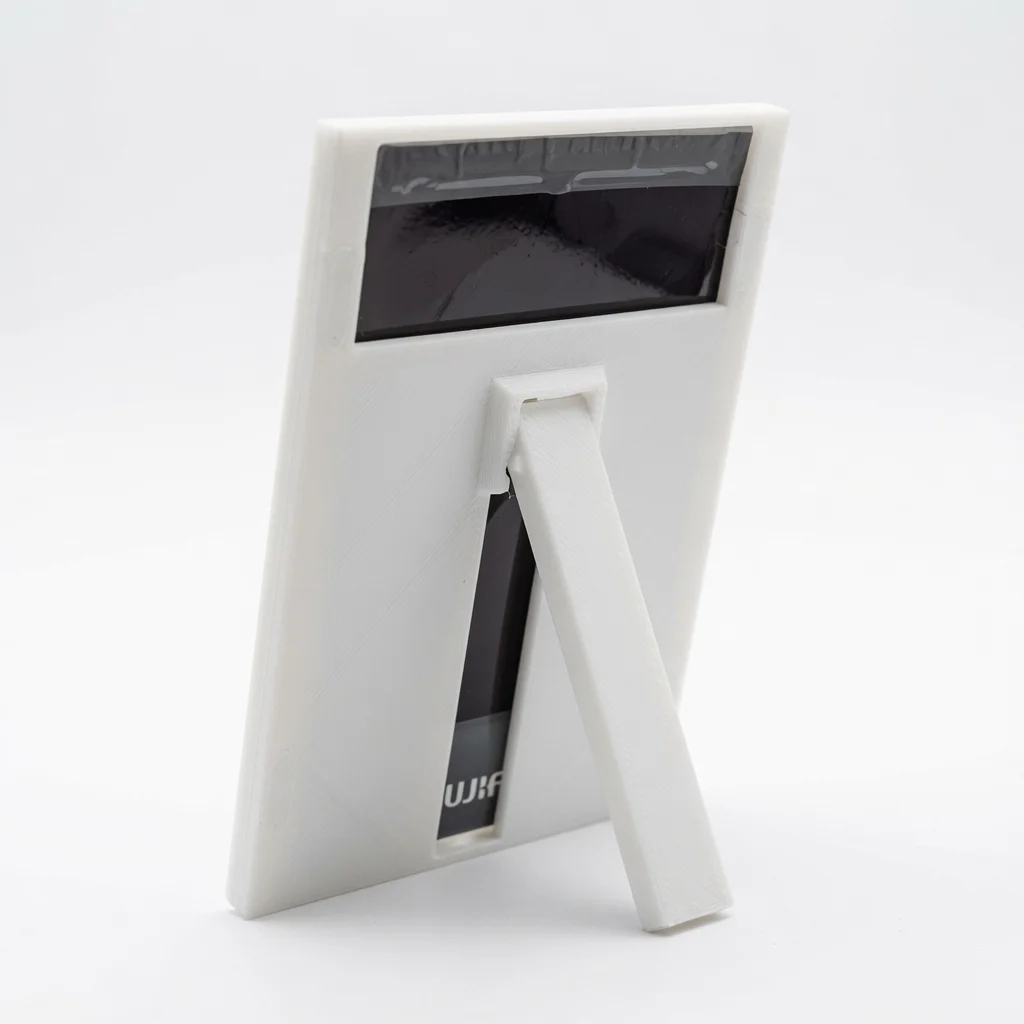
This two-piece snap-together design offers a clean, minimalist aesthetic that’s easy to print with zero supports and no challenging overhangs. It features a built-in kickstand that swings out for display and stays securely open when picked up—no constant readjusting needed. The frame also includes a simple, tool-free photo loading/unloading mechanism.
Print the front and back pieces in the provided orientation.
Recommended settings: 0.2 mm layer height, 2 walls (perimeters), 10% infill. Use 1 wall for the bottom layer to minimize visible lines at the edges.
No supports or brim required.
The quality and appearance of the front surface are heavily influenced by your build plate and filament flow rate calibration. For best results, calibrate using the single-wall cube method (or use your printer manufacturer's recommended method): How To Calibrate Flow Rate - Single-Wall Cube Test. Aim for completely invisible layer lines on the front face (example shown in photos).
Material tip: PLA works great; PETG is excellent for added durability.
Orient the pieces so the thicker front frame is at the bottom and the back opening (with stand) is at the top.
Snap the front and back together by aligning the protrusions with the slots. Press around the perimeter one section at a time — it may require firm pressure.
The design is intended for permanent assembly and is not meant to be taken apart repeatedly.
After printing, gently exercise the kickstand a few times to ensure smooth movement.
Insert the photo from the back opening.
Place it on a shelf, desk — enjoy your memories!
Your feedback is always welcome — I’m constantly iterating on these designs based on user input. Let me know how it prints for you or if you have any suggestions!
ByckthLikes148Downloads2.4K

 ByvideograndpaLikes36Downloads287

 By3dwakeLikes0Downloads361

 ByNK01_3850118Likes13Downloads216

 BynasikLikes0Downloads276

 ByBaGooNLikes64Downloads144


 ByjoranLikes0Downloads215

 ByJaronLikes310Downloads1K

 Byw3rN42Likes127Downloads938

 ByMandicReallyLikes0Downloads138

 ByTomDDLikes89Downloads578