

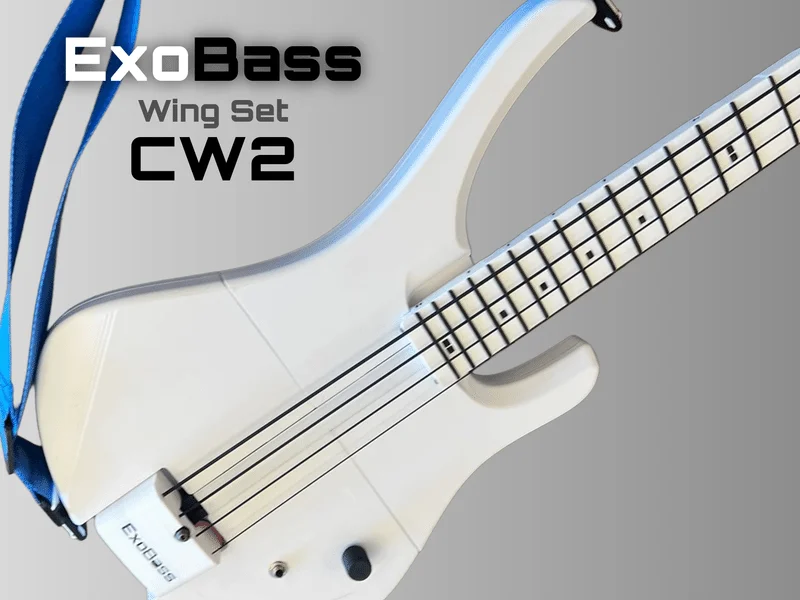

ExoBass - Head - Loop
 ByspikeonLikes1Downloads4
Build another version of this model.
Part of the ExoBass project — full catalog, build planner, and assembly guides at https://exobass.com
Plan Your Build & Get Hardware
ExoBass can be confusing! Head over to our build planner to plan your entire build - it'll walk you through every available part and handle compatibility along the way, and it covers all ExoBass parts. It's also the best way to get hardware, since it lets you buy everything for a full build in one go, not just this part.
You can find this specific part, ExoBass - Wing Sets - CW2, on our site.
Step 1: Heat set inserts
Step 1a: Insert strap connector heat set inserts

Using a soldering iron, insert the Strap Connector Heat Set Inserts.
Step 1b: Insert pickup mount heat set inserts

ℹ️ This is optional, if you don't want to use the Over String Pickup Mount or the Lace Ultra Thin Pickup you can skip this step.
Step 2: Put together body pieces
Printed parts come with built-in supports at a few overhangs — clip and clean these out before assembly, particularly around the truss rod access notch and the neck pickup route.


Position the top pieces on top of the back pieces.
Step 3: Screws

Then screw it all together using the BT3x20 screws
Step 4: Attach Core
Step 4a: Position 2020

Step 4b: Insert T Nuts

Step 4c: Attach body to T nuts with screws

Step 5: Control Panel

Step 6: Electronics
Step 7: Close Control Panel

Step 8: Strap Buttons
Put together the Strap Mount assemblies (heat-set insert + Strap Button) at the top and bottom of the body before moving on.
Heavy Metal Core builds: use the Strap Connector heat-set inserts you installed in Step 1a for these mounts.
Step 8a: Install top Strap Button

Step 8b: Instal bottom Strap Button

Step 9: Install Pickup (Optional)
Hardware
DIY Kit
You can order a DIY kit for your entire build from our build planner, the estimate for this part's kit is $8.68 plus shipping.
Self Source
If you want to order the parts yourself, here's a list. Estimated cost: $75.98.
ByspikeonLikes1Downloads4

 ByWolf_115355Likes513Downloads8.4K

 ByBasementLABLikes888Downloads1.5K

 ByZED4EverLikes313Downloads5.2K

 ByfifindrLikes500Downloads4K

 ByVC_DesignLikes679Downloads3.6K

 ByDan Schwartz SchwartzLikes744Downloads3.4K

 ByUpcrid3D_1585693Likes808Downloads2.1K

 ByWilko_SLOLikes935Downloads2K

 Bychubbs8697_2027893Likes585Downloads1.7K

 Byquibeck_3353173Likes965Downloads1.9K

 BySeppoTakaloLikes960Downloads1.9K