


ExoBass - Bộ Cánh (Wing Sets) - Loại Rỗng (Hollow)
 ByspikeonLikes2Downloads6
Build another version of this model.
Part of the ExoBass project — full catalog, build planner, and assembly guides at https://exobass.com
Plan Your Build & Get Hardware
ExoBass can be confusing! Head over to our build planner to plan your entire build - it'll walk you through every available part and handle compatibility along the way, and it covers all ExoBass parts. It's also the best way to get hardware, since it lets you buy everything for a full build in one go, not just this part.
You can find this specific part, ExoBass - Neck - Neck, on our site.
✏️ For the sake of simplicity, the images in this documentation have been generated on a single fret neck. Yours will likely be longer.
Step 0: Prepare M3 threaded rods
Step 0a: Cut M3 threaded rods
Using an Angle Grinder or a Hack Saw, cut your 2x 1000mm M3 Threaded Rods to:
Step 0b: Smooth edges
You want to deburr the end you cut. I like to use a belt sander.
Step 1: Insert M3 Square Nuts into Chunk #1

Step 2: Screw threaded rods into Square Nuts
💡 Make sure to only thread it in very slightly, you will tighten these later, and you will want as much length as you can get before that.
Step 3: Assemble Neck
Your neck has 24 frets, please repeat these steps for all 24 of them

Step 3a: Put in rubber band / Glue
Recommended setup is Glue, but if you want to dissassemble the neck in the future use a rubber band instead.
Either loop a 10mm thin rubber band around both M3 Threaded rods and slide it down to the previous neck chunk, or put a small amount of glue in the fret recess on the previous neck chunk
Step 3b: Assemble Fret
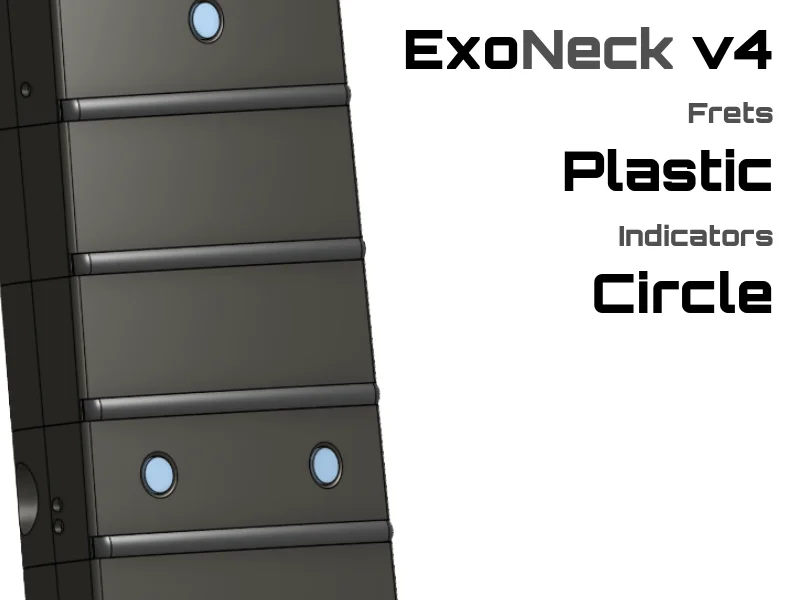
There is no assembly for the chosen fret type! Continue on!
Step 3c: Install Fret
Slide the Fret insert (number side up) down the M3 threaded rods
Step 3d: Prepare next Fret Chunk
If this is not an indicator chunk (holes in the front and side) then skip to Step 3e
Step 1 - Glue in Front Indicators

Put a small amount of glue in the indicator holes, then insert the Indicator from the front. Make sure that the side of the indicator that was printed face down on the build plate is facing inwards.
 For the Side indicators, get a piece of filament in the color you'd like them to be. Insert it into each hole and then cut it off using a set of flush-snips. Use a box cutter to get it as smooth as possible.
Optional: Assuming your printer printed it with enough tollerance, you should be able to stick a single piece of filament down each side of the neck through the side indicator channel. This should add color to every side indicator without having to cut 24 little tiny pieces and glue them in.
Step 3e: Install Fret Chunk
Slide the fret chunk down the M3 Threaded Rods.

Step 3f: Repeat
Repeat Step 3 until all fret chunks are installed
Step 4: Cap off neck
Step 4a: Put on End Chunk

✏️ Use the Acorn nuts from the BOM instead of the regular nuts pictured here.
💡 It is recommended to install the acorn nuts with LockTite Red. This is an optional step.
Step 4b: Tighten
Using a 5.5mm Hex Driver, tighten the Acorn Nuts until the neck curves inwards like a banana. Make sure that the tension is equal on both sides and that there aren't any gaps between any of the chunks. If you find one, use a flat tool like a utility knife to help push the chunks closer together.
Step 4c: Put neck on 2020

ℹ️ Your neck is likely longer than the one pictured.
Step 4d: Put 2020 Slide In Nuts in 2020

ℹ️ Your neck is likely longer than the one pictured.
Step 4e: Attach neck to 2020 with M5x10 Screws

ℹ️ Your neck is likely longer than the one pictured.
Hardware
DIY Kit
You can order a DIY kit for your entire build from our build planner, the estimate for this part's kit is $12.64 plus shipping.
Self Source
If you want to order the parts yourself, here's a list. Estimated cost: $42.75.
ByspikeonLikes2Downloads6

 ByWolf_115355Likes513Downloads8.4K

 ByfifindrLikes355Downloads853

 ByBasementLABLikes888Downloads1.5K

 ByZED4EverLikes313Downloads5.2K

 ByVC_DesignLikes679Downloads3.6K

 ByDan Schwartz SchwartzLikes744Downloads3.4K

 ByUpcrid3D_1585693Likes808Downloads2.1K

 ByWilko_SLOLikes935Downloads2K

 Bychubbs8697_2027893Likes585Downloads1.7K

 Byquibeck_3353173Likes965Downloads1.9K

 BySeppoTakaloLikes960Downloads1.9K