

Dụng cụ uốn dây Jumper cho Breadboard

- Downloads
- 2
- Likes
- 3
- Views
- 55
- Remixes
- 0
- Comments
- 0
Files 4 2.8 MB
- curver_1784888778.stlSTL · 2.2 MB
- curver_1784888780.3mf3MF · 396.3 KB
- curver_1784888780.stepSTEP · 115 KB
- curver_1784888781.fcstdFCSTD · 93 KB
Make a variant with AI
Build another version of this model.
Details
- Model ID
- #415821
- Category
- DIY
- Published
Description
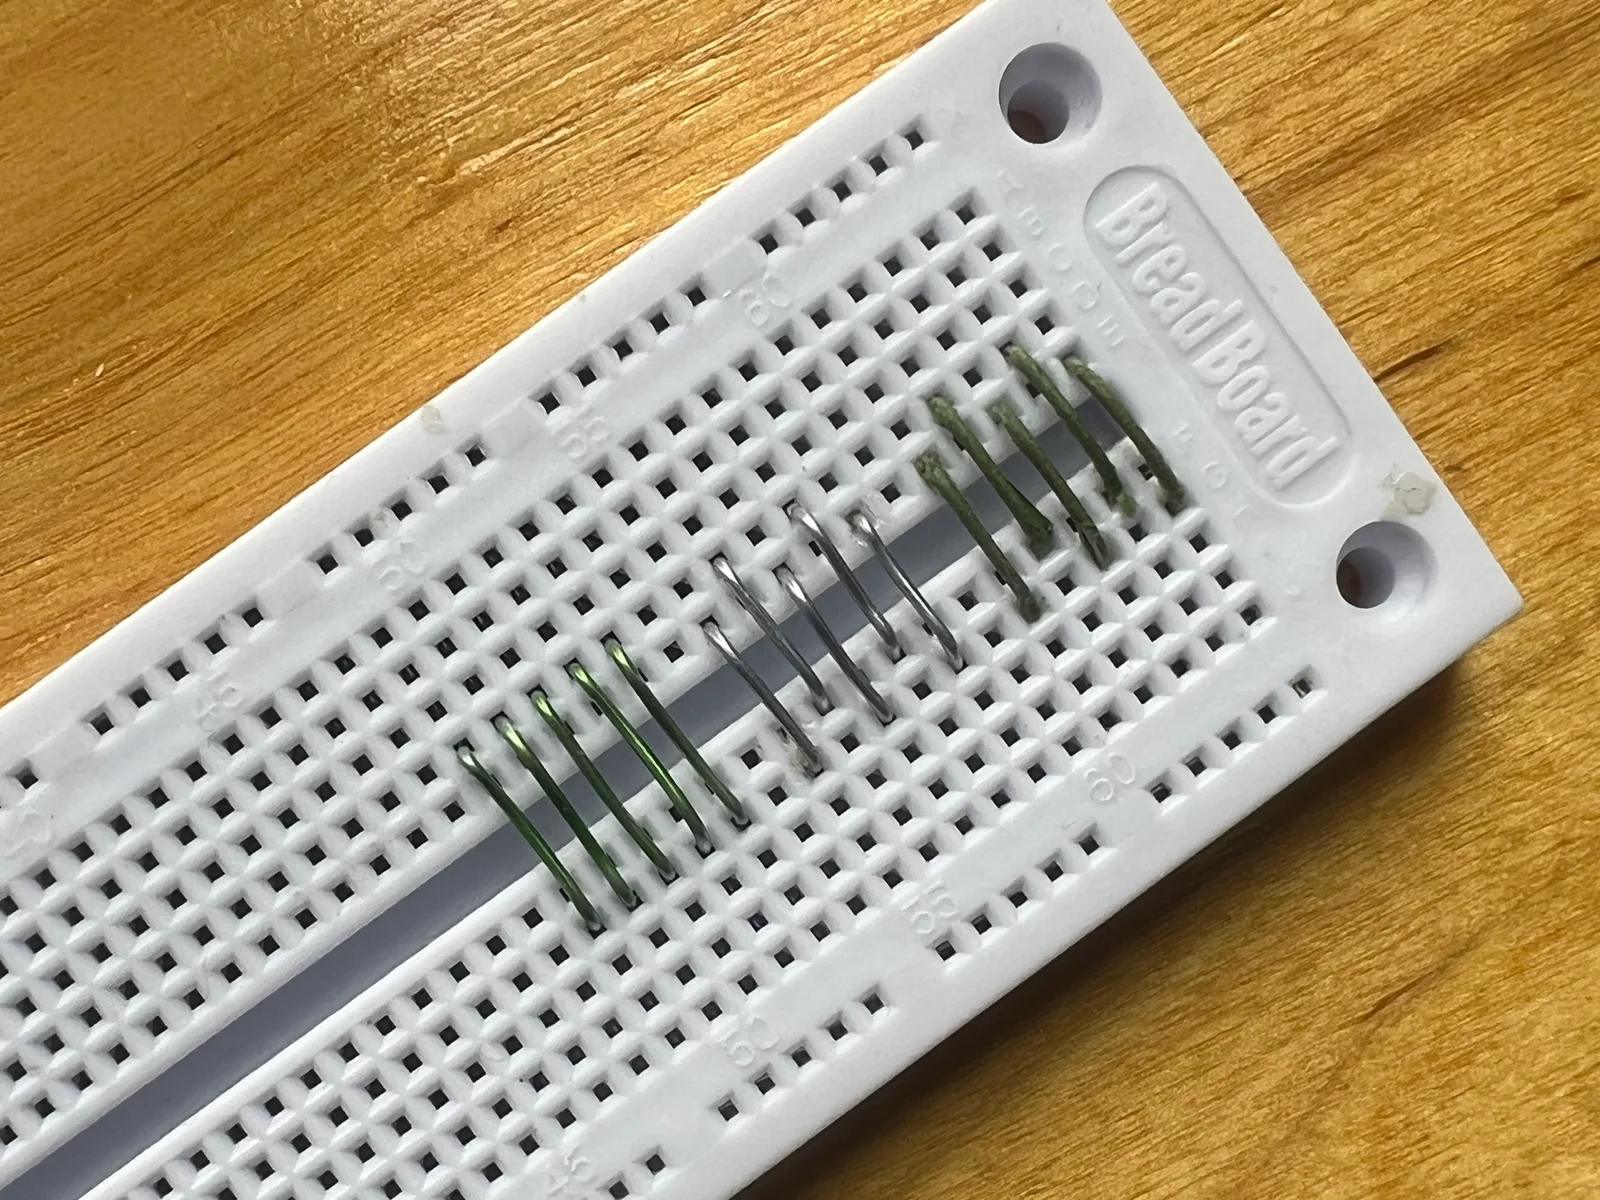
Standard jumper wires for breadboard assembly are inconvenient: some bend too easily, others stick out, some have frayed ends, and others are simply unpleasant in color and feel.
You may want to make your own jumper wires. But you need a lot of them. Far too many. How can you make them quickly and easily? A dedicated tool can help.
Materials
-
PETG filament
-
four or five finishing nails: 1.2 mm shank diameter (18 gauge), 2.3 mm (3/32") head diameter
-
uninsulated solid-core wire, 0.75 mm (AWG 21) or thinner
-
optional: superglue
Tools
-
3D printer
-
hammer or vise
-
cutters
-
optional: pliers
-
not necessarily needed immediately: breadboard, storage boxes, coating for coloring, polypropylene
How the Design Works
-
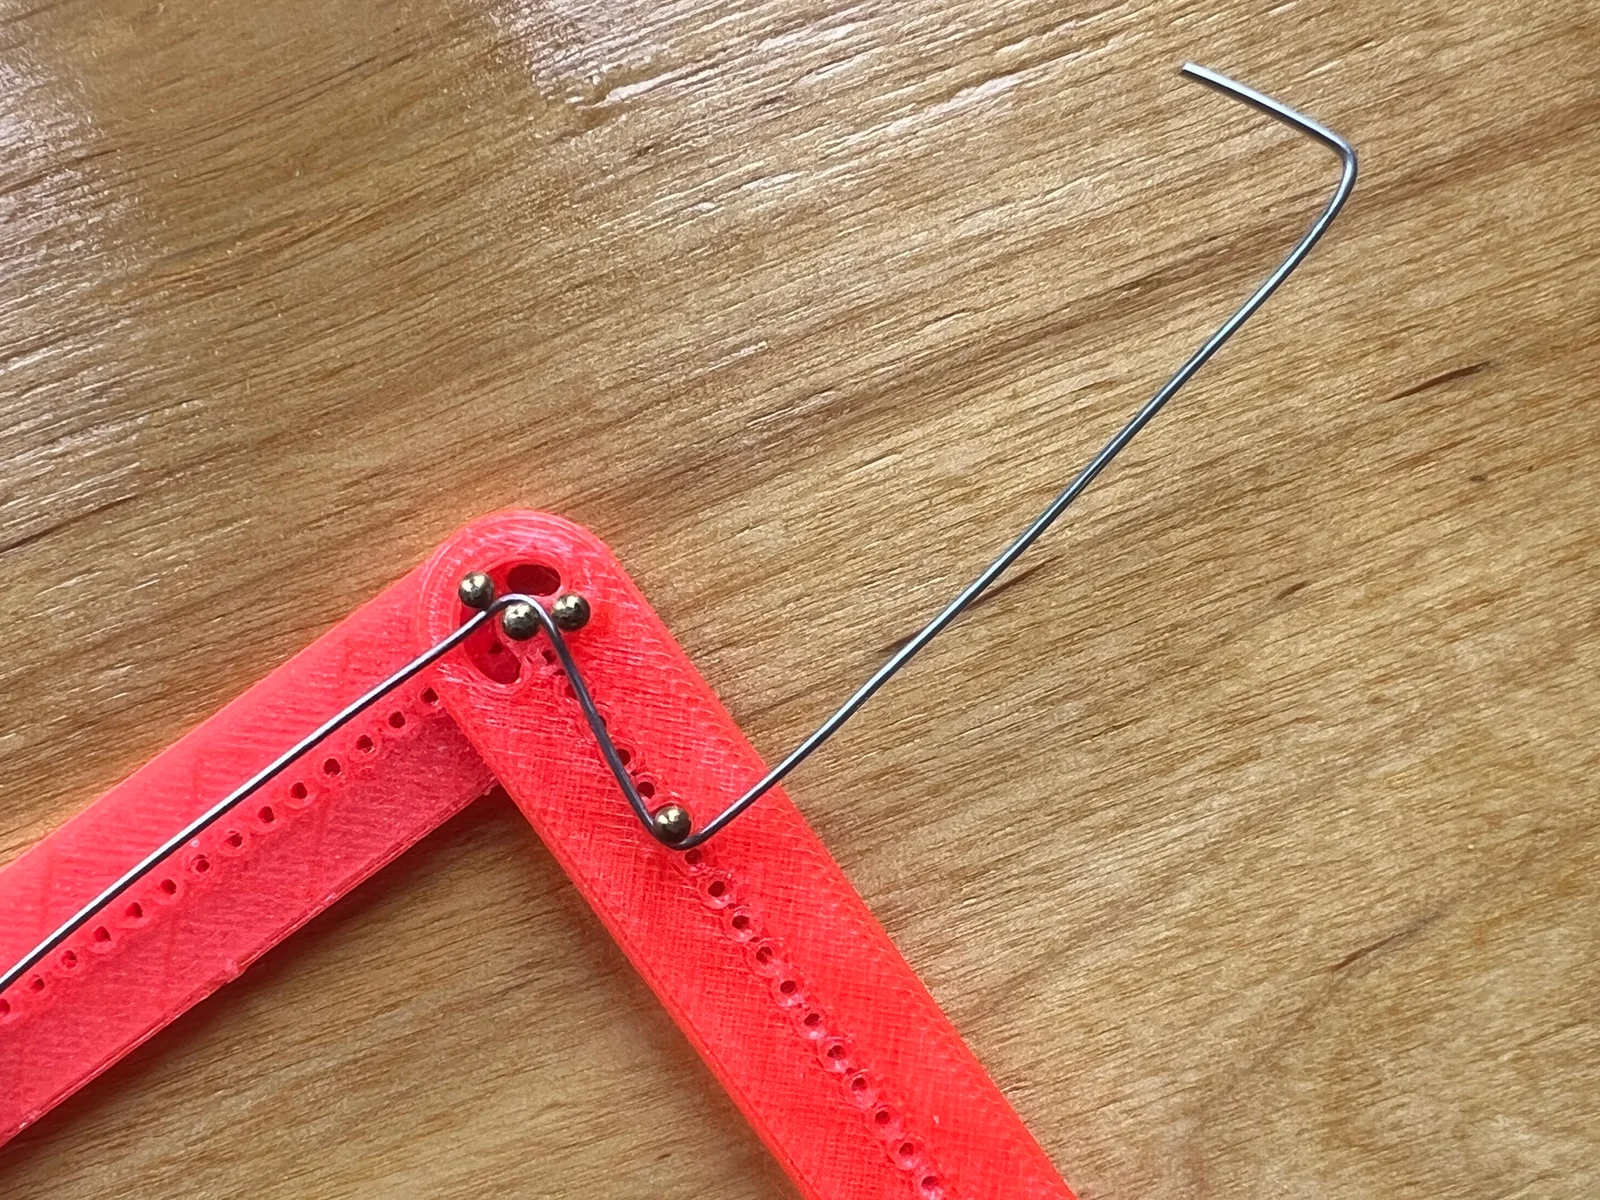
Using the two handles, you move the nails to bend the wire placed between them.
-
Three nails form the bending mechanism.
-
One nail sets twice the leg length.
-
The movable fifth nail sets the length of the horizontal section of the jumper wire.
See the full instruction at Instructables.
Print spec
- Formats
- 3mffcstdstepstl
- Model files
- 4
- Total size
- 2.8 MB
- Largest file
- 2.2 MB