



New
Portal Turret - Mk. II
 ByjoranLikes0Downloads213
Build another version of this model.
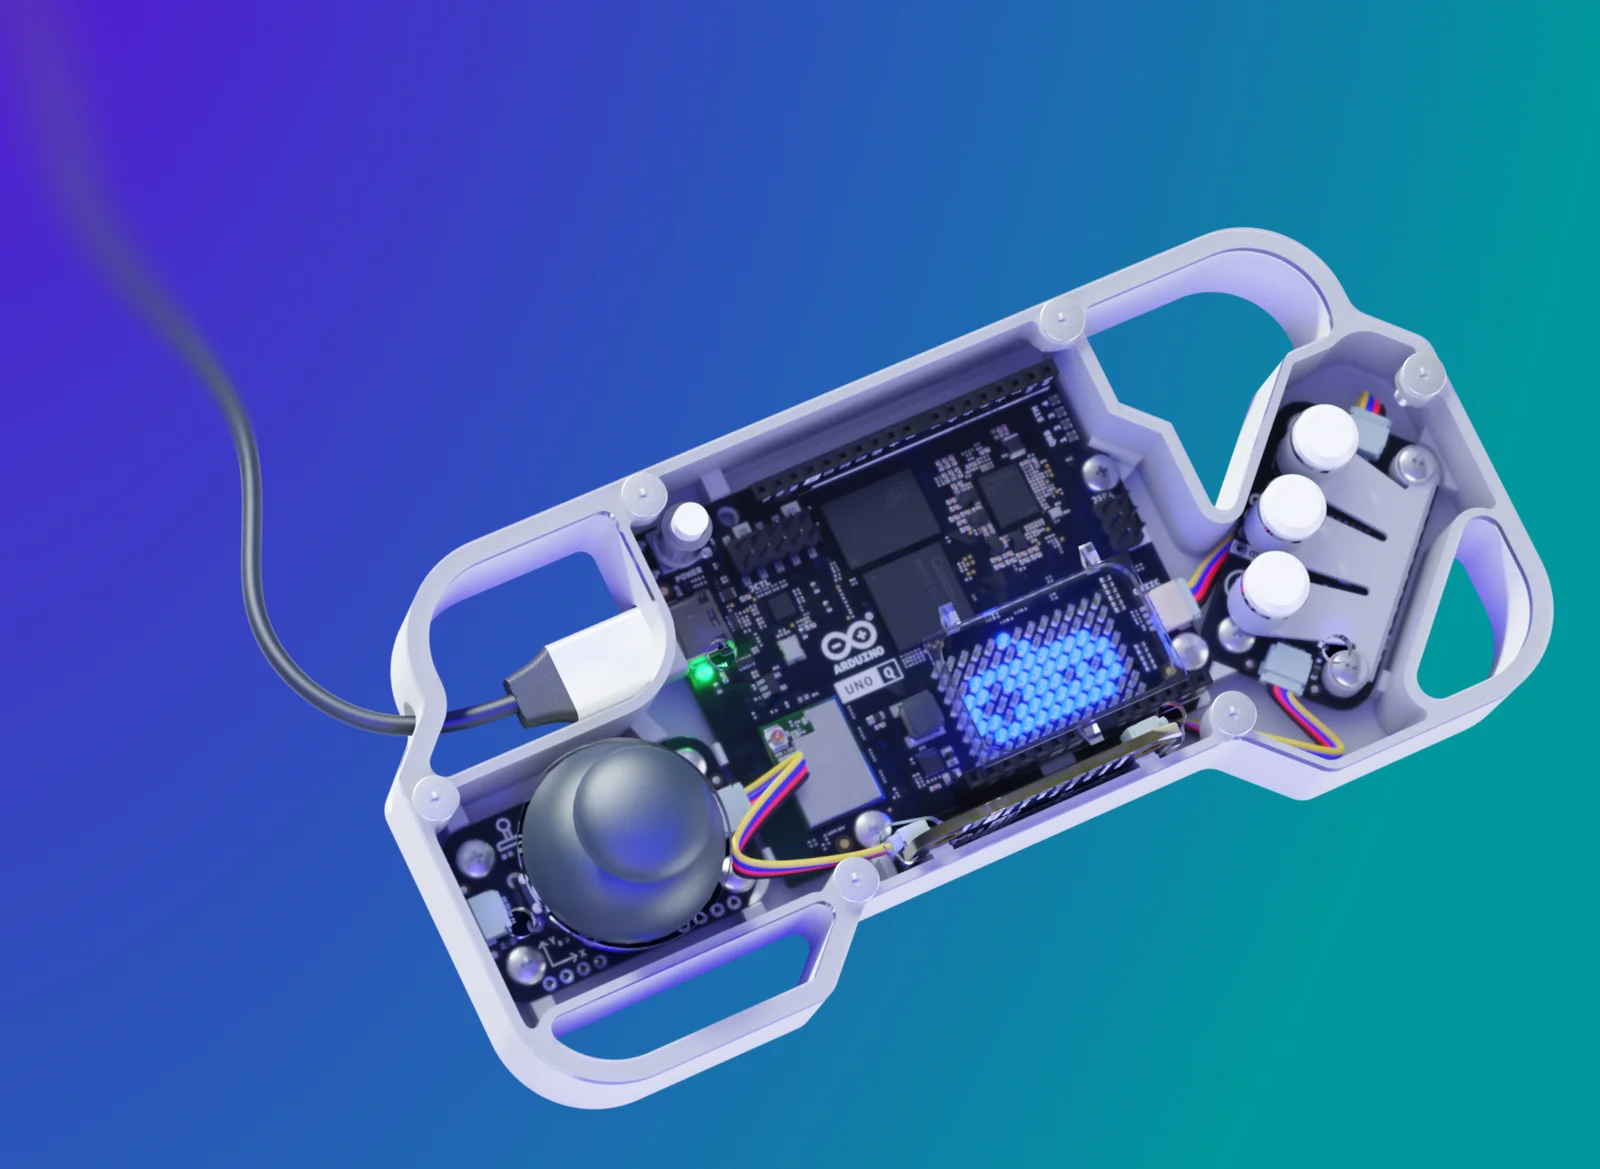
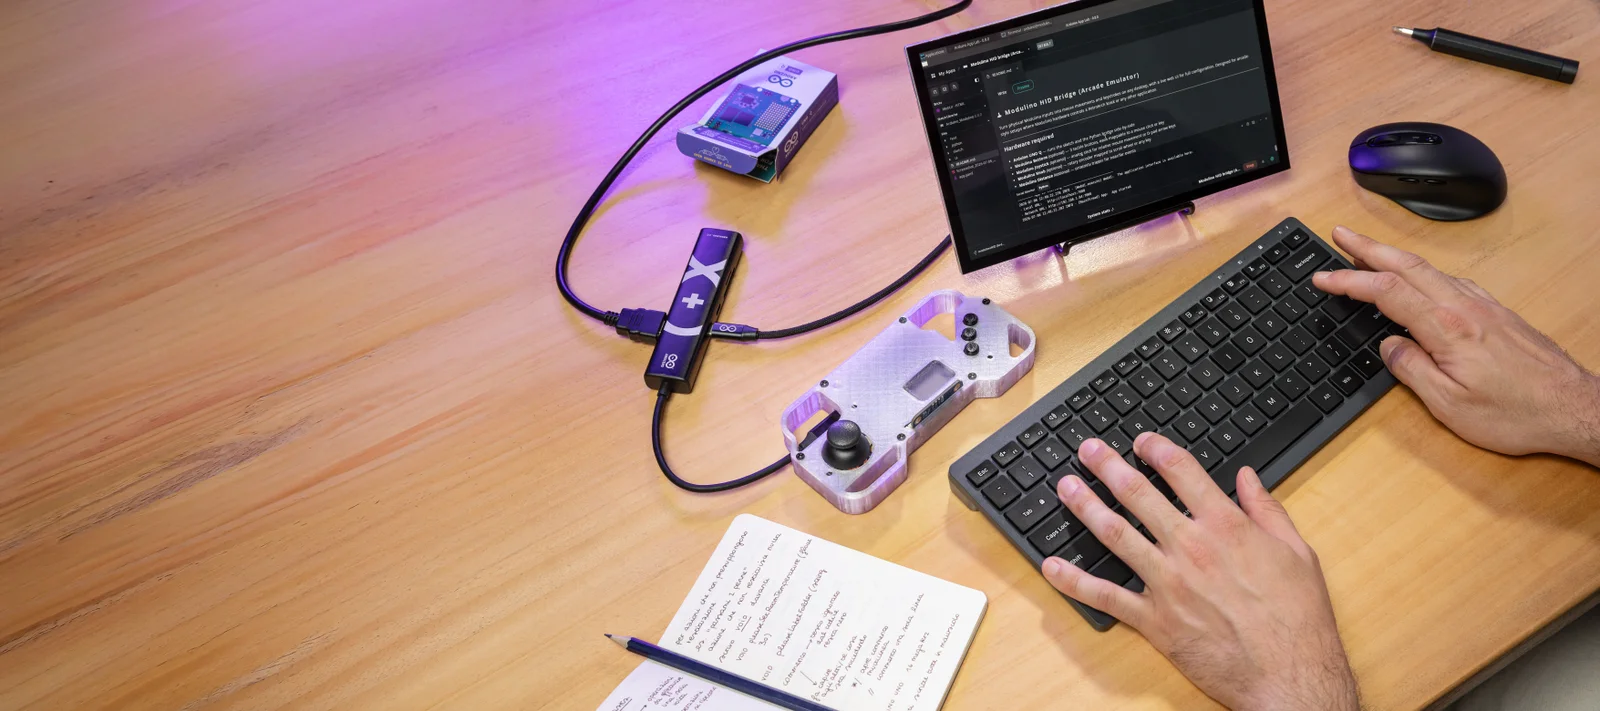
The Arduino UNO Q Arcade Bundle is an all-in-one Arduino bundle that lets users build and create their own Retro Arcade Console and Controller with the Arduino UNO Q!
You can buy your own bundle in the official Arduino store!
Here you can 3D print the case of the bundle, feel free to modify the files, change the modulinos and extend the original case to be able to do even more!
1x Arduino UNO Q
1x Arduino Modulino Joystick
1x Arduino Modulino Movement
1x Arduino Modulino Buttons
4x 5cm Qwiic cables
14x M3x6 flathead screws
2x M3x10 flathead screws
Screwdriver
FDM 3D printer (printbed size 170x80 mm minimum)
3D printing filament
(optional) small pliers
The kit consists of 3 parts:
Base
Buttons pad
Cover
The .3mf print file is based on Prusa Slicer, and has been tested with a print layer of 0.2 mm both in PLA and PETG.
In case another slicer is used it may require setting supports and parameters.
It is advised to support the two power cable holes, in the upper left corner of the base.
Connect the Uno Q and the Modulinos with the Qwiic cables, following this order: UNO Q -> Buttons -> Movement -> Joystick.
Screw the UnoQ at the center of the base, using 2 M3x6 flathead screws.
If you printed the cover with fixing ties, bend them around the dongle and screw it with M3x6 screws to one of the two holes on the bottom of the base. You can cut the excess holes in the ties in case you like.
Have fun!
ByjoranLikes0Downloads213

 ByckthLikes148Downloads2.4K

 ByJac2307_889487Likes36Downloads256

 ByvladtheinhalerLikes64Downloads256

 ByUpcrid3D_1585693Likes48Downloads211

 BynasikLikes0Downloads273

 Byparts-expressLikes0Downloads105

 ByTimSomeCallMeLikes35Downloads244


 ByBrokentooth_designsLikes30Downloads226

 ByKastnerd_192794Likes21Downloads230

 ByJaronLikes310Downloads1K