
F3D
Đế sạc cho chuột chơi game Logitech G502 X Plus 1

8 images

Dụng Cụ Tiện Ích

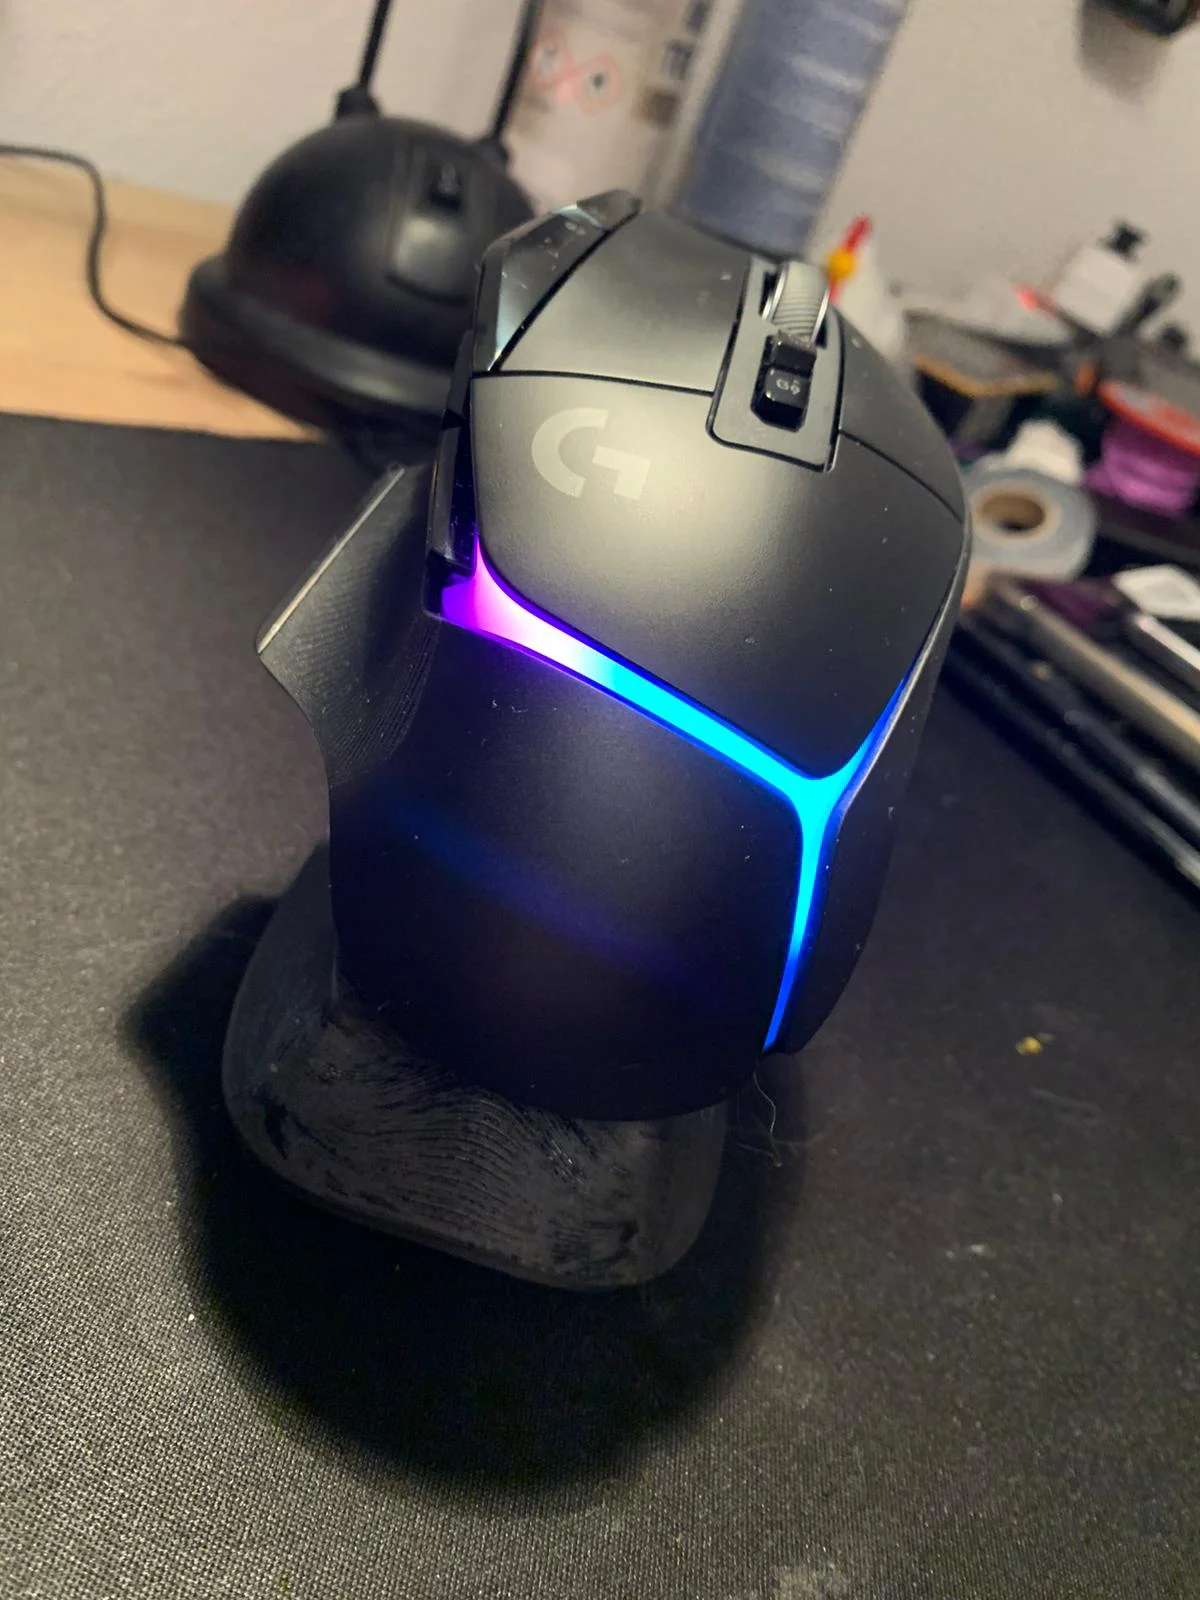
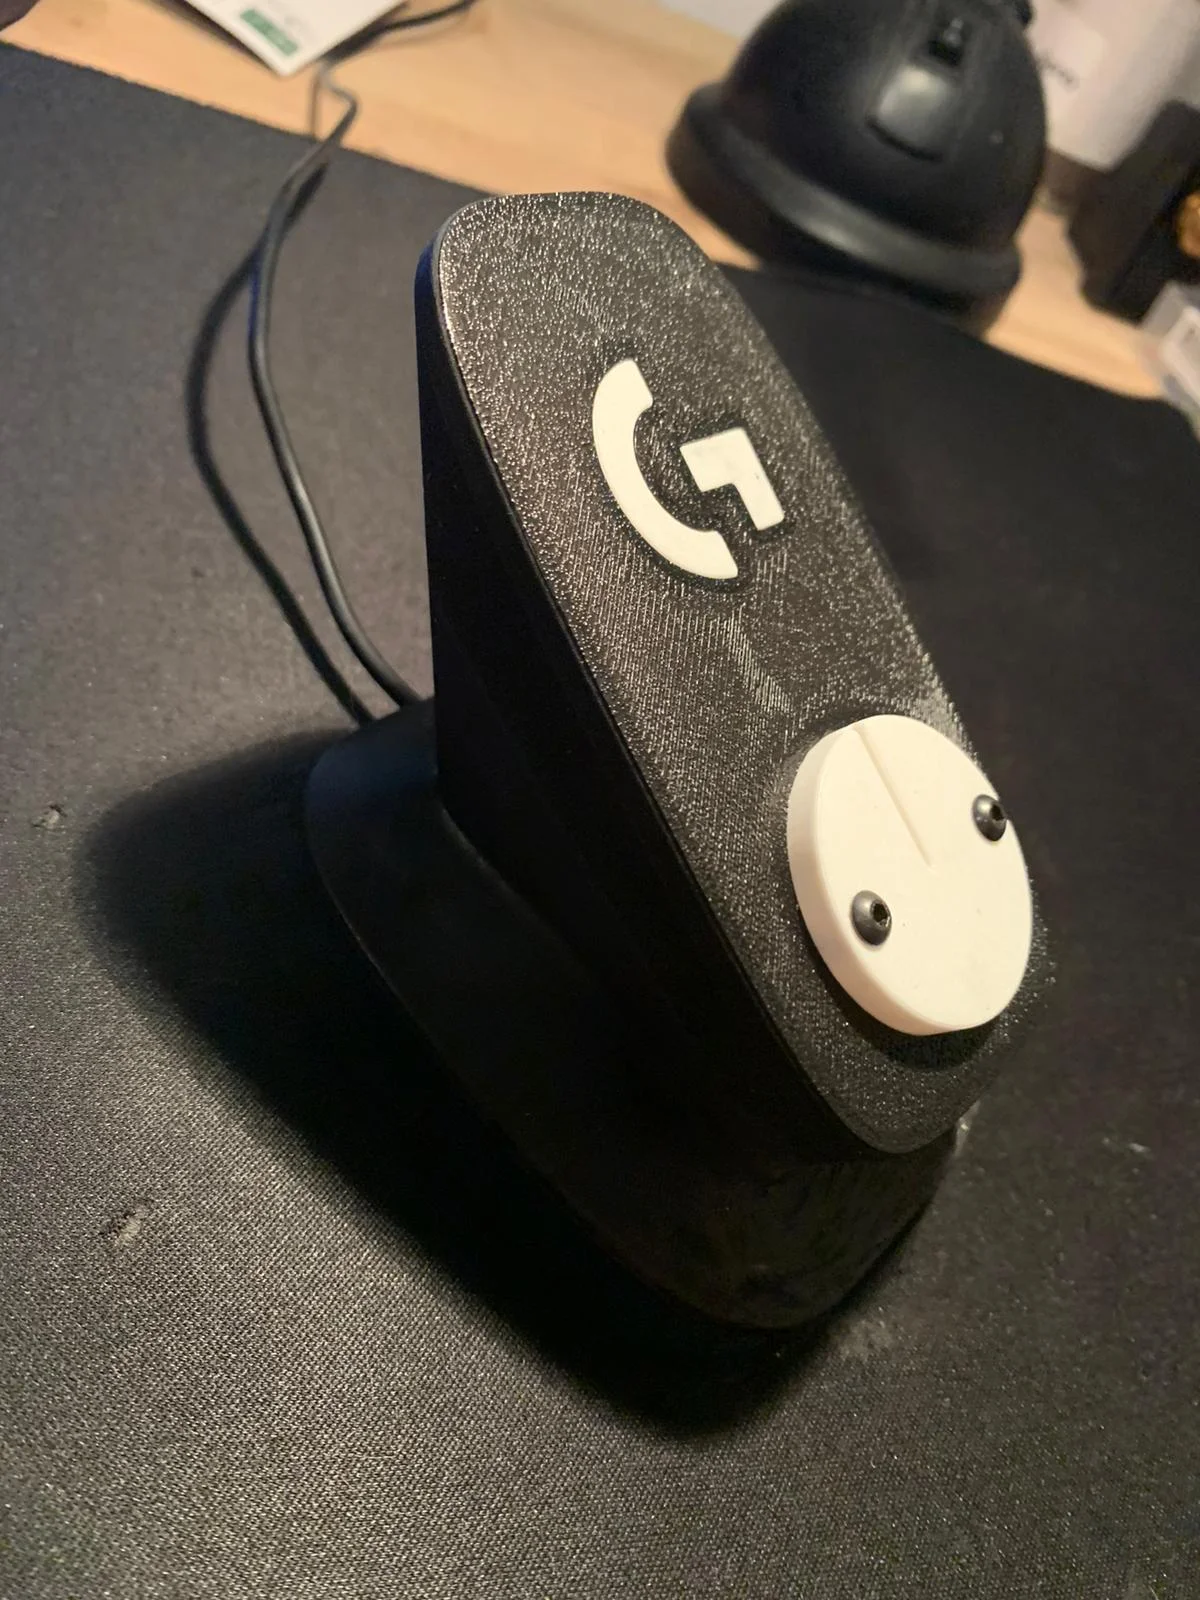
Đế sạc cho chuột chơi game Logitech G502 X Plus

By PargeLenis_826999

Downloads
94
Likes
23
Views
1,787
Remixes
1

Files 9 15.2 MB

  • Logo2_1784106268.3mf3MF · 1.9 KB
  • Abdeckung_1784106282.3mf3MF · 93 KB
  • Logo1_1784106283.3mf3MF · 25.8 KB
  • Base_1784106283.3mf3MF · 232.6 KB

Make a variant with AI

Build another version of this model.

Open Studio

Remix versions 1

See all 1 remix

Description

Hardware needed:

2x M3 x 12mm pan head screws (they need to be magnetic)

https://schrauben-expert.de/Linsenkopfschraube-ISO-7380-1-M3-x-12-Stahl-109?gad_source=1&gclid=Cj0KCQjwq86wBhDiARIsAJhuphlizkZAVTUrwjgHnUBmGgTvn-sP6H9MPA3P4_o9Re9xPxrCyapfN5IaAuiEEALw_wcB

2x Ruthex RX-M3x5.7 threadinserts

https://www.ruthex.de/collections/gewindeeinsatze/products/ruthex-gewindeeinsatz-m2-m3-m4-m5-sortimentskasten-70-100-50-50-stuck

4x M2.5x8mm flat head screws

https://www.screwsandmore.de/de/sortiment/schwarze-verbindungselemente/sammy-flachkopf-torx/sammy-a2-tx5-m2-5-sb/sammy-a2-m2-5x8-sb/15185/25-stueck-sammy-flachkopfschrauben-a2-m2-5x8-torx-schwarz

1x some old USB Cable (if you don't have one here you go)

https://www.amazon.de/Greluma-USB-Pigtail-2-adriges-USB-Steckerkabel-USB-Stecker-Stromkabel/dp/B0CLV9BLML/ref=sr_1_2?__mk_de_DE=ÅMÅŽÕÑ&crid=109ZA7OGQSI3Y&dib=eyJ2IjoiMSJ9.yEbV13buc7L5omSO3TPQtnuUtctEpwgd2Y_ahy6mB7r5X2bcJllMf_1KInqVSoAAXtFAIqEHkZvOyWVjDqIoFCGB-Y9Vqvf2AKvRGtiTzwAPeKYvRrBERU7jYLOe_JuCyd4V1tAdCOua3WEGZHCclgkujS-3h6MEDQ5r6mQ0IEG4qTHZ7FfiYqKAxw-lgxPefRKbinB2sjuDk884PhkVCEvDotA3Uk8xOc8zu8j88QA.0rMoihVKxmtdh9zlJs9vIzm5SouGEyi0oUcCHKafWAc&dib_tag=se&keywords=usb+a+cable+solder&qid=1712613905&sprefix=usb+a+cable+solder%2Caps%2C99&sr=8-2

some foamrubber

https://www.ebay.de/itm/252279909279?chn=ps&_ul=DE&norover=1&mkevt=1&mkrid=707-134425-41852-0&mkcid=2&mkscid=101&itemid=252279909279&targetid=1404115578893&device=c&mktype=pla&googleloc=9041634&poi=&campaignid=17935704717&mkgroupid=139162549385&rlsatarget=pla-1404115578893&abcId=9301059&merchantid=111621242&gad_source=1&gclid=Cj0KCQjwq86wBhDiARIsAJhuphnK0oEGCOTd1XfEnTt1i1HEG8-Sg7WW0HnH2BCSfJ_p09RlXOxDVWwaAjBQEALw_wcB

some weights

https://www.amazon.de/Riegel-Klebegewichte-Kleberiegel-Auswuchtgewichte-Abrisskante/dp/B01MG1SDXA/ref=sr_1_6_mod_primary_new?__mk_de_DE=ÅMÅŽÕÑ&crid=24BAXNCEA112I&dib=eyJ2IjoiMSJ9.sYjMOjrBu8j6MSQ_x9EYIiQ-i4K_n208Z9U7xoBH_bRcZGGdKUGKdT0c8bVJR47a__WidAtu1mqj9gKgdHoLQ7UplShzlXT0PcGgDDQxTt2aRKSPkh2PPqUOiDtjlR7dtuGpXOFUsSGHO9LgLUPZ9afYo5fAxCYR9a1rG3n5qU_fucHnUc4Tom_HP1Luqn2EmivRMSVfIpF9pBwZNw0yF6QKbZSrzC6ZDyMUSR2aUaB1A3lK2xc89gK0e8IDzpi3Ljz8X8h-94rmbIVR4bwCz93jc1RIupQOgY_yUnGee64.bC63GPXCbOLborCXNeuj84QwuneThBHooETncUm99ec&dib_tag=se&keywords=blei+gewichte&qid=1712616177&sbo=RZvfv%2F%2FHxDF%2BO5021pAnSA%3D%3D&sprefix=blei+gewichte%2Caps%2C94&sr=8-6

If you have all the Printed Parts ready follow the following steps:

1.  pre-tin the thread-inserts (lightly so it doesn't flow in the threads) and the cable-ends

2. route the cables trough the CORRECT side of the charging-station.

3. solder the cables-ends to the thread-inserts. be careful to not use to much tin so its not to clumpy.

4. set your soldering station to 250 °C / 482 °F and set in the inserts. plug the USB-cable in a power adapter use a Multimeter and check if the thread-inserts have 5V on them and if the polarity is correct like shown in the last picture. if everything is looking good use some hotglue or something to insulate everything that has electricity on it.

5. if everything is working so far, we can start mounting the weights. use as much as you like so it feels “high-quality”.

6. before we screw on the base, make a knot in the cable as a strain relief

7. now use the PDF template for cutting out the foam rubber

8. now screw on the base and stick the foam rubber on to it.

HAVE FUN!!

Read more Show less

Print spec

Formats
3mff3dpdfstep
Model files
9
Total size
15.2 MB
Largest file
6.4 MB

0 comments

See all