




Steam Machine Companion Cube / Vỏ đựng Weighted Storage Cube
 ByJaronLikes310Downloads1K
Remix of Cyberdore 2064 Cyberdeck – Cyberdeck retro-futuristic dùng Raspberry Pi Zero By TommiL
Build another version of this model.
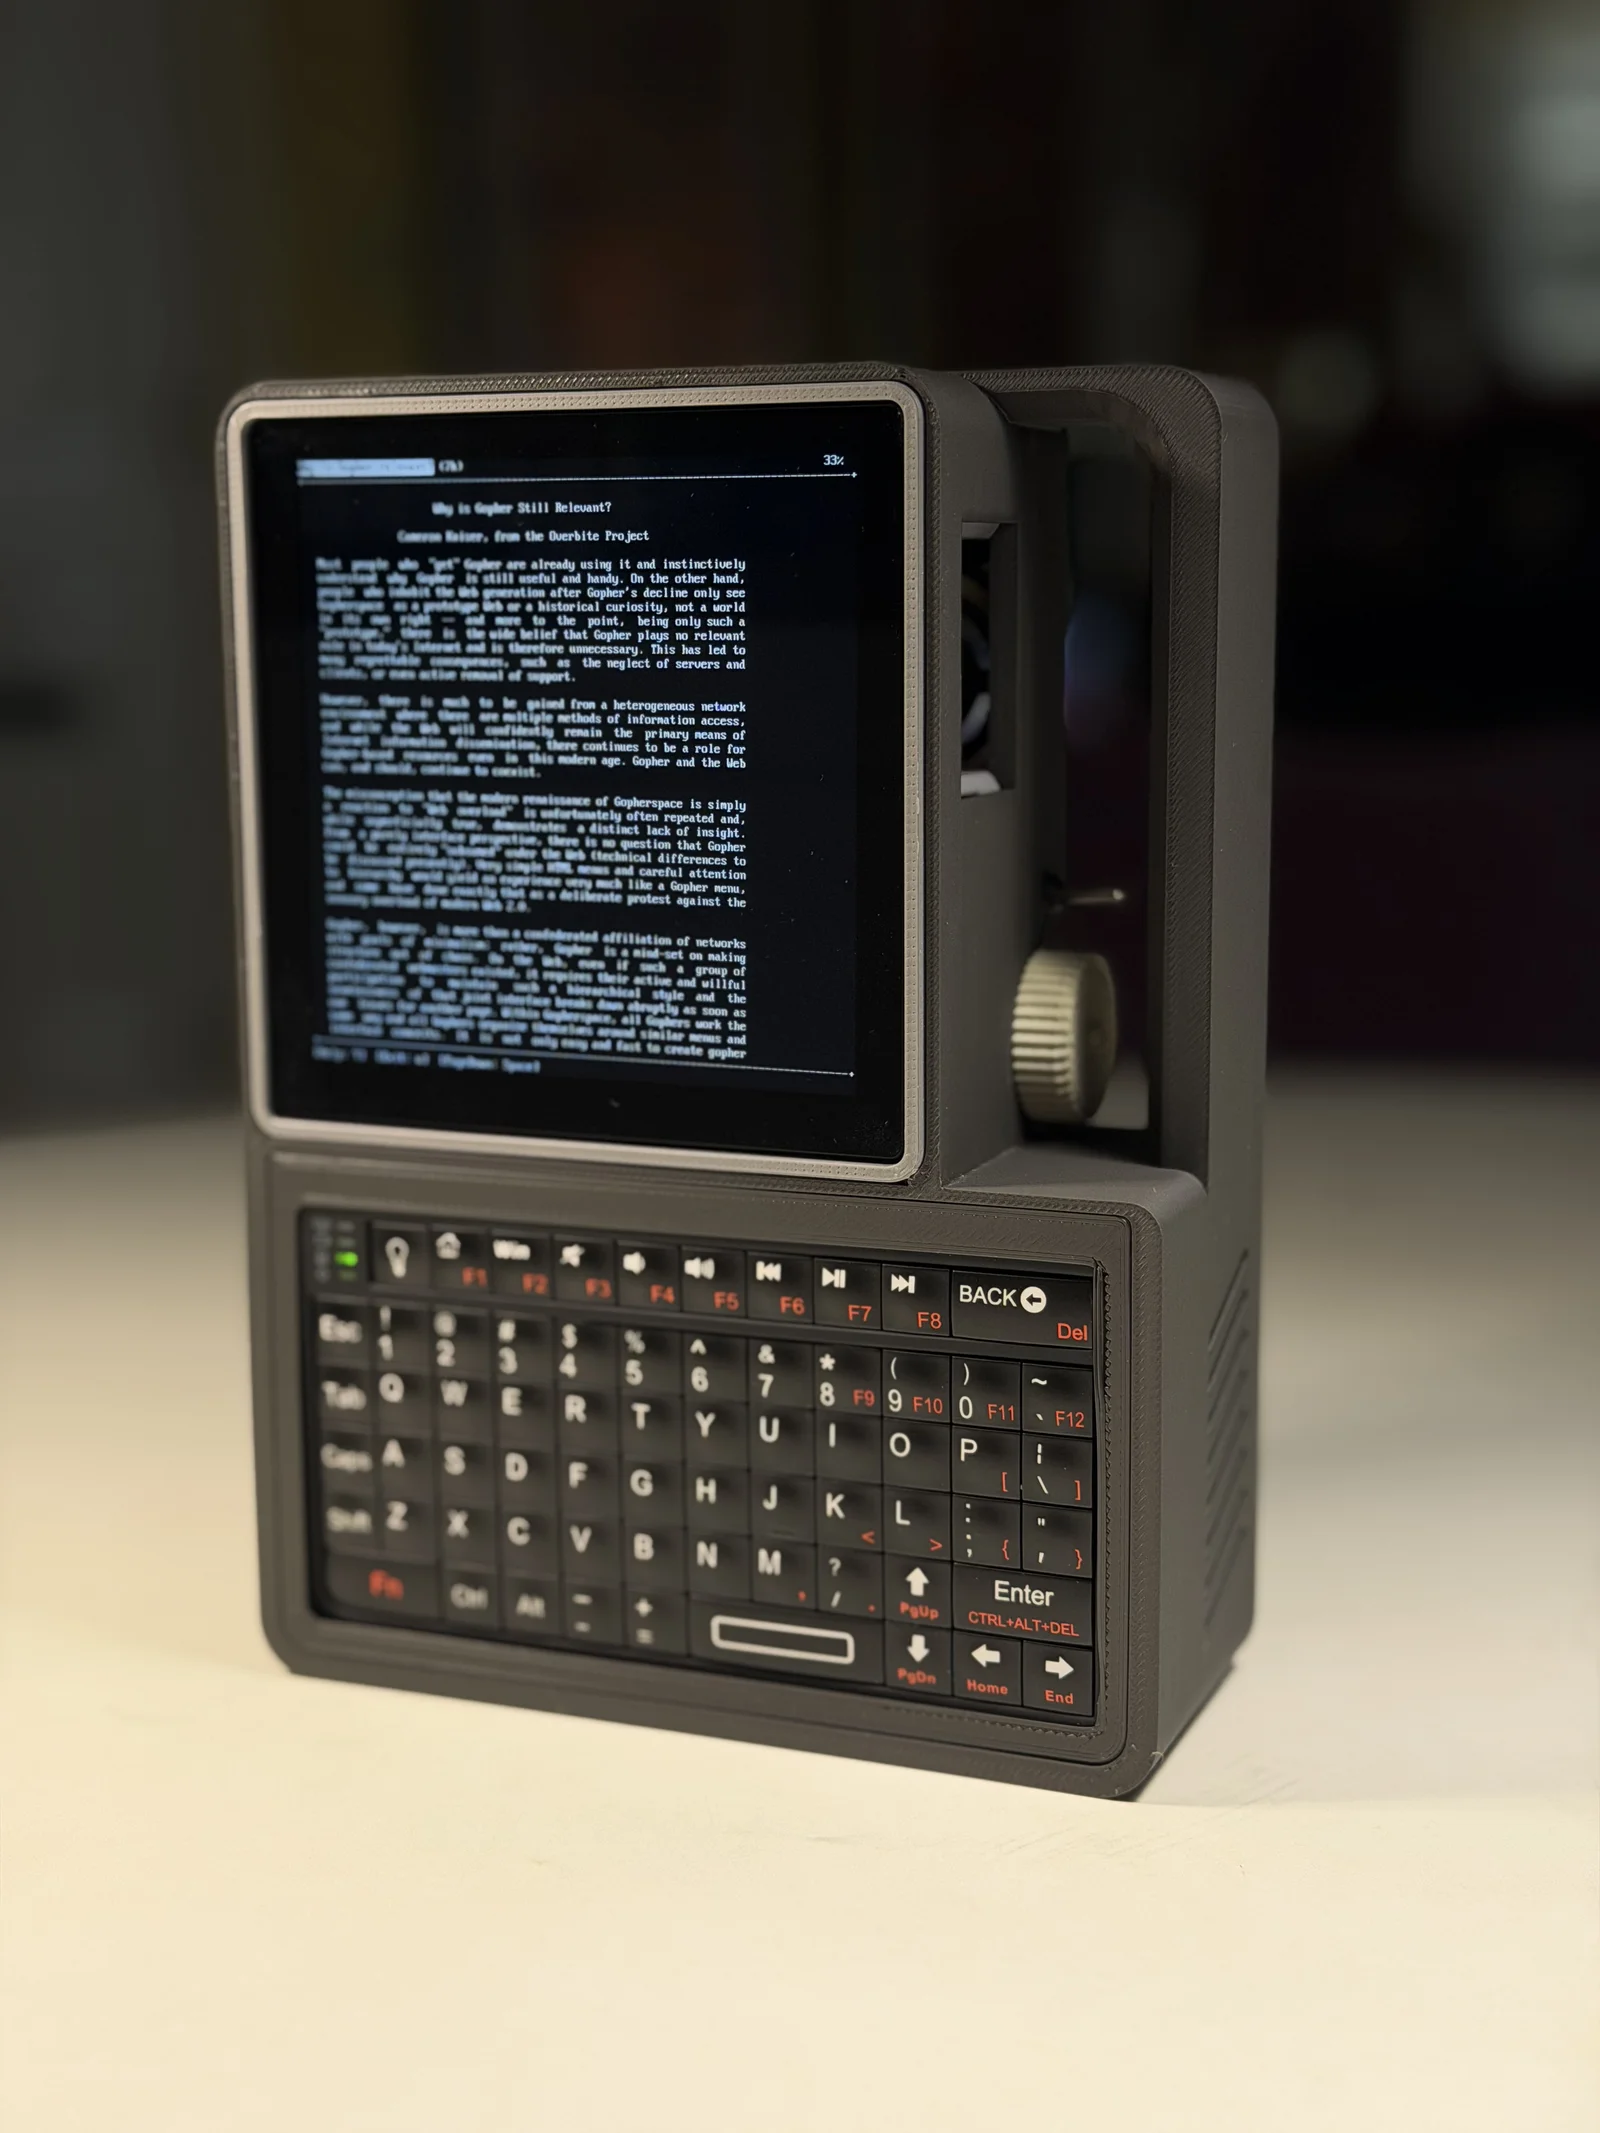
This cyberdeck is really a Raspberry Pi, LCD display, keyboard, batteries, and speakers in a trench coat. It's boxy appearance gives Hitchhiker's Guide to the Galaxy vibes.
Built weight is 1 lb 3 oz (0.5 kg).
You will need the following.
Raspberry Pi 3A+
Pimoroni Hyperpixel 4 Square LCD display (I used the touch variant)
LX-2BUPS 5V UPS
2 x 18650 cells
Small SPDT micromini toggle switch (RS 275-0625) for power
2 x 3 Watt 8 Ohm Mini Speaker w JST (don't expect excellent sound from these!)
Right angle header pins (for audio amp)
Headphone jack with solder tabs
USB micro plug for power
Wire for power (JST connectors for power make this easier)
Wire for sound (I used Dupont jumpers)
M2.5 screws
This model was created with several existing models (see differences section for details).
Print one of each of the STLs included with this model.
Print a Hyperpixel 4 Square Raspberry Pi 3 A+ case of your choice. I printed the one with the vent holes. You can choose to print this case in the same color or another complimentary or contrasting color of your choice. It will mainly be visible as a thin bezel around the perimeter of the screen. I used light gray.
Assemble the LCD onto the Raspberry Pi 3A+ and into the Hyperpixel 4 Square case. Secure with 2 screws from the back. Set aside.
Place two speakers face down inside the large case and secure with 4 screws. Route the wires into the center.
Solder wires directly to the audio amp or (better) use header pins.
Place the volume knob stem onto the audio amp and place inside the case as shown the pictures. There's no mounting holes so I used bluetack. Assemble the knob onto the stem and press in firmly.
Insert SPDT power switch into case next to volume knob and connect +5V through it for power.
Solder wires onto the LX-2BUPS labeled 5V out to the switch. From the switch, you should power the Pi and the audio amp. Wire directly or (better) use JST connectors. Insert 18650 cells into LX-2BUPS UPS. Place bottom UPS case in the lower portion of the case and insert the UPS into it. Place the lid on top. There's no screws needed here, the fit it so tight nothing moves.
Press the keyboard surround on top of the keyboard. Squeeze entire assembly into case. The fit will be very tight.
Connect USB power and audio to the Pi. Drop Pi case into larger case. Secure with 2 more screws from the back.
ByJaronLikes310Downloads1K

 Byw3rN42Likes127Downloads931

 ByTomDDLikes89Downloads573

 ByJwidessLikes34Downloads373

 ByBroBuilds3D_4455044Likes32Downloads451

 ByckthLikes148Downloads2.4K

 ByVikingptty_1943738Likes50Downloads229

 ByBrokentooth_designsLikes30Downloads224

 ByJKMCZLikes11Downloads174

 Byjodinskylab_3390035Likes144Downloads162

 ByBoxseez_169293Likes13Downloads105

 Bywriteonly_3421776Likes13Downloads93