



Mô hình boomerang in liền khối cực nhanh
 Byquibeck_3353173Likes1.5KDownloads11.5K
Build another version of this model.
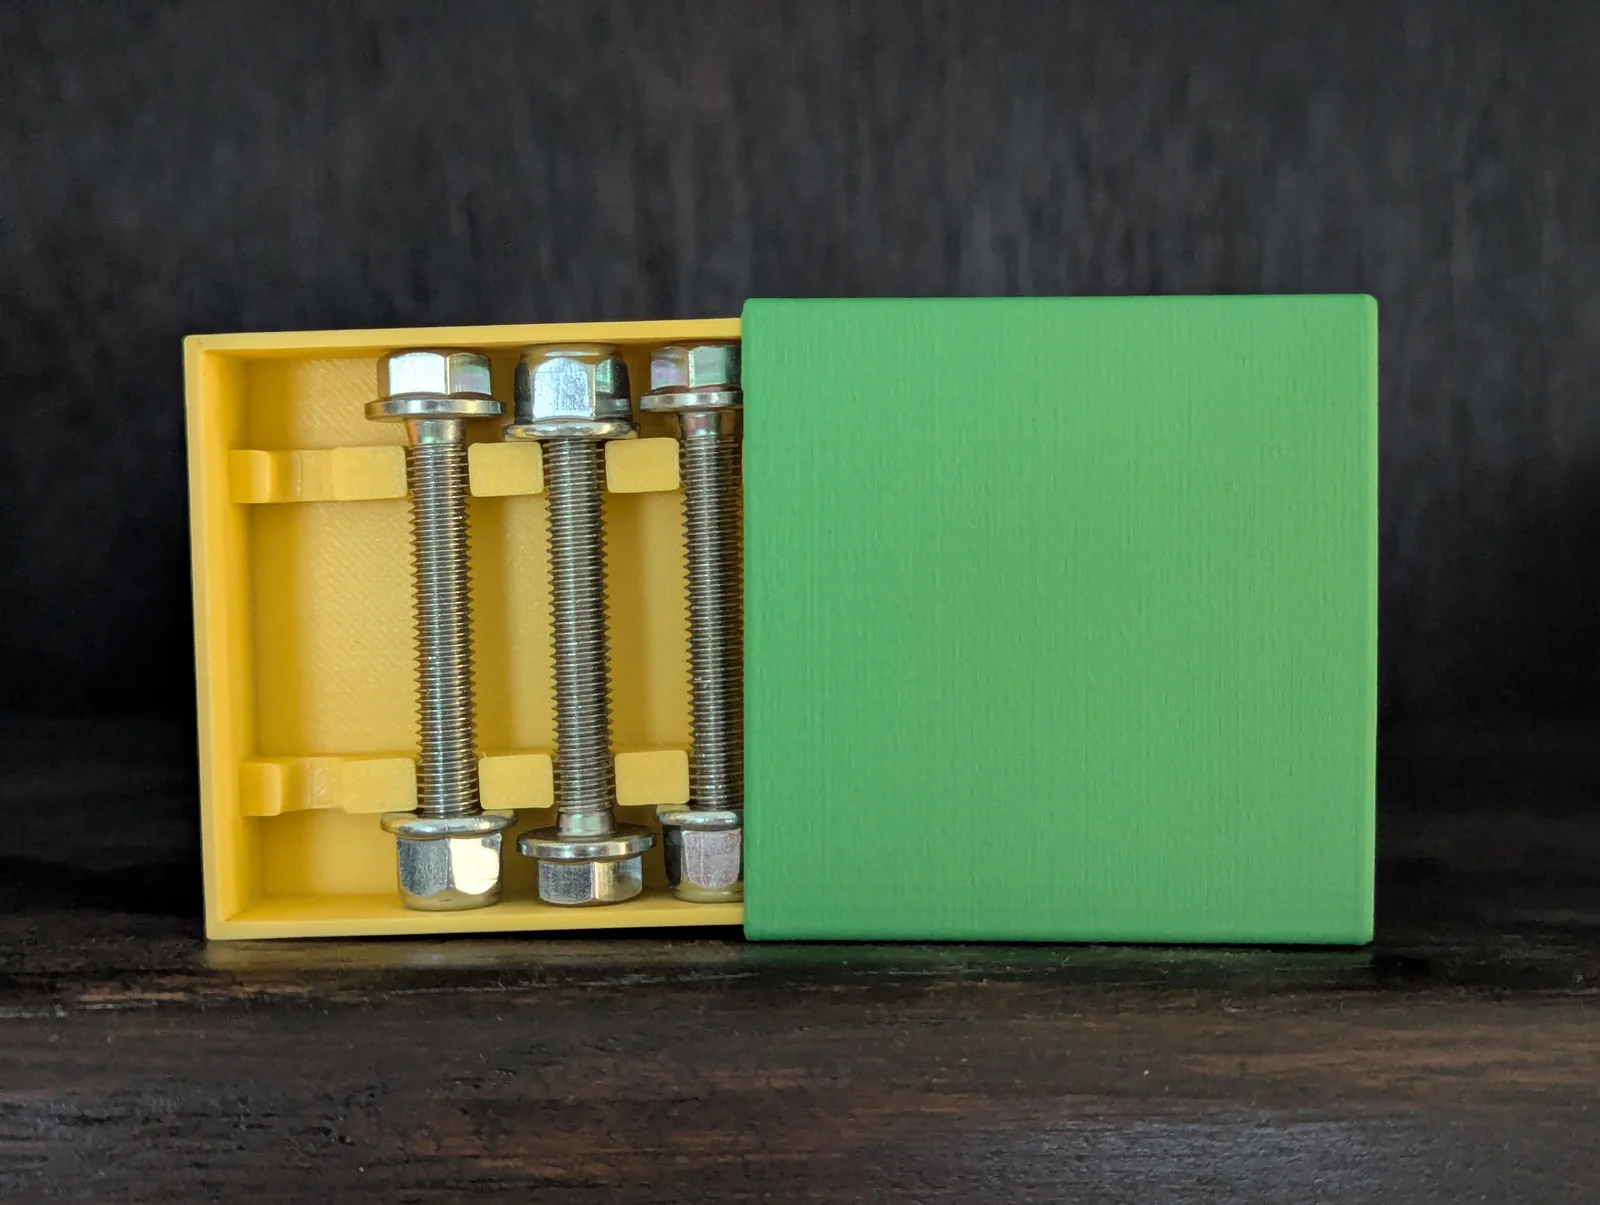
Last winter I prepared for the first snowfall by finally upgrading my lawn tractor with a snowblower attachment. I had a walk-behind snowblower for over 10 years before getting this one and hadn't ever broken a shear pin. However, to prevent being stranded in a drift and with a whole driveway yet to clear, I purchased some spare shear pins (19M7834) and nuts (14M7397) from the local dealer, just in case. So there the pins sat in the plastic bag from the implement until one snowstorm I broke a pin and the bag magically grew wings to fly away somewhere. Eventually after spending about an hour rooting around in the cold garage, I found them, but that left me wanting an easier more identifiable way to find them next time. At least, that is the hope.
As per my usual, it was only natural that I fired up FreeCAD and got to work on a solution. Then after parking that idea the moment the winter ended, the file sat in a folder until the summer heat forced me to spend even more time inside than in the winter it seems, where I finalized the design. It only took six months, but that just means earlier preparation for next winter, right?
The included STLs are oriented for the best printing, and no supports are needed. Customary print settings, like 0.20mm layer height and 3 walls/perimeters, will suffice and reduce the amount of infill to make these parts quick prints.
Assembly is a breeze. Orientate the pin holder so the pins run parallel to closed end of the cover. Tilt the pin holder slightly up and slide it into the case underneath the little catch inside the case. Once past the catch, thread the nuts loosely on the end of the pins and they should fit snugly within the pin holder. Slide the holder into the case and you are on your way to prepare for winter.
The oval opening on the cover serves double duty. First it is easy to press with your finger to reveal the pin holder. Second, you could consider printing or writing a label for the holder to assist with retrieval even more.
As always, please leave a comment, share your make, or offer a suggestion. I'd love to see your prints and all the various colors. Also, remix this to your heart's content. If you liked this model or the writeup, please leave a like or check out my other models here on Printables, like the snowblower driveway marker holders below. Thank you for checking out my model and see you in the next chapter of my 3D modeling adventure!
2026-07-07: Original model uploaded
Byquibeck_3353173Likes1.5KDownloads11.5K

 BybobmakesLikes2.5KDownloads17.5K

 ByFergyMcFergusonLikes50Downloads418

 By43DPRINTLikes295Downloads653

 ByJackLikes145Downloads757

 ByMichael_1442457Likes230Downloads623

 ByPlaca_1765482Likes42Downloads400

 ByTommy3DLab_2023125Likes636Downloads2.5K

 Bymoleculecrtr_1215658Likes544Downloads2K

 By178222178222_2484344Likes449Downloads1.7K

 ByEldordLikes499Downloads1.4K

 BydanecLikes22Downloads177