



Mô hình thành phố Atlantis từ series Stargate Atlantis
 ByMartinLikes2.4KDownloads8.8K
Remix of Mô hình Thanh chắn tàu hỏa bằng gỗ By dreadnaught
Build another version of this model.
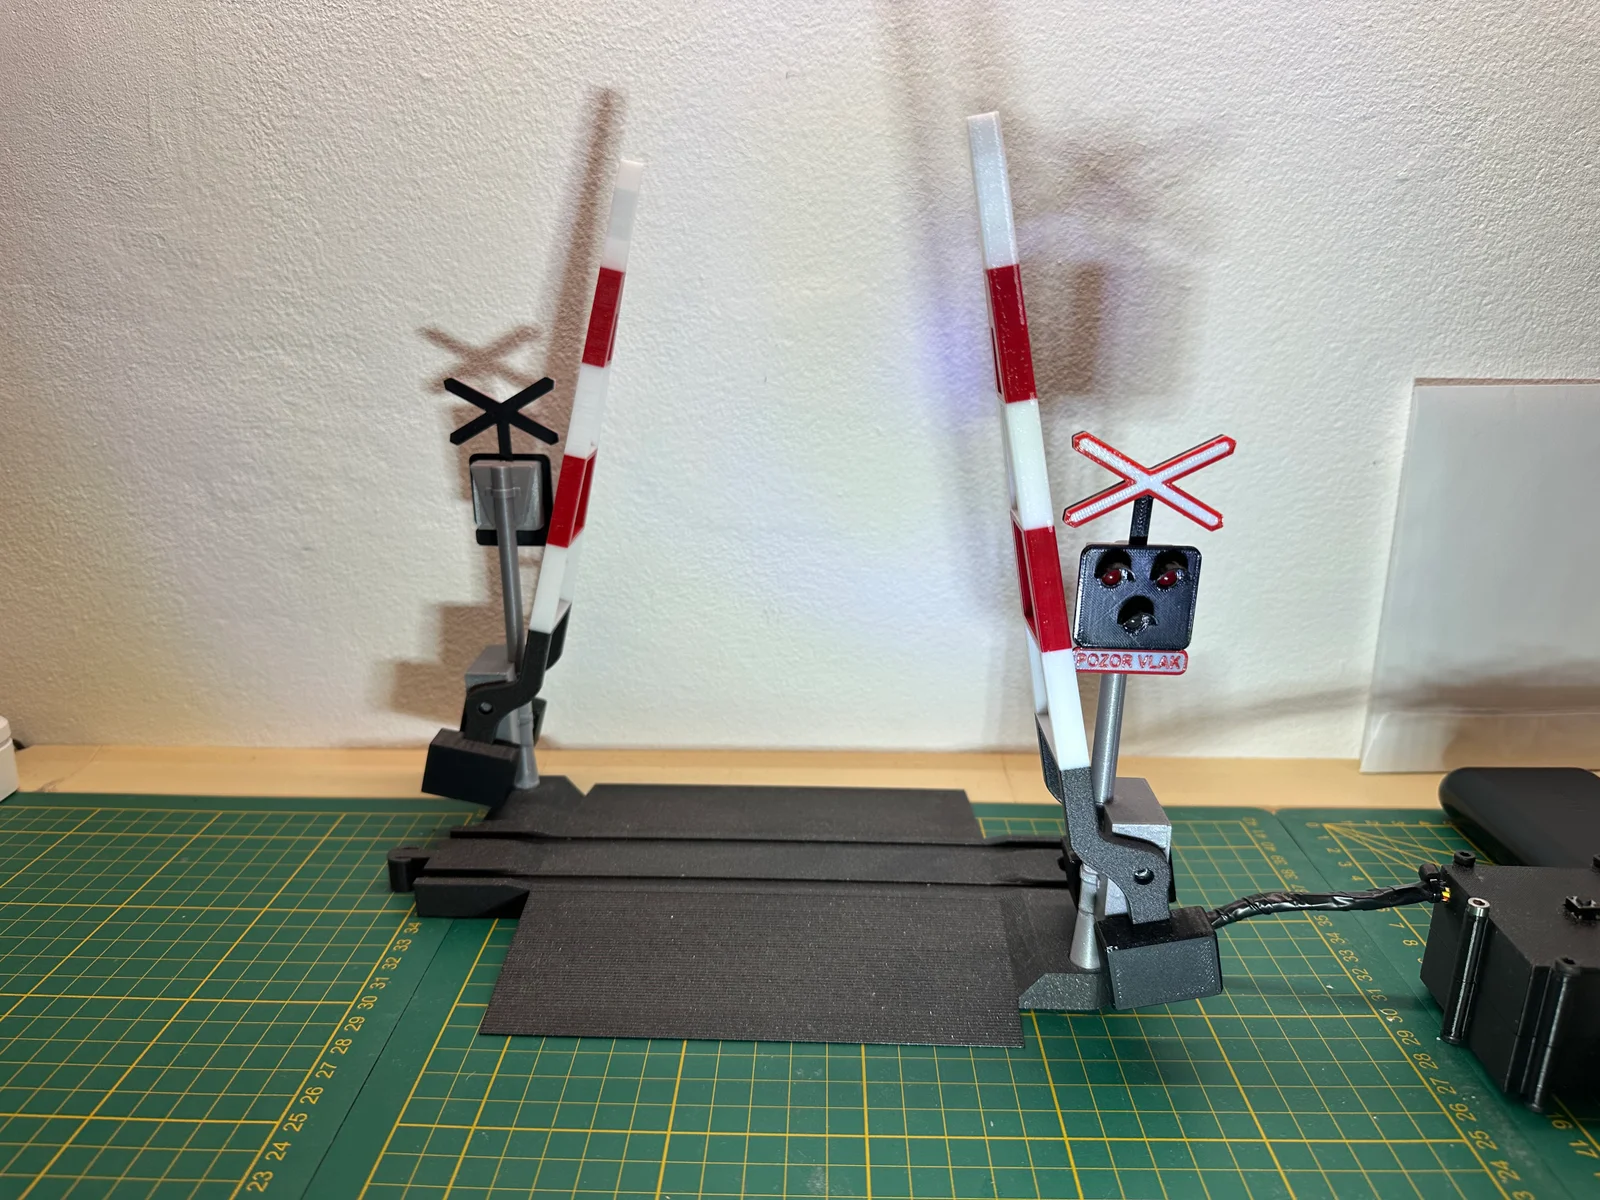
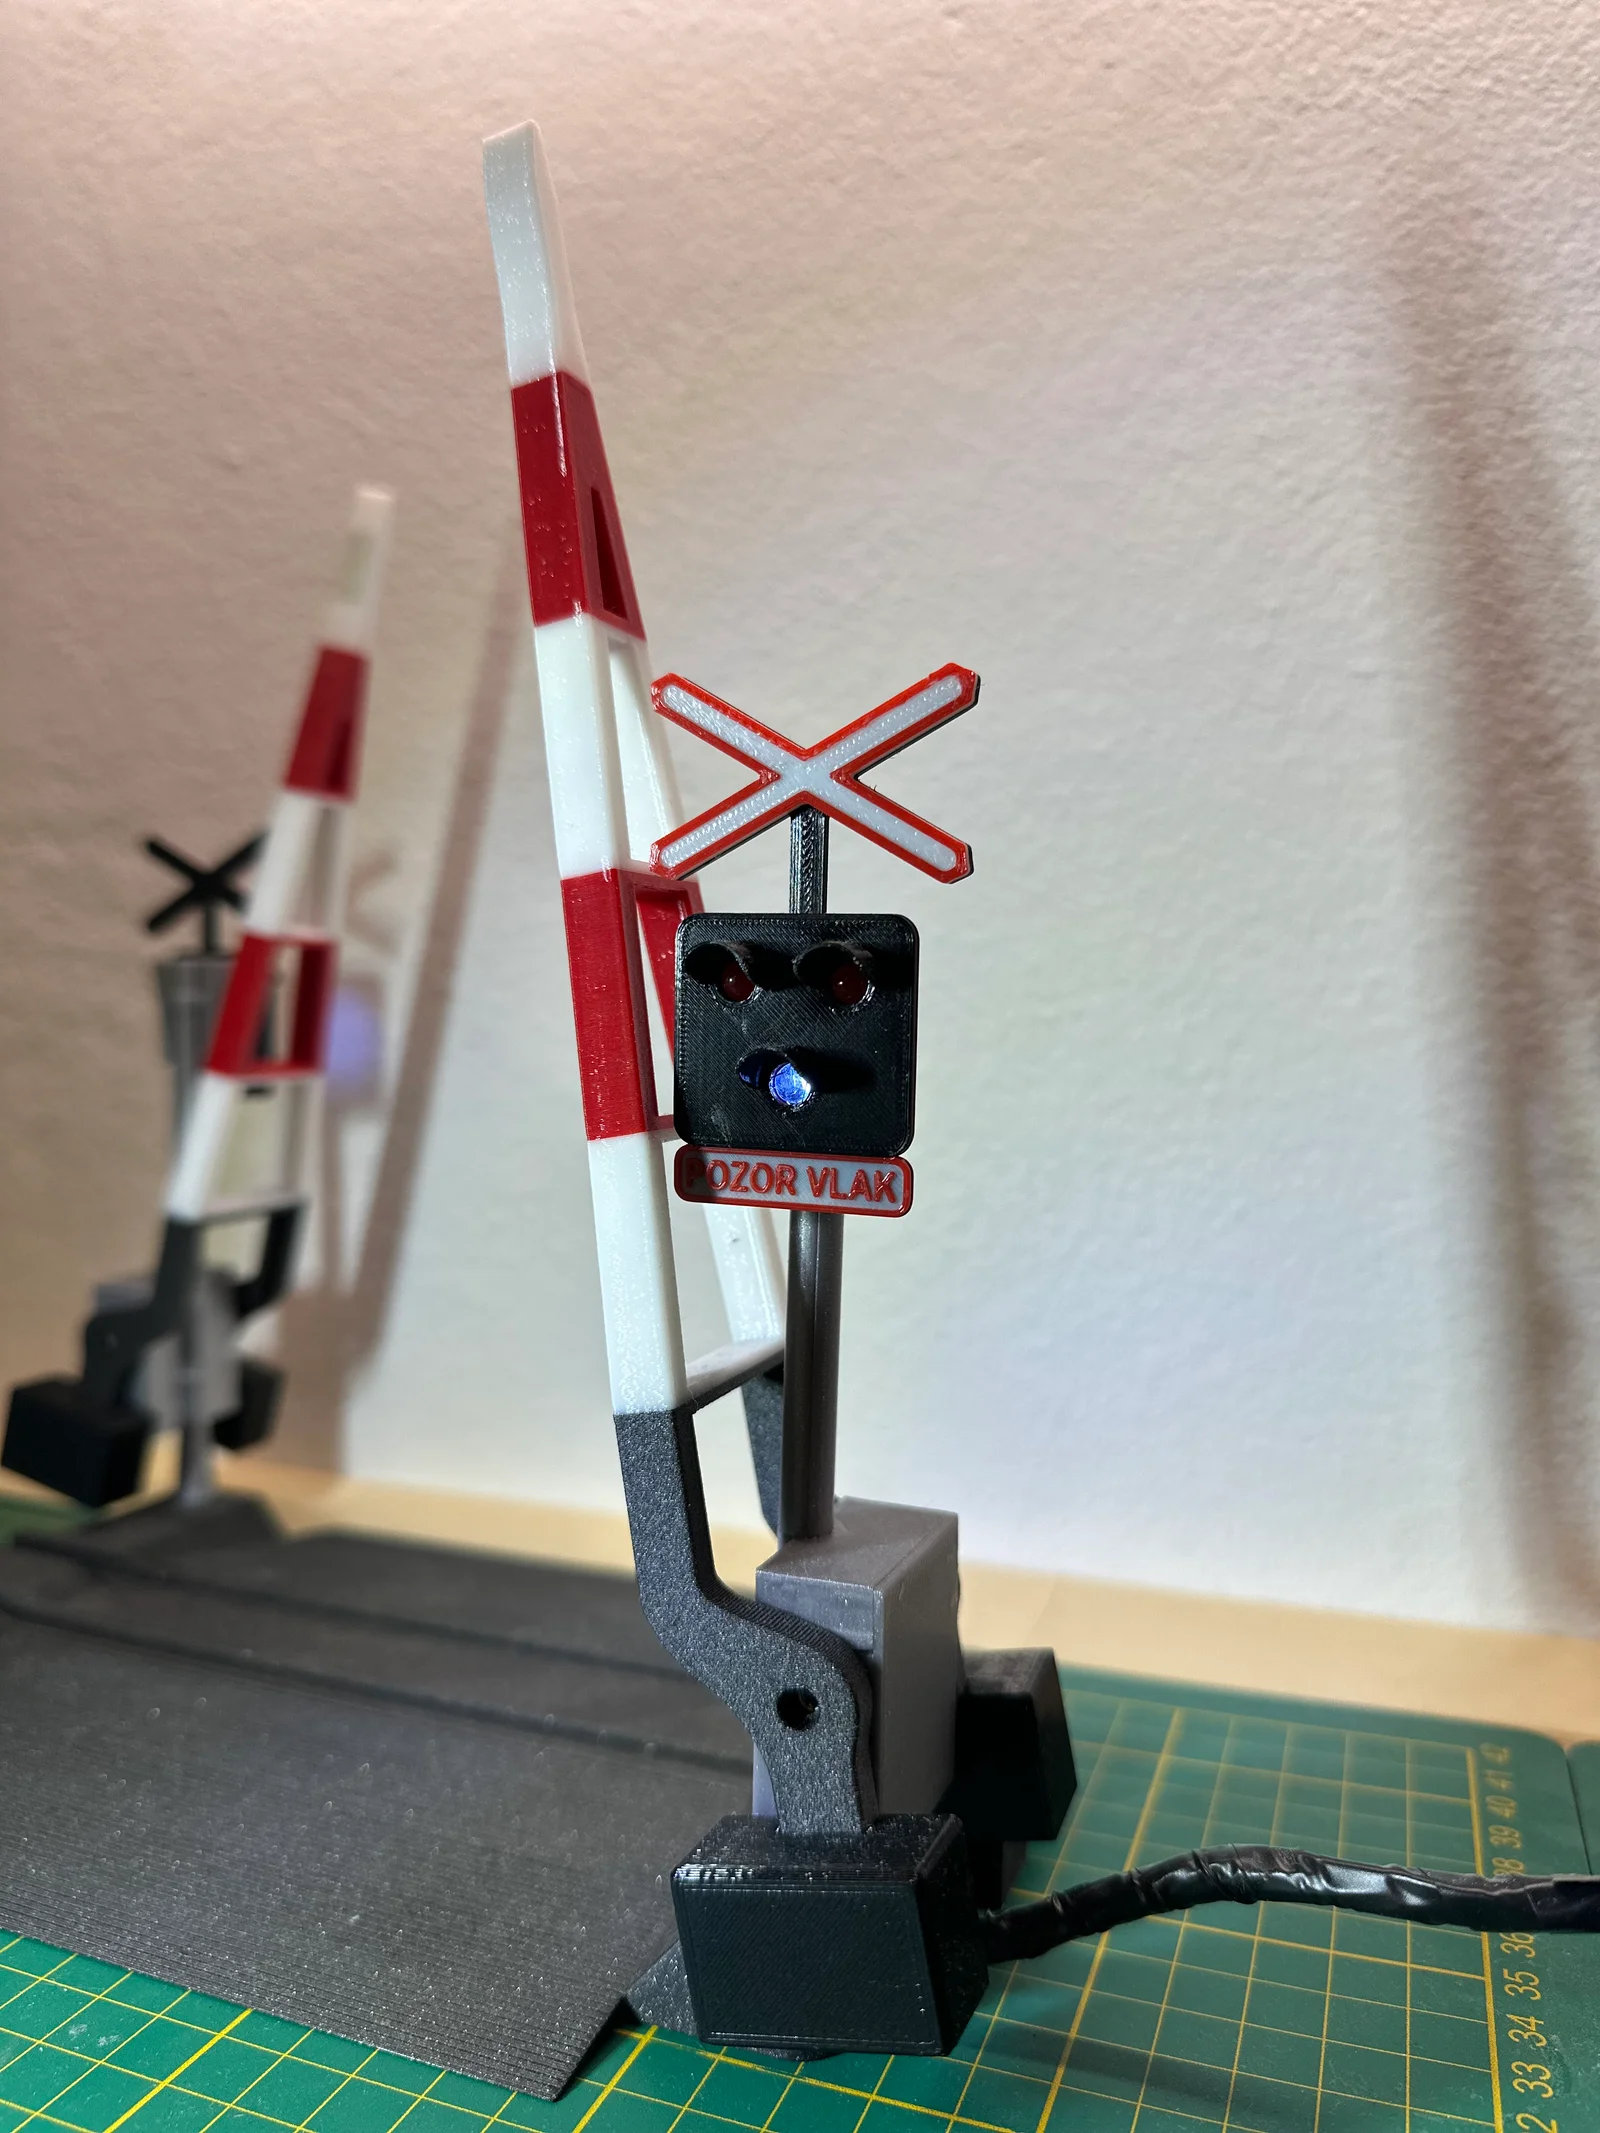
This is a railway crossing for BRIO, IKEA, and other compatible sets, controlled by an Arduino UNO. (https://www.aliexpress.com/item/1005007066680464.html?spm=a2g0o.order_list.order_list_main.218.4ca91802J6c8om)
One button starts a full cycle: the red flashing lights turn on, the barrier lowers and raises again, and the white lights start blinking once more.
I used 5 mm LEDs with a 1 kOhm series resistor to lower the brightness, along with a buzzer from my drawer. The barriers are driven by 2pcs MG90S servos.(https://www.aliexpress.com/item/1005008626768357.html?spm=a2g0o.order_list.order_list_main.238.4ca91802J6c8om)
The electronics were temporarily hidden in a box and powered for almost a year by three AA 1.5 V lithium batteries. Unfortunately, they are now discharged, but the system can also run from a power bank.
It was printed on an MK4S(without MMU) using leftover PLA and PETG, as I wanted the colors to look as realistic as possible. The STEP file can easily be split into separate, easy-to-print parts in PrusaSlicer.
Arduino UNO pinout:
const int led1 = 8; // RedLED 1
const int led2 = 9; // Red LED 2
const int buzzer = 7; // Buzzer
const int whiteLed = 6; // WhiteLED
const int buttonPin = 10; // Button
const int servoPin1 = 11; // Servo 1 signal
const int servoPin2 = 12; // Servo 2 signal
ByMartinLikes2.4KDownloads8.8K

 ByMichalFantaLikes180Downloads778

 ByMonomoLikes357Downloads3.7K

 BySoarpixLikes739Downloads2.9K

 Byancilod142_2166504Likes320Downloads1.6K

 Byelizabeth3dLikes0Downloads239

 BySlanjonokLikes52Downloads623

 ByWanderingJui_3925173Likes39Downloads1K

 ByJerryieLikes0Downloads134

 Byplasmarob_300405Likes252Downloads2.1K

 ByG33kt3chstudioLikes114Downloads393

 ByPariDot_92080Likes71Downloads1.1K