



Giá đỡ mái chèo cho ván SUP
 ByMachaki_1134160Likes36Downloads369
Build another version of this model.
Note: you will need to make a free OnShape account to customize this model. I don't know of a way to enable FeatureScript customization without it.
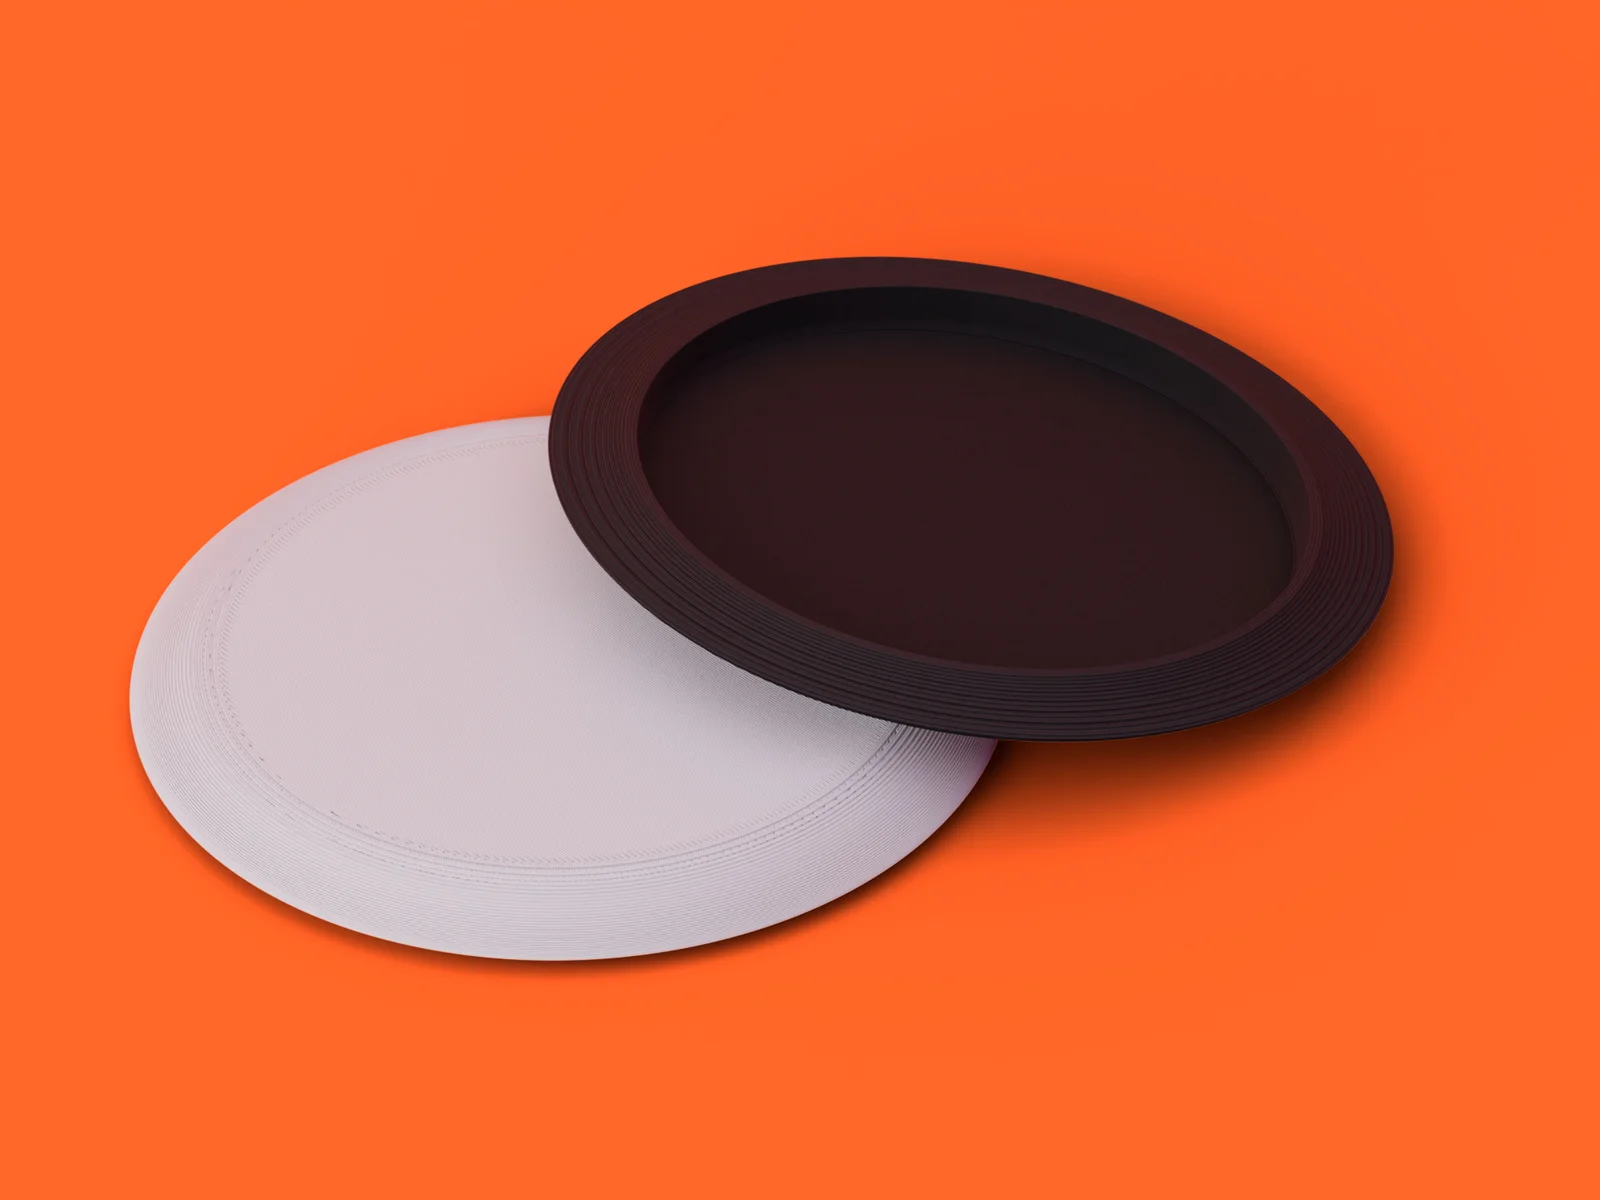
I wanted 3D print my own disc golf discs using TPU, but I kept running into the same problem: supports made the prints messy, difficult, and inconsistent. fter doing some research, I found two awesome projects:
1. Ryan Marr's – Parametric Disc Golf Generator
This is a parametric OpenSCAD model of a disc golf disc, plus preset numbers for 28 famous PDGA-approved molds and a web-based designer.
2. Kitty Hawk's – Disc golf disc, no supports, floats in water
This disc requires no supports and has no overhangs. It is split into 4 parts and each one can be oriented where there are no overhangs or supports needed. The parts will need to be glued together.
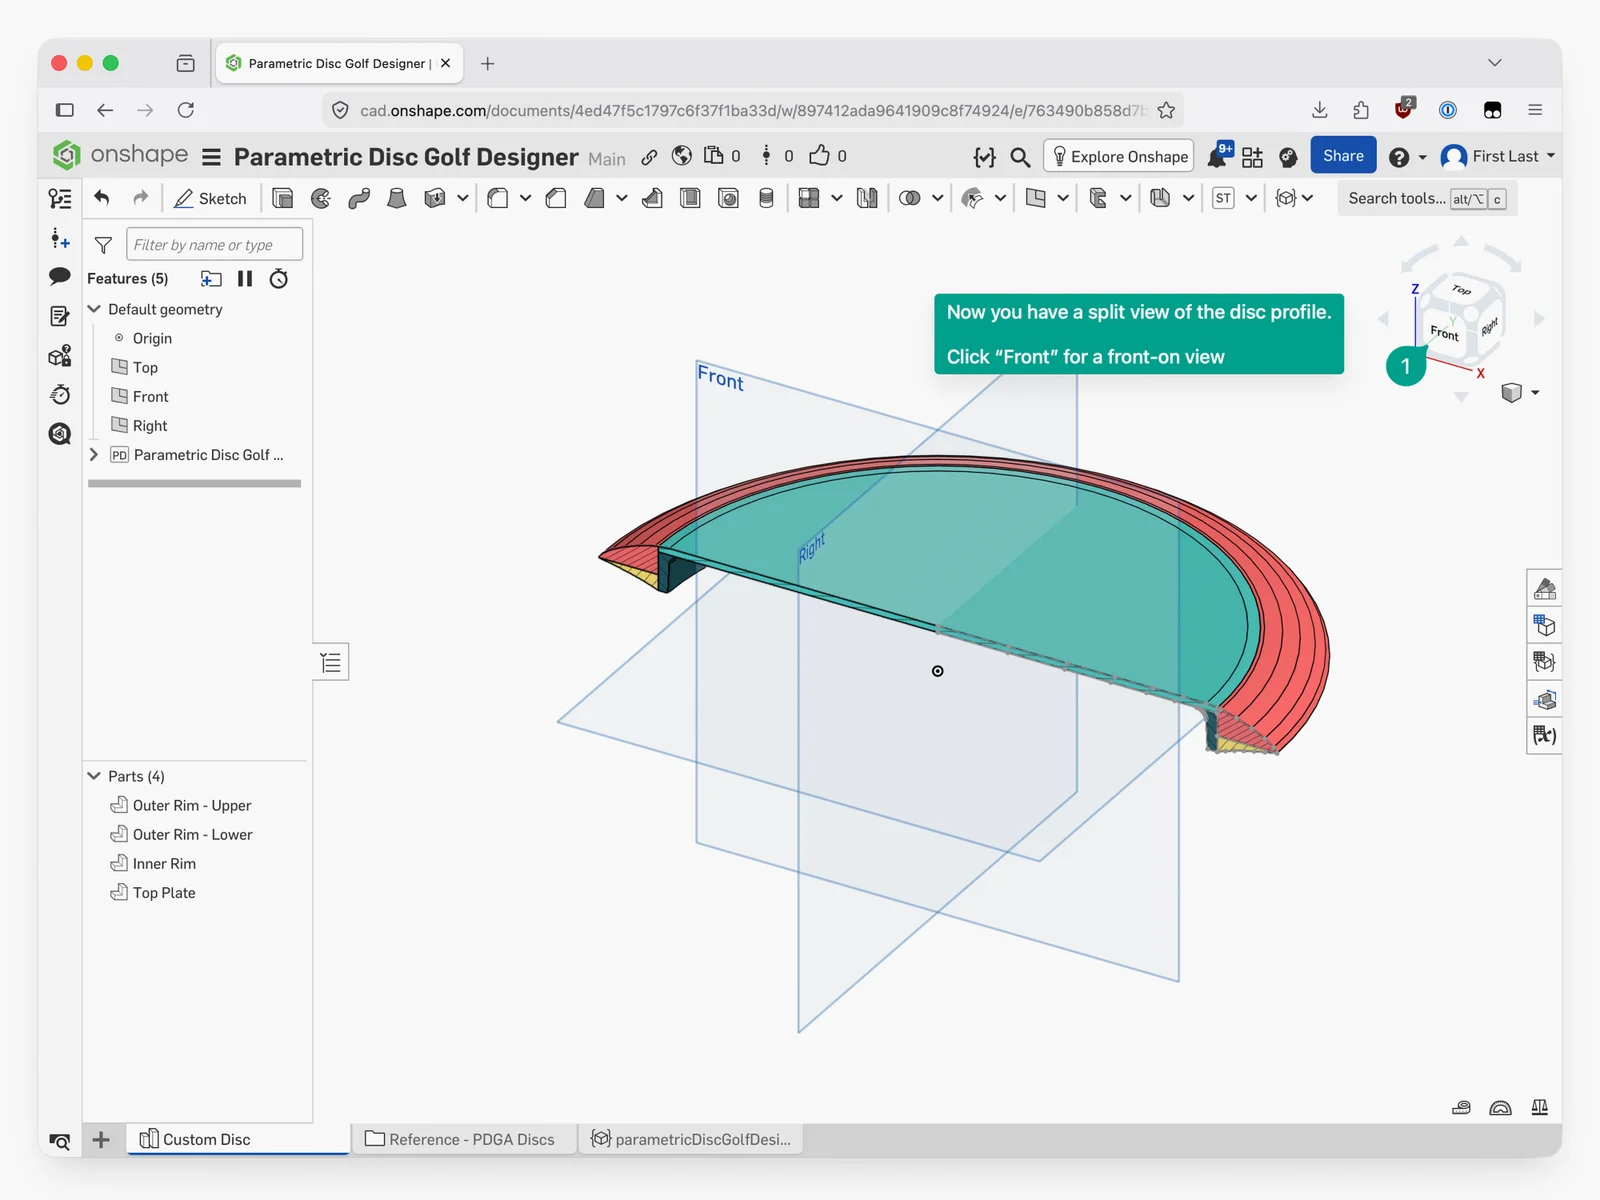
Since Onshape is my main CAD and modeling tool, I used Codex to help adapt the code and profile-generation logic from Ryan Marr’s disc.scad file into an Onshape FeatureScript feature. I then added splitting logic inspired by Kitty Hawk’s Onshape model.
Now discs can be created, adjusted, visualized, and exported directly inside Onshape, making it much easier to tweak dimensions and experiment with different shapes. The feature also auto-magically splits the disc into four parts with flat surfaces, making the model easier to print without any support material.
Summarized from Kitty Hawk's Post
I printed all the parts in TPU 95A, which gives it good durability. I would not recommend a hard filament because it will most likely crack.
The important part to get the weight correct is print the Top.stl, Bottom.stl, and Inner.stl files first, weigh them all, and then adjust the infill settings on Plate.stl to get the weight you want. I wanted around 170-175, and it ended up at 173g, which is basically perfect.
Some suggested settings:
Outer Rim - Upper:
Infill 35% gyroid
3+ walls
0.15mm layer height
Outer Rim - Lower:
Infill 35% gyroid
3+ walls
0.15mm layer height
Inner Rim:
Infill 30% gyroid
2 walls
0.2mm layer height
Top Plate:
Infill 15-40% gyroid (depending on how dense the filament. Print all the other parts and adjust infill percentage until you get a good weight, around 173g for me)
2 walls
0.15mm layer height
Post processing tips:
When you glue it together, put it on parchment paper so it does not stick.
Use a deburring tool or a sharp knife to smooth down the inner rim, it can be pretty sharp otherwise.
Use sandpaper to remove excess glue, it does not seem to be able to sand TPU very well.
OpenAI Codex was used the convert OpenSCAD code to OnShape FeatureScript. But no AI was used to generate the models or images.
ByMachaki_1134160Likes36Downloads369

 ByMauroVanDerG_4110408Likes378Downloads2.7K

 ByCubaLibreee_2869176Likes125Downloads1K

 ByXDr4g0nXLikes198Downloads828

 ByGerhard_48223Likes240Downloads470

 ByBillRichardsLikes32Downloads387

 ByKorriLikes60Downloads615

 ByTarzLikes28Downloads580

 ByanimatedheavenLikes0Downloads261

 BySmokerJoker2020Likes9Downloads114

 By3DGearSupplyLikes26Downloads447

 ByMFTuningLikes153Downloads1.8K