



Thùng rác in Vase Mode
 BybobmakesLikes2.5KDownloads17.5K
Build another version of this model.
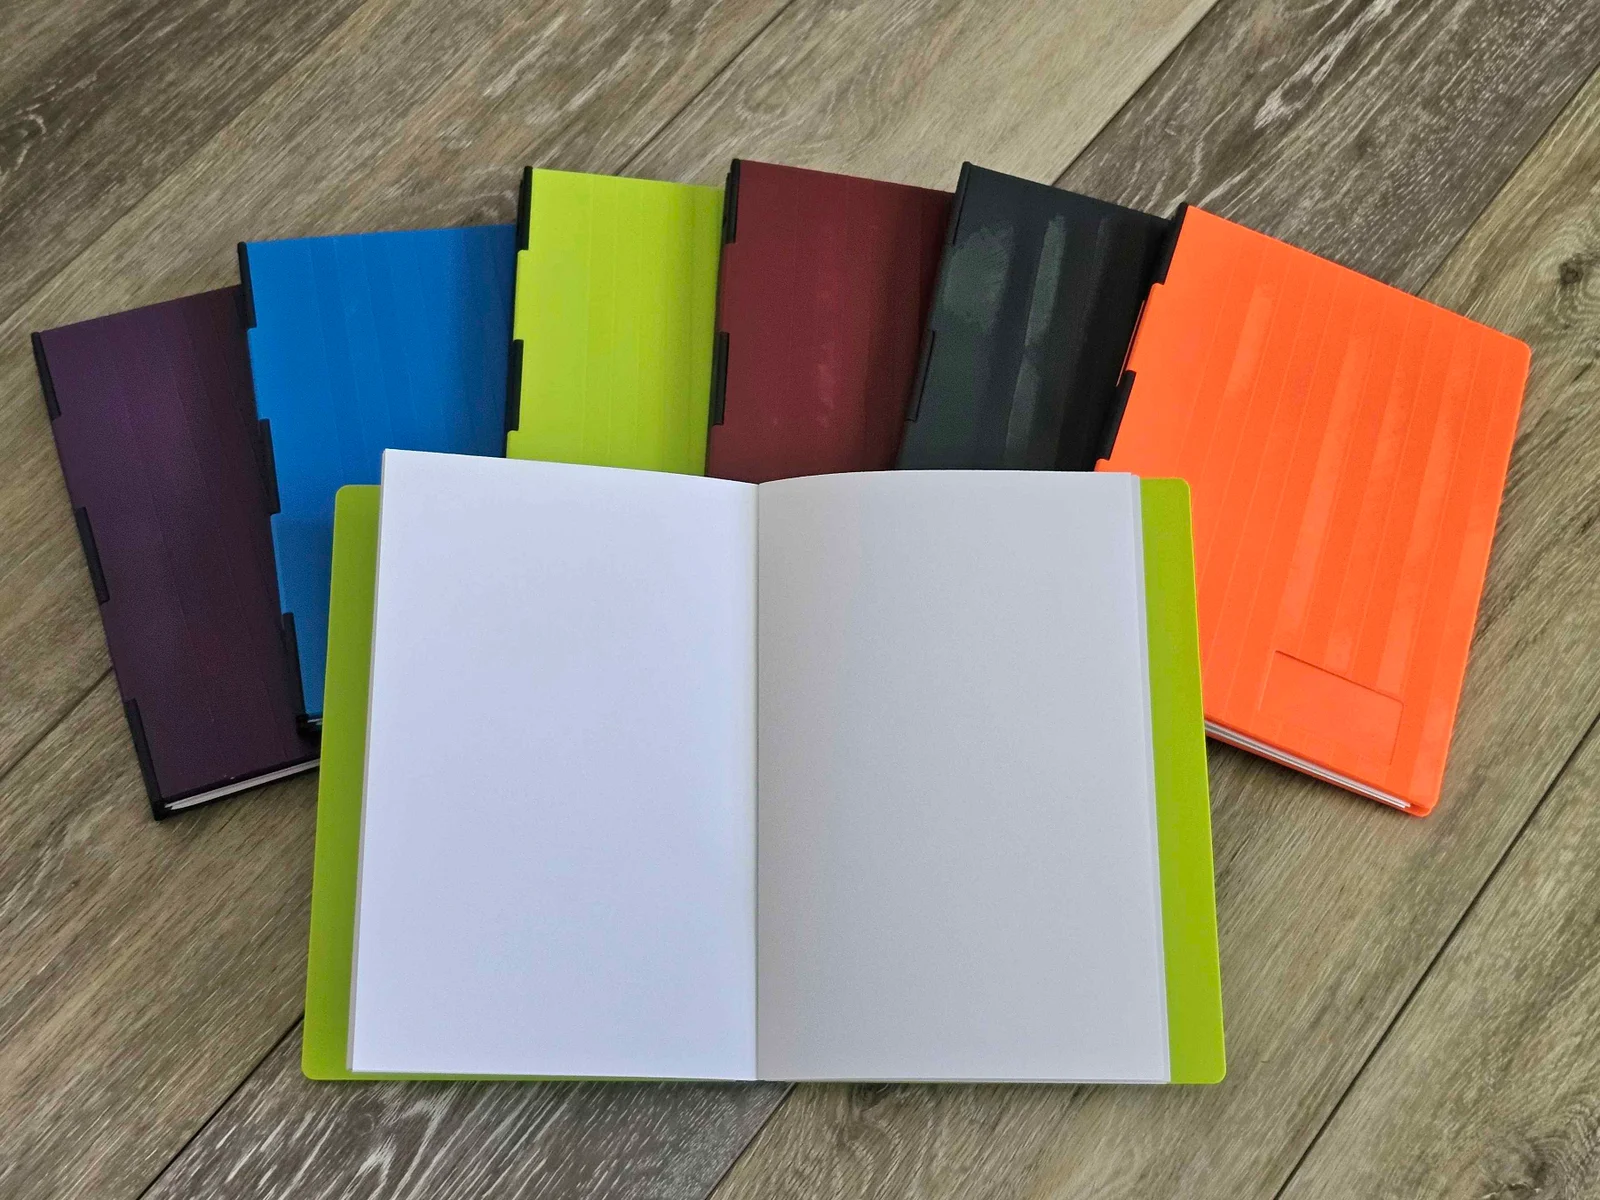
A small-scope notebook with a replaceable signature and lay-flat design.
Comfortably holds 20 pages (10 sheets) of standard 8.5" x 11" US Letter paper. This means you can also print out your own page designs for anything from standard notebook lines, dot grids, and graphs to unique and task-specific designs like personal lab notes, storyboard panels, or D&D trackers.
Some cover designs also allow you to affix a 2" x 1" label, if you prefer. The covers with label spots can be used as front or back covers; however your brain prefers to see them that makes sense to you.
Additional printer filament (preferably something ductile and less prone to becoming brittle from stress) is needed to hold the spine and covers of the book together.
You will also need a #19 rubber band to hold the pages. (3.5" long by 1/16" wide)
Note: There are test hinge parts I added that you can print to make sure you're printer is calibrated correctly before committing to a 4+ hour set of prints. The filament hinge should be relatively easy to slide in with minimal effort and should not come out unless it is pulled out or pushed out by another piece of filament. This model was designed and initially printed on a 0.4mm nozzle with 0.2mm layers.
Count out the number of sheets of paper you want to use to make the signature. I recommend using 10 sheets of 8.5" x 11" paper. You can use less if you're like, or more, but I think 10 sheets is the sweet spot.
Take a group of 5 sheets and fold them in half to make a half of your signature.
Use a tool (like a folding bone, or even a rounded pen body) to put a better crease in the folded paper.
Repeat again for your other 5 sheets.
Combine your two half-signatures together into one full signature.
Print two covers of your choice, along with one notebook spine.
Lay the spine and one of the covers on a flat surface and line up the hinge parts.
Insert 1.75mm printer filament through the holes of the hinge pieces to affix the two parts together.
Needle-nose pliers can help with inserting filament if you walk it in ~5mm at a time.
Use of side cutters is recommended to put a angled cut into the filament to help it line up with each of the hinge openings, the same way you would cut it to help with loading it into a printer. Also, to trim off excess and make the hinge pin flush with the edge of the spine. If there are issues with your hinge holes and the pin material choice, you can also insert one piece of filament half way through, trim that, and then insert the other half of the hinge pin from the other end.
Ductile filament is highly recommended for hinge pin material. 95A TPU (or harder) is great and will not break from accumulated stresses. PCTG may also be good, but I am currently testing that. Though common PETG and PLA will work, these materials aren't recommended.
Repeat with the other cover piece.
Hook your #19 rubber band around one of the mounting pegs of the spine.
Open your cover and place your (open) signature inside.
Stretch the rubber band up and away from the cover.
Bring the stretched rubber band down and over the middle crease of the signature.
(This part is a little tricky, especially when trying to avoid rolling the rubber band and putting twists in it) Hold everything together and pick the cover up off the table with the signature still inside of it. Wrap the rubber band around the other mounting peg.
Ensure the signature is lined up in the middle of the cover and that the rubber band is in the middle crease of the signature and close the book.
Note: It isn't recommended to put your rubber band on first and then just slide the signature under it. Paper is sharp and the same way you would get paper cuts rubbing you hand along the edge of it, you're probably going to be putting paper cuts into your rubber band, weakening it and reducing its lifespan for your book.
BybobmakesLikes2.5KDownloads17.5K

 Byquibeck_3353173Likes1.5KDownloads11.5K

 ByVinors3DLabLikes393Downloads995

 ByHydratedMini_1690513Likes173Downloads718

 ByTommy3DLab_2023125Likes636Downloads2.5K

 Bymoleculecrtr_1215658Likes544Downloads2K

 ByPiotrRagoLikes161Downloads447

 ByTheMerchant_560996Likes104Downloads270

 Byextrablind_178817Likes40Downloads223

 Bygleb_sexy_1069616Likes42Downloads232

 By178222178222_2484344Likes449Downloads1.7K

 ByEldordLikes499Downloads1.4K