



Kẹp giữ sợi Filament
 Bytinx_1344834Likes1.2KDownloads6K
Build another version of this model.
WARNING READ:
You have to remove the two top front corner brackets and relocate them. Or print low profile ones as the print head has to go to Y-10 or 15 which is only possible if you remove those brackets. Furthermore this isn't suitable for chunky tool heads as they will crash into the front frame.
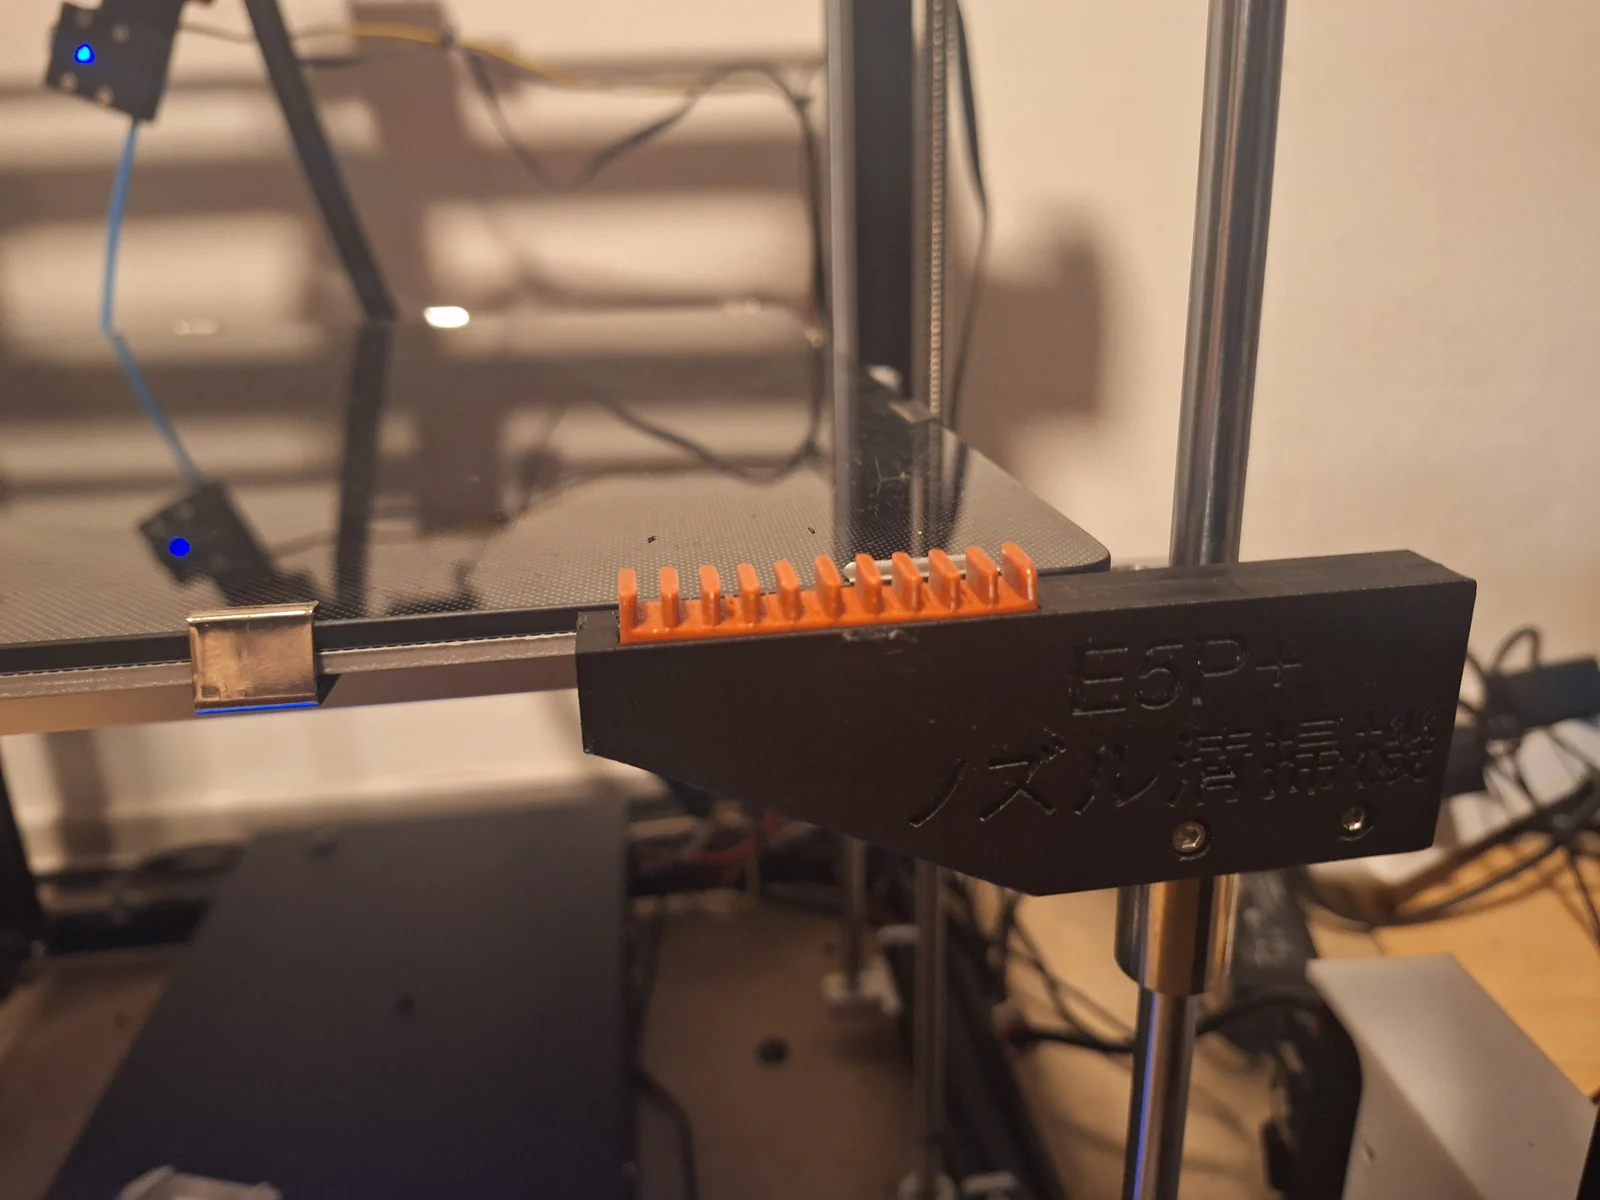
After looking through the available nozzle wipers for the Ender 5 Plus, I couldn't quite find one that matched the aesthetic I was after, so I designed my own.
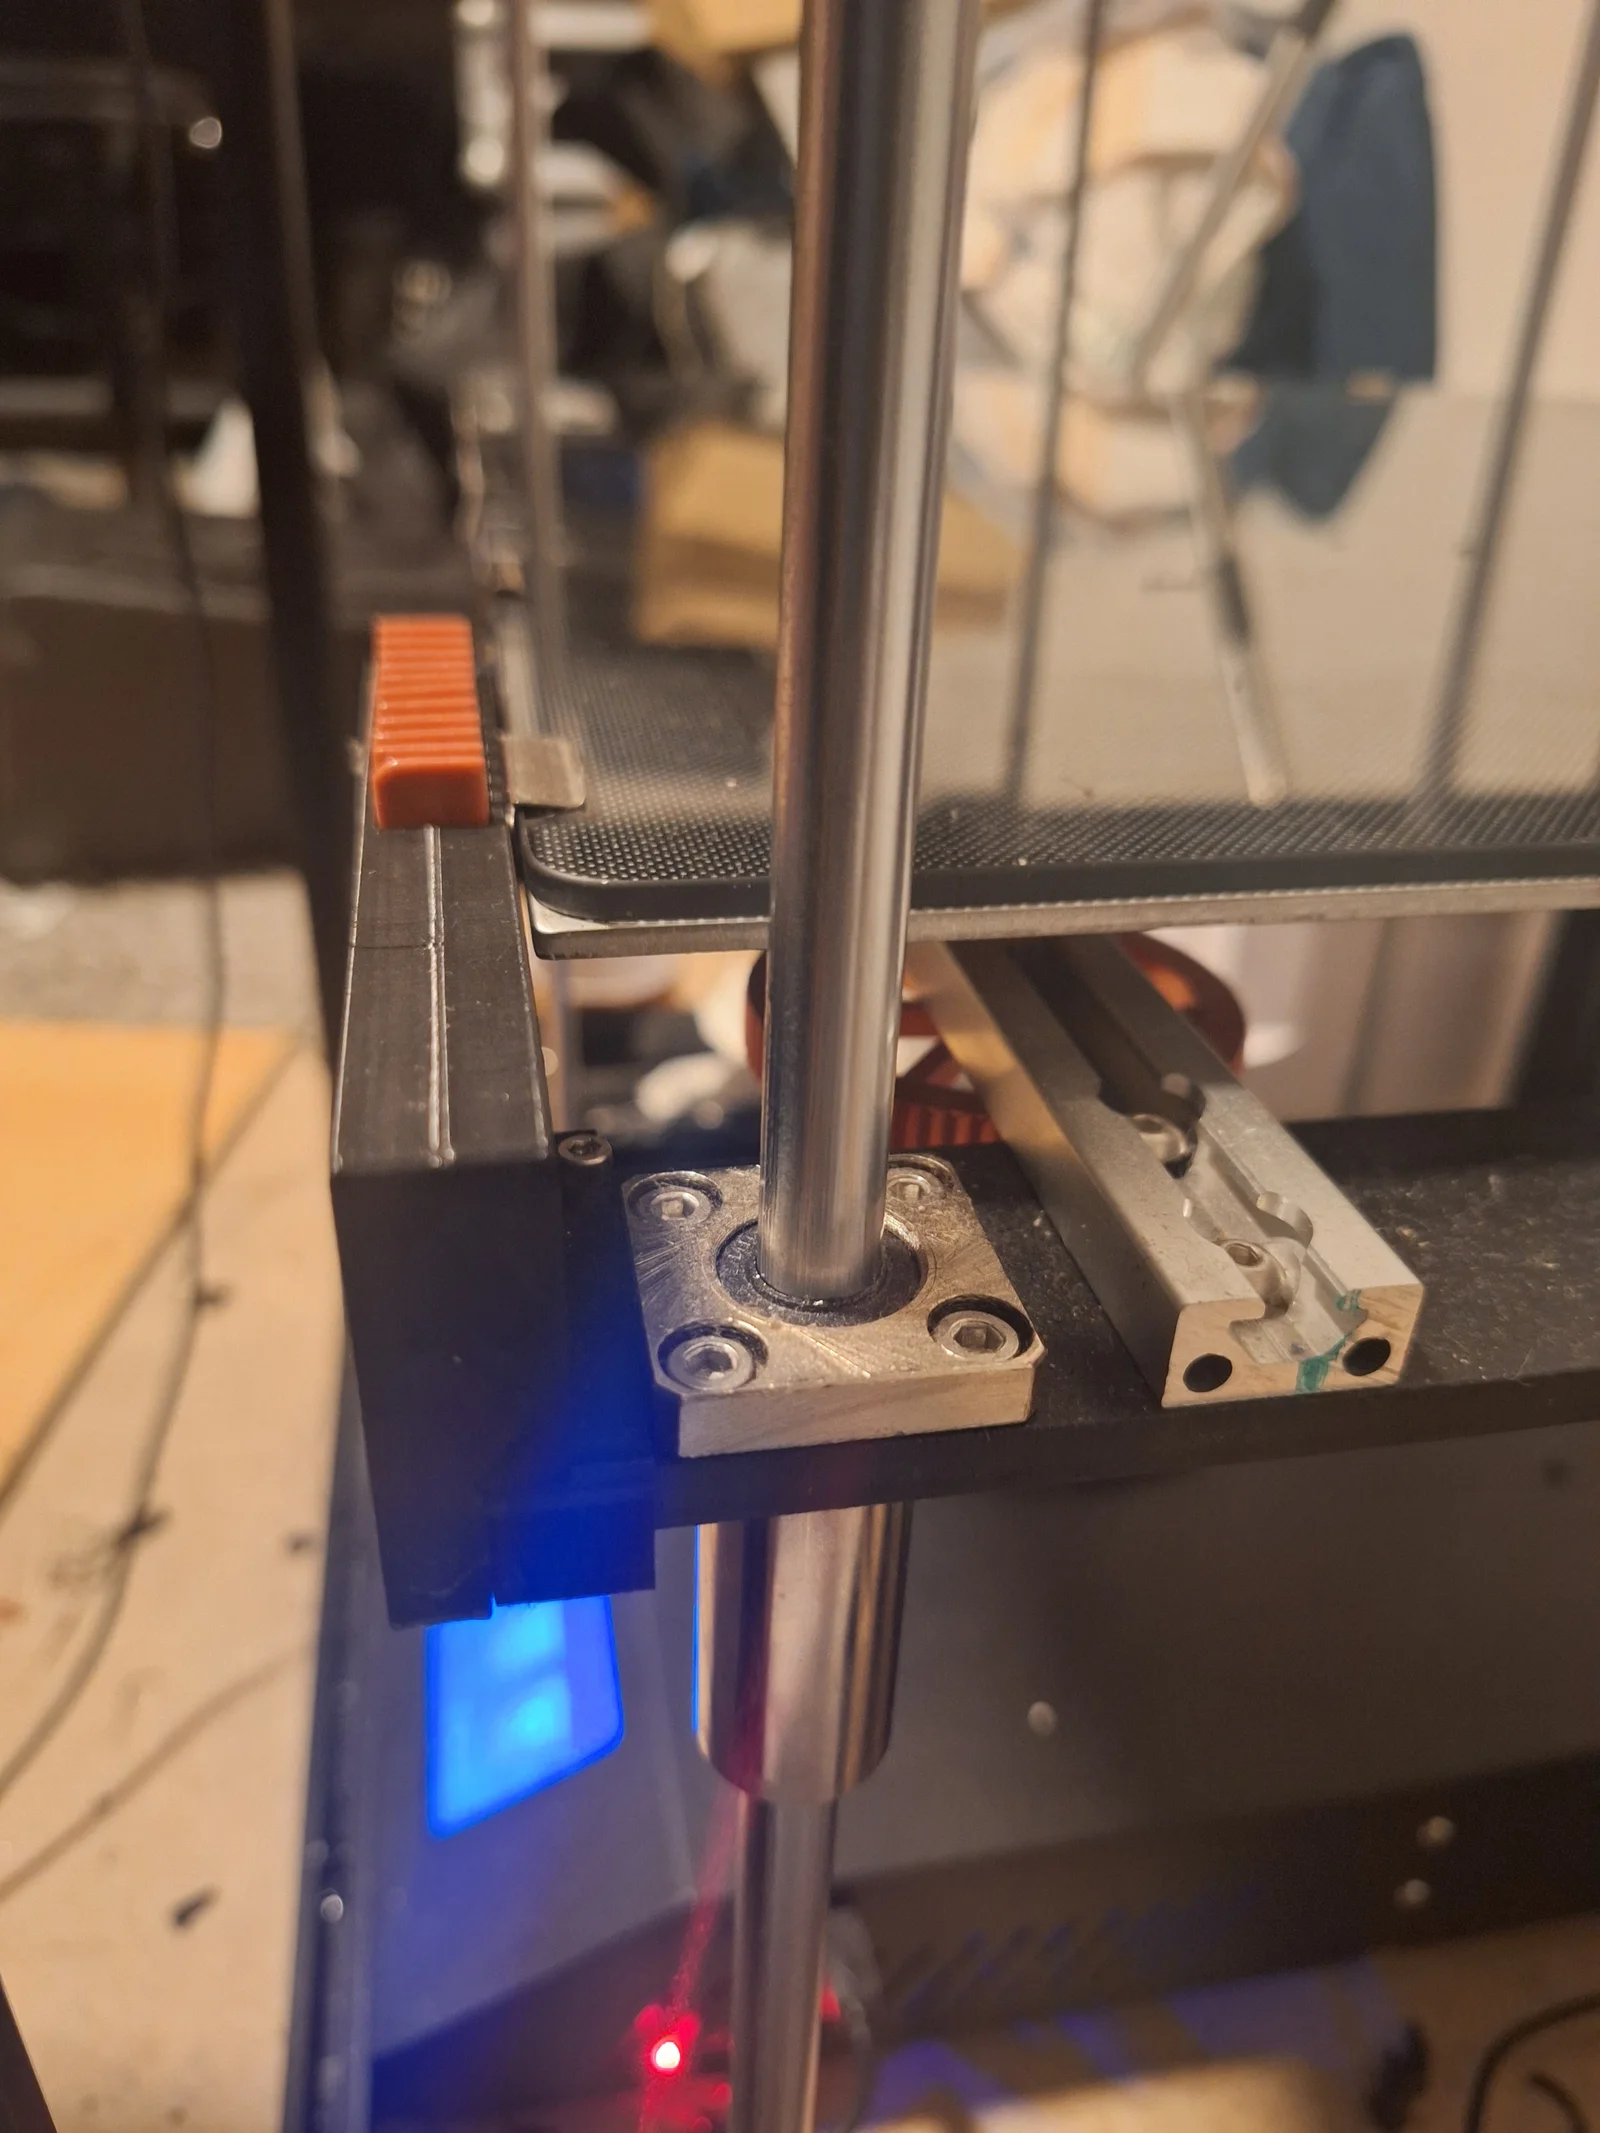
This design mounts using an existing hole in the Z-axis base frame, which I believe is originally used during the factory powder coating process. No drilling or permanent modifications to the printer are required.
• 2 × M3 heat-set inserts (short or standard length, but not the extra-long type)
• 1 × M3 × 10 mm screw
• High-temperature two-part silicone (rigid or semi-rigid)
I personally use a chemically curing two-component silicone rated to 350°C, although any comparable high-temperature silicone should work.
Before pouring the silicone, lightly spray the cavity with a small amount of washing-up liquid mixed with water. This acts as a simple release agent and allows the cured silicone insert to be removed from the mold much more easily.
Important: Use a two-component silicone that cures chemically. Do not use air-curing silicone, as it generally does not perform well for this application.
Material:
PETG
ABS
ASA
Other heat-resistant engineering filaments
Do not print this part in PLA, as the temperatures around the bed can eventually deform it.
Recommended settings:
10% infill is more than sufficient.
Print the model upright, with the small "pointed" end facing upward.
Use your preferred wall count and layer height. The model is quite forgiving.
Installation
Install the heat-set inserts, cast the silicone insert, secure the wiper base using the M3 screw, and you're ready to go.
WHen using the insert in the mold, be sure to put the chamfered side up (it works as an anchor retainer) and use 2nd one of them 90 degrees turned as a "rest" for it to cure and put a M3x10mm screw trough it. You can either do it flush, or submerge the insert a millimeter or 2 for more rigidity.
For full functionality, you'll need to add nozzle wiping commands to your printer's start G-code. I'll upload my own start G-code as a reference once I've finished restoring my machine.
If you improve the design or create your own variation, I'd be delighted to see what you come up with. Happy printing!
PS: if your holes are on the other side, mirror all the parts.
Bytinx_1344834Likes1.2KDownloads6K

 ByBrokentooth_designsLikes17Downloads147

 Byprusa-researchLikes0Downloads2.7K

 Byarhi_585078Likes64Downloads541

 Bygafyx3dLikes0Downloads121

 ByHanzo3dLikes155Downloads414

 BydarienLikes0Downloads1K

 ByGeek5DLikes147Downloads485

 BynozeLikes0Downloads130

 Byla-cave-au-chatLikes0Downloads965

 Bycrawler-3903250Likes0Downloads906

 ByvertigomakesLikes0Downloads562