

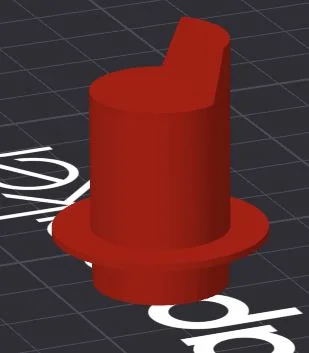
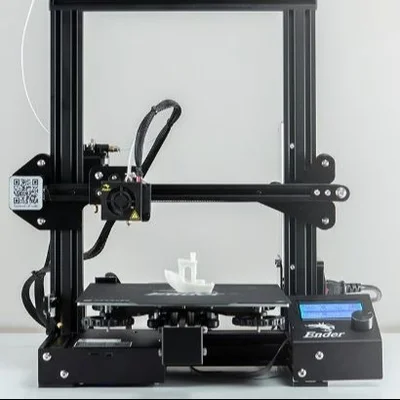

Snapmaker U1 Poop Deflector
 BydarienLikes0Downloads1K
Remix of Chốt giữ nắp Snapmaker U1 - Giải pháp lắp đặt dễ dàng cho thùng IKEA Samla By JeremyReeder
Build another version of this model.
Original description:
Remove the factory silicone plugs and replace them with these four pegs, positioning their protrusions toward the printer’s centerline. Then place an inverted Samla 45L bin ($7 at IKEA) on top.
Voilà ! With that cover and this five-gram low-profile mount, your Snapmaker U1 is now sufficiently enclosed to retain the heat necessary to print with high-temperature materials like polycarbonate without the warping that comes from cooling too quickly.
This works well for me, resulting in a passively heated chamber of up to 54°C on a 16°C day. Tape over a portion of the vent at the rear if you need to retain even more heat.
Remix modification:
The peg is 20 milimeters higher to avoid the ptfe tubes to collide with the cover, you can choose to use 2 original in the front and 2 higher in the back or use 4 high
BydarienLikes0Downloads1K

 Bytinx_1344834Likes1.2KDownloads6K

 Byleaf-engineeringLikes0Downloads672

 By3DSourcererLikes48Downloads382

 Byprusa-researchLikes0Downloads2.7K

 ByJACK98Likes0Downloads263

 Bydet-manLikes0Downloads178

 Bygummiegecko8477Likes0Downloads169

 Bychukwufumnanya-arinzechukwuLikes0Downloads154

 BysolathLikes0Downloads209

 BydalleLikes0Downloads152

 Bychris-barwickLikes0Downloads131