




Steam Machine Companion Cube / Vỏ đựng Weighted Storage Cube
 ByJaronLikes310Downloads1K
Build another version of this model.
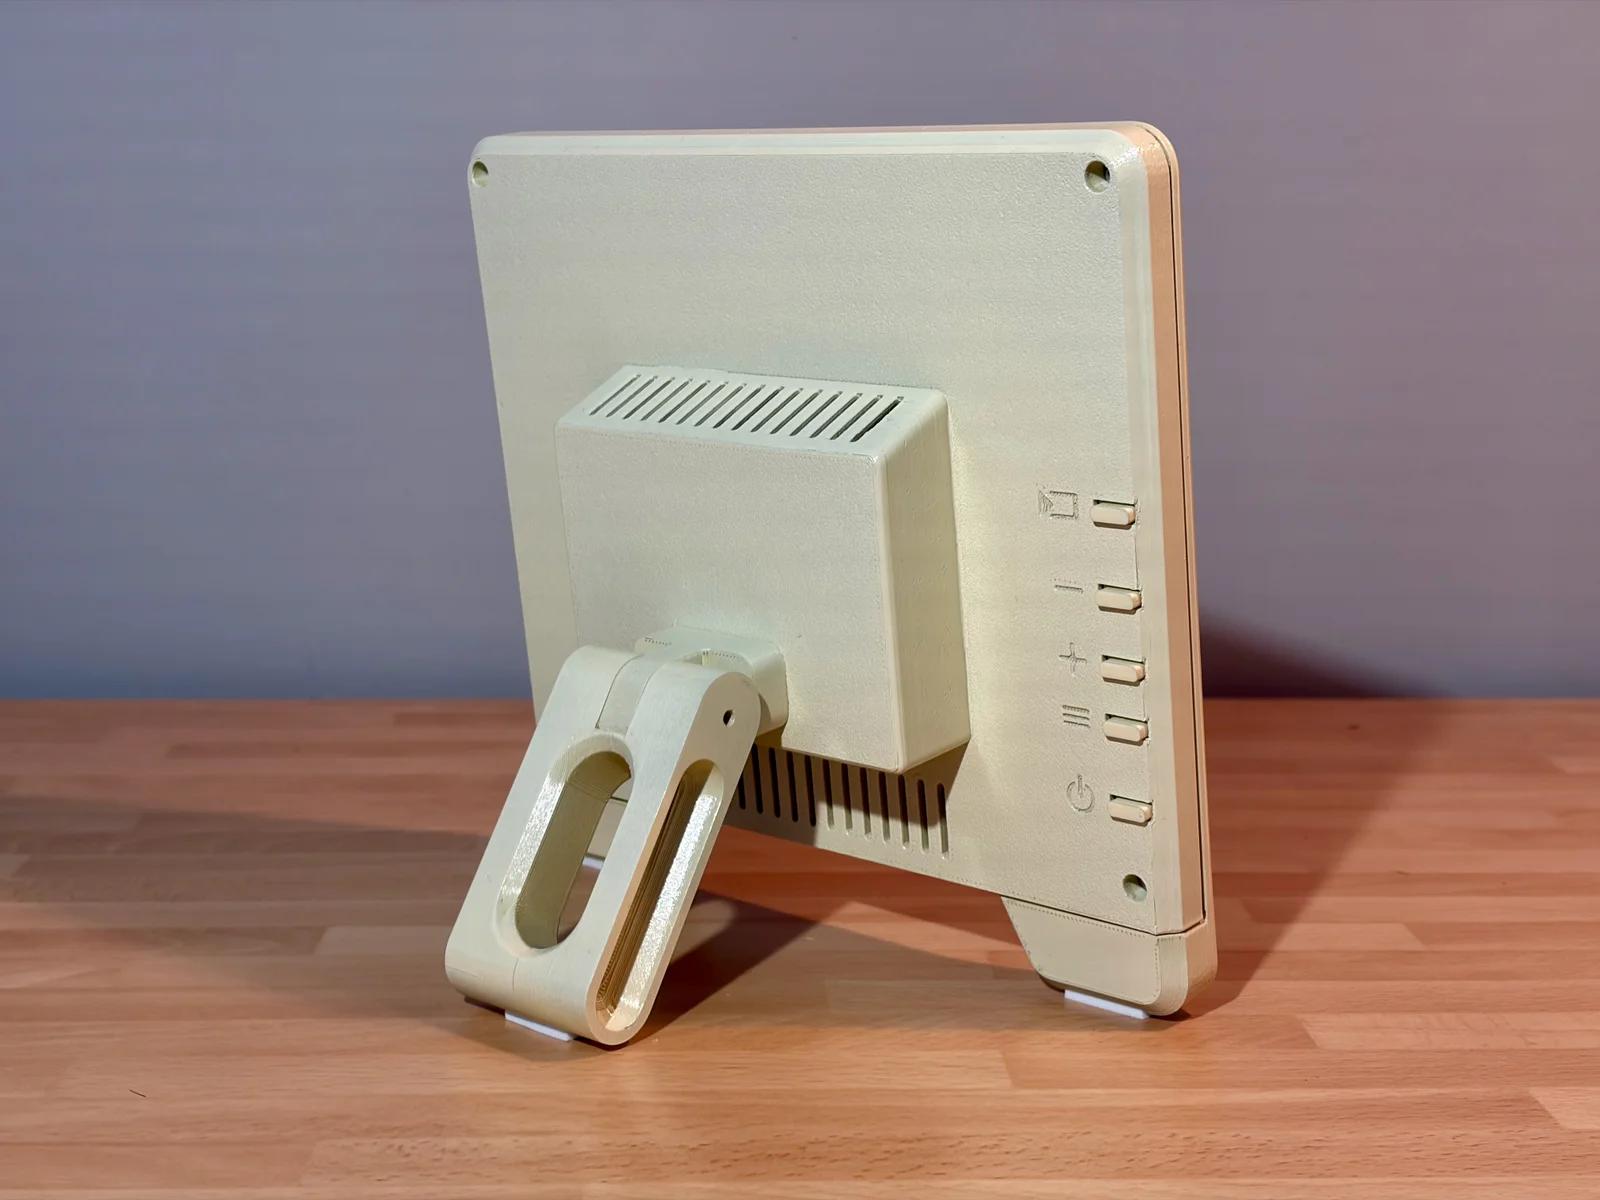
A printable case for an 8” LCD display designed to look good with your Apple II.
It's designed to fit the 8 inch 1024x768 display panel and driver matching part number HE080IA-01D available from eBay/AliExpress etc.
Front
Rear
Leg (prints in 2 halves)
Bracket for the leg
Enclosure for the driver PCB (this is the only part I enabled supports for)
Buttons
Glue (I used Loctite superglue)
Tape (kapton, or other)
6mm wide by 3mm tall foam strip
Sticky foam pad (or double-sided tape)
6x M2.5 x 6mm self tapping screws for the 2 PCBs
8x M3 x 8mm self tapping screws for the case
1x M3 x 20mm machine screw
1x M3 washer
1x M3 threaded heat insert
Glue the two halves of the rear leg together, and put the threaded heat insert into the leg bracket.
Glue the driver PCB enclosure onto the rear of the case. Use 4 of the M3 x 8mm self tapping screws to attach the leg bracket to the rear of the case while matching the alignment of the arrow on both parts.
Ensure the cables are attached to the driver PCB and use 4 of the M2.5 x 6mm screws to hold it in place. It's designed to be a snug fit.
Drop the buttons into the holes on the rear of the case using 2 of the M2.5 x 6mm screws.
Attach the 6mm x 3mm foam strip onto the 3 raised areas on the back. This will support the LCD without putting much pressure onto it. I also taped the ribbon cable for the buttons to keep it clear of the main LCD ribbon cable.
Place the LCD into the front of the case. You can also add some tape here just to stop it dropping out while you assemble. The small PCB is stuck to the back of the panel with a thin sticky foam pad.
Position the two halves of the case face down and attach the main ribbon cable.
Align the two halves of the case and attach with 4 of the M3 x 8mm screws.
Turn the display face down and attach the rear leg using the M3 x 20mm machine screw and washer. Tighten this enough so that the leg can still pivot. (A tiny drop of thread lock may be good long term to keep this in place)
Add some more of the 6mm x 3mm foam strip into the 3 feet.
ByJaronLikes310Downloads1K

 Byw3rN42Likes127Downloads935

 ByTomDDLikes89Downloads575

 ByJwidessLikes34Downloads375

 ByBroBuilds3D_4455044Likes32Downloads454

 ByckthLikes148Downloads2.4K

 Bynexgen-3d-printingLikes0Downloads394

 ByVikingptty_1943738Likes50Downloads234

 ByBrokentooth_designsLikes30Downloads226

 Byslava-kuzminLikes0Downloads284

 ByJKMCZLikes11Downloads178

 Byjodinskylab_3390035Likes144Downloads168