


Canvas bypass for TPU & Spool Holder - Elegoo Centauri Carbon 2 (CC2)
 Byla-cave-au-chatLikes0Downloads965
Build another version of this model.
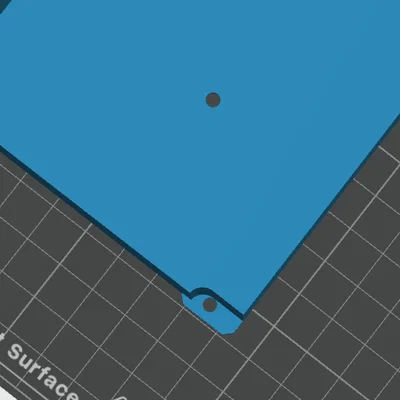 Centauri Carbon Canvas Rear Relocation - Dời lỗ phía trên bên phảiByMiloradCeoS_4502837 · 07/12/2026
EDIT: Design changes made to Filament Guide
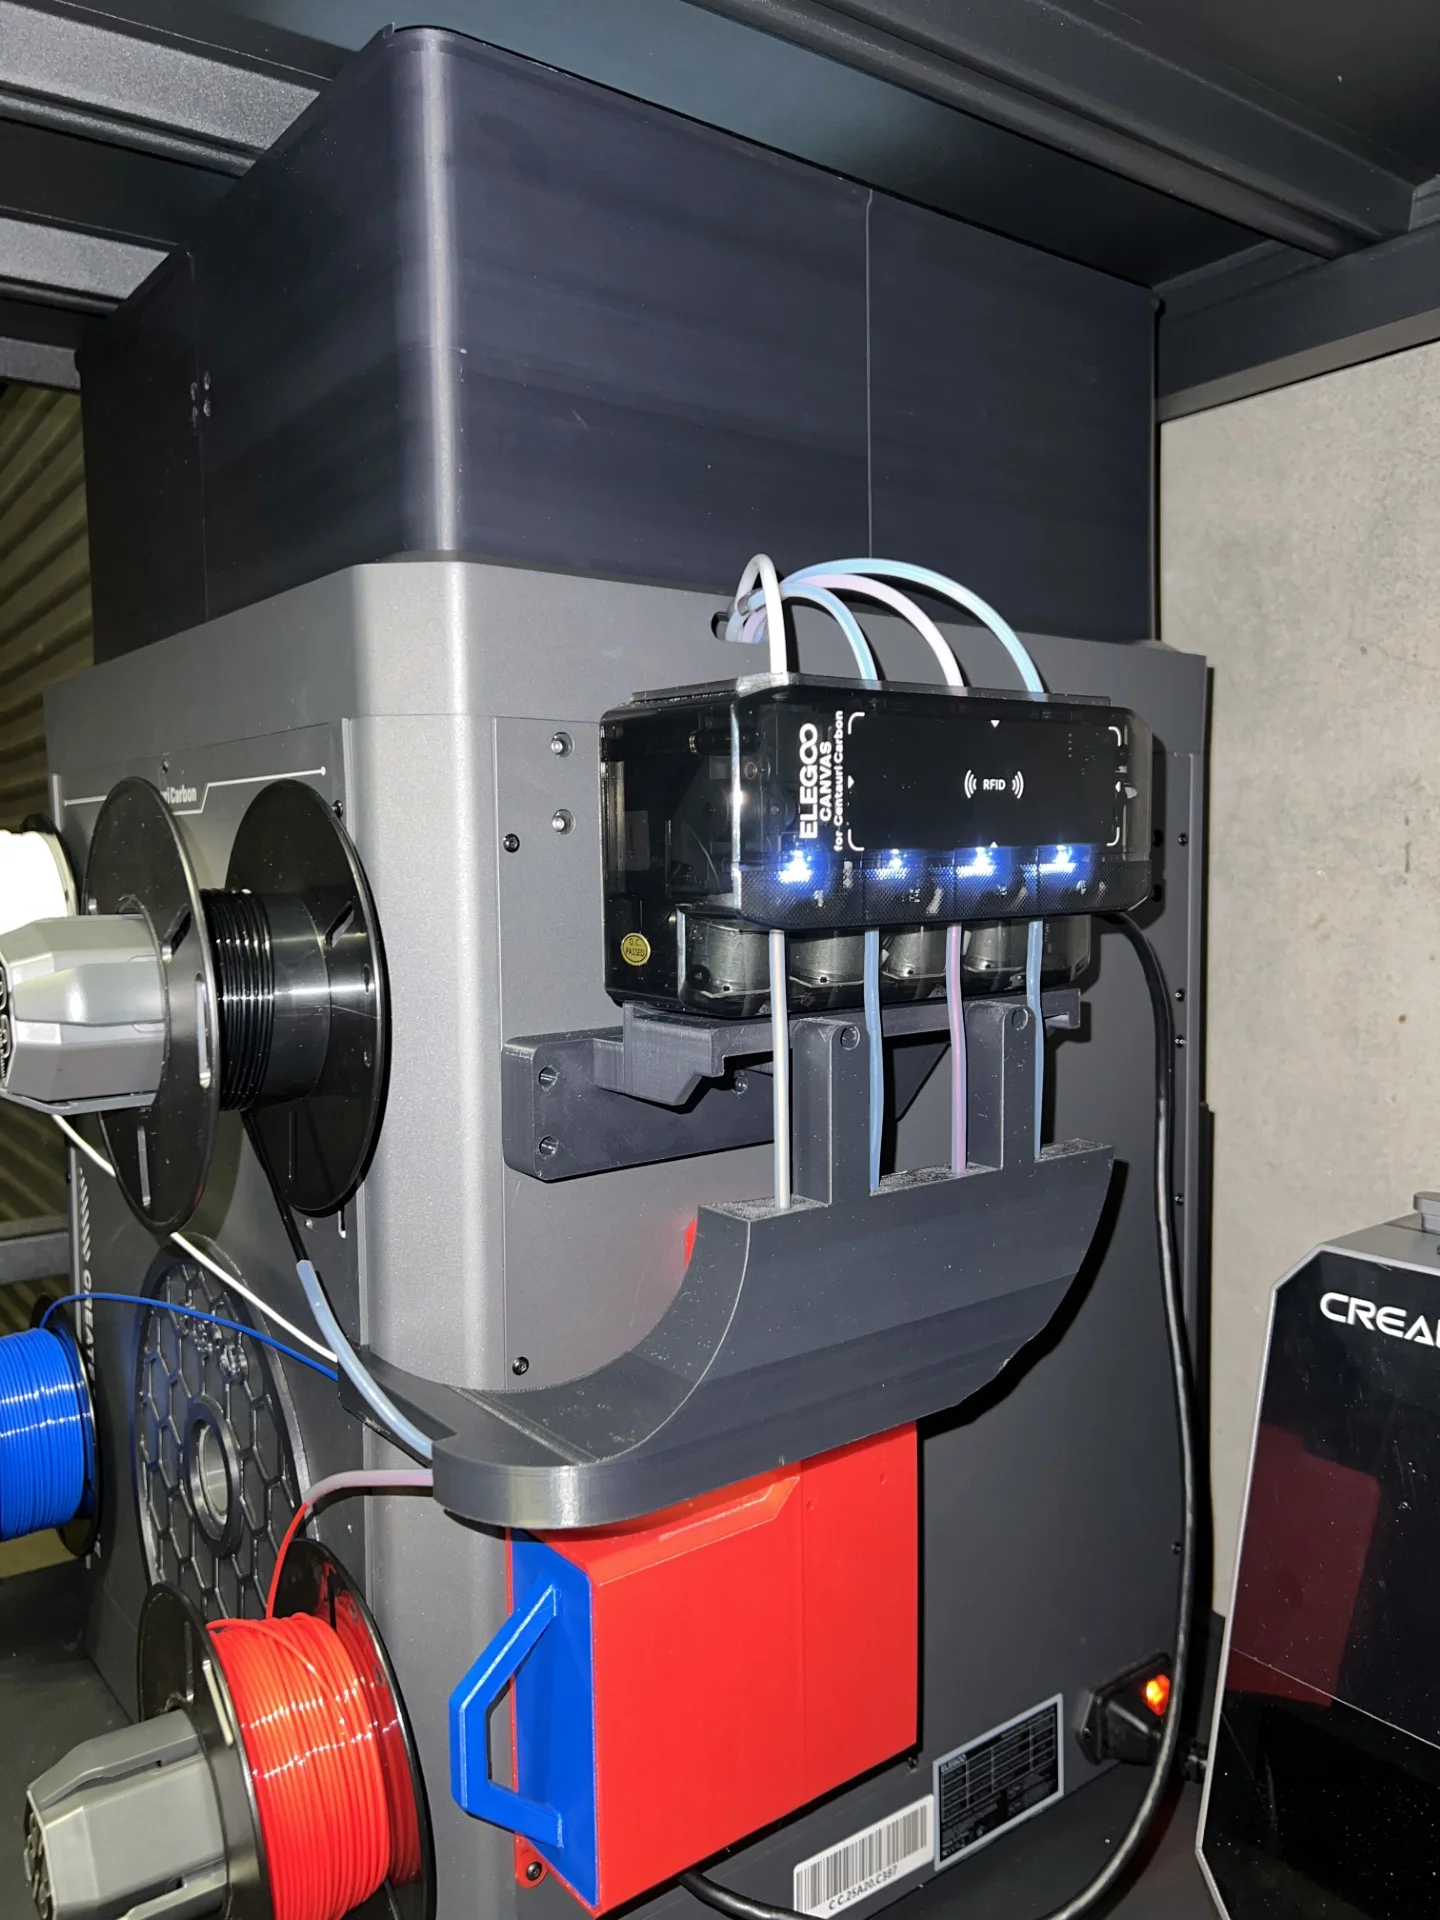
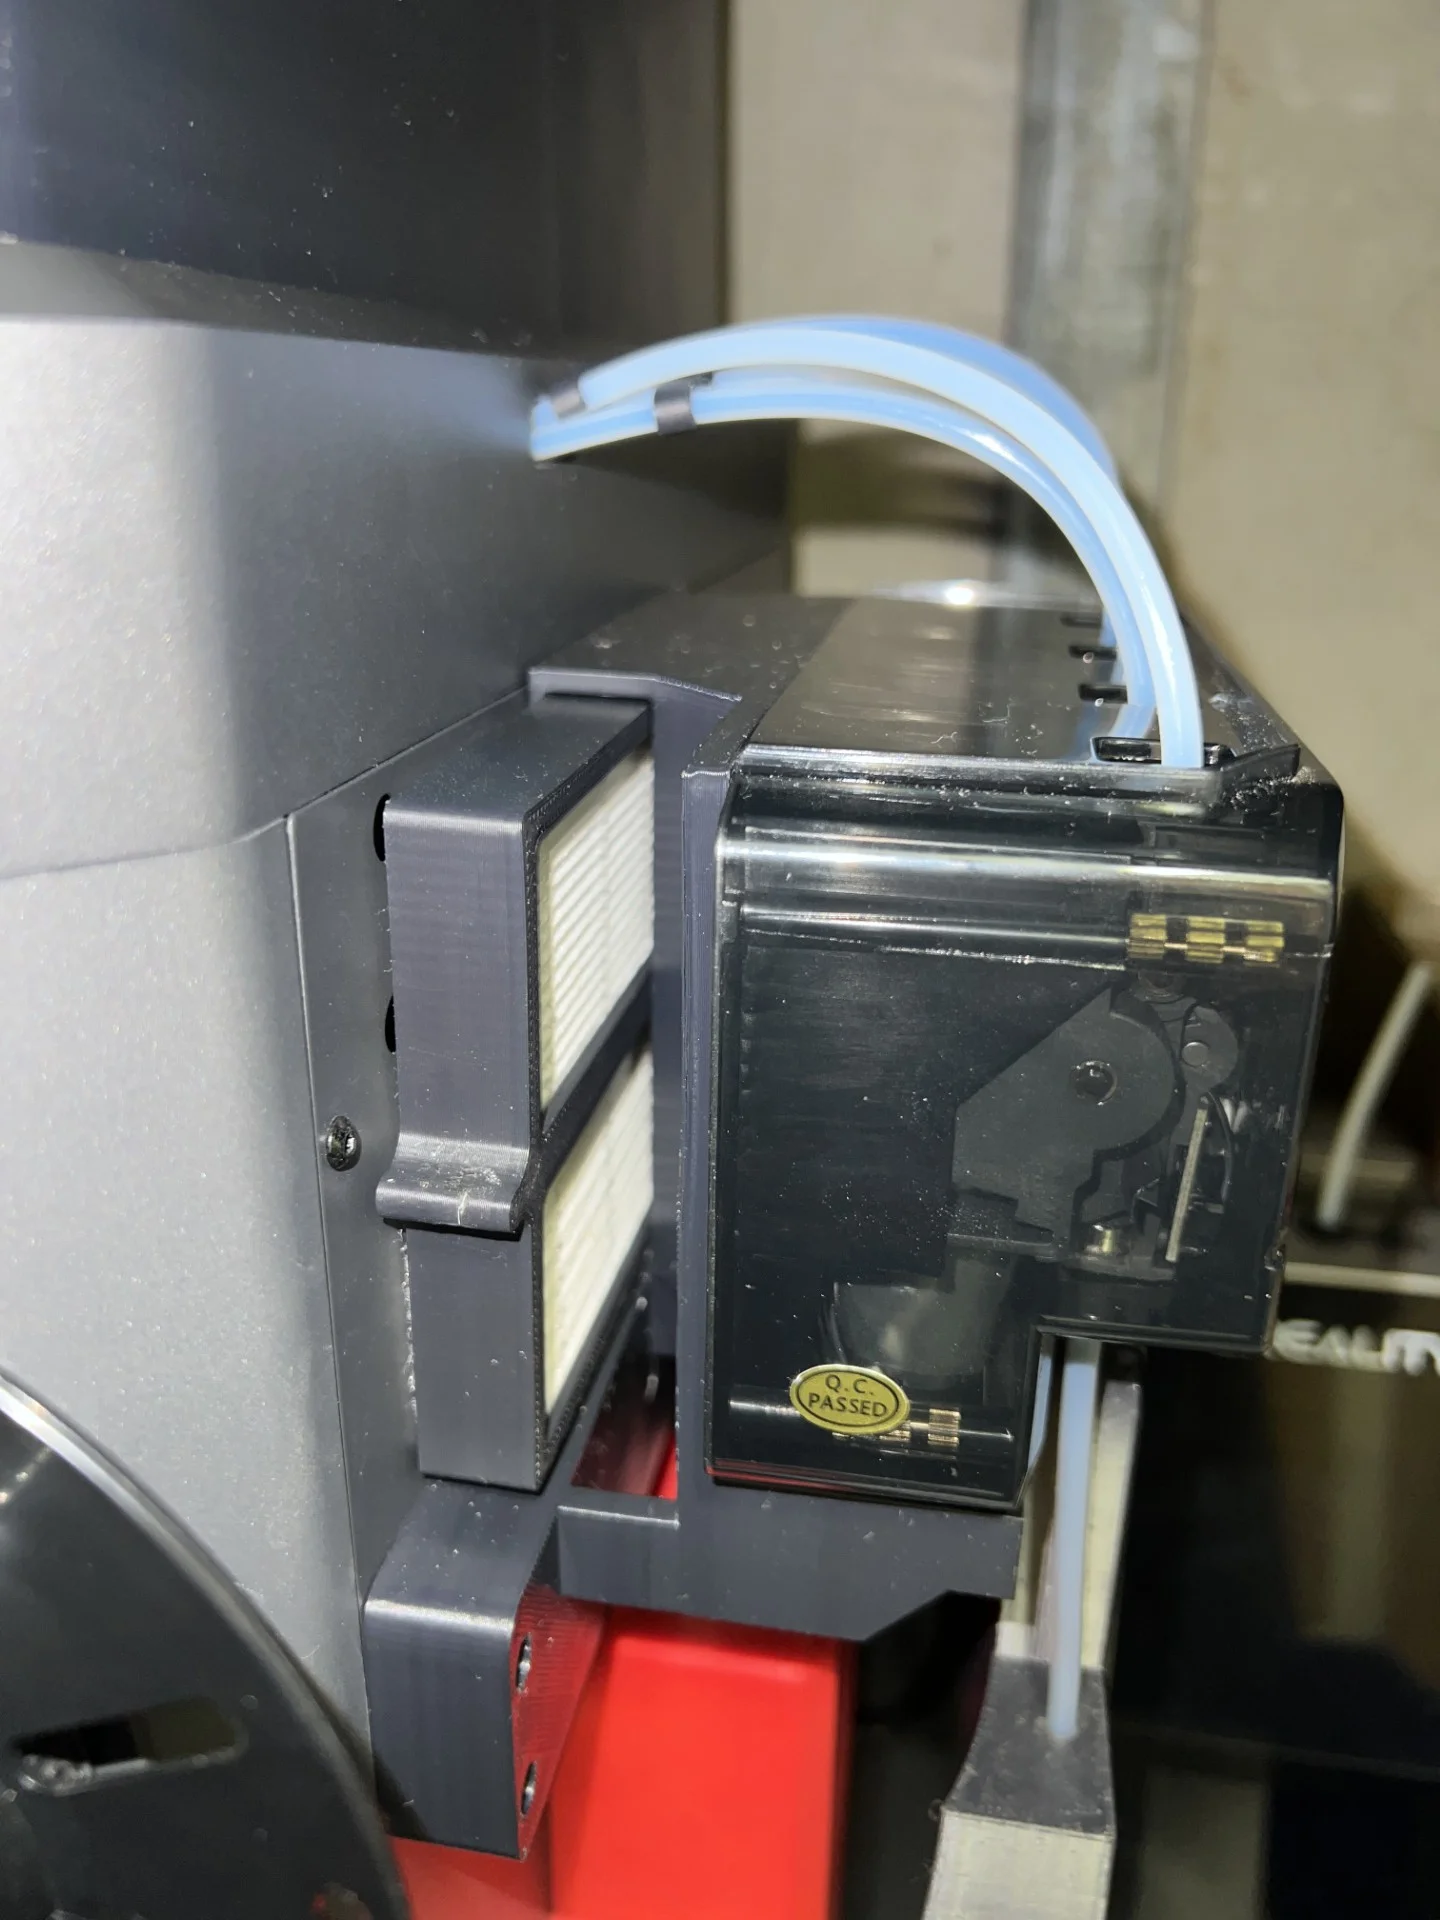
This is a relocation for the Elegoo Canvas on the Centauri Carbon 1. It features a mount including provision for a Filter and Filament Guide to suit. This utilities the preexisting PTFE routing on the printer for the Canvas.
Files are uploaded as STEP, feel free to change and modify as needed to suit your needs and purposes :) Please Remix/Credit for any changes made public.
Built to receive this HEPA Filter carrier/slide.
My 150mm Riser (In photos)
Canvas Mount
The Canvas is to be mounted before being mounted to the Printer.
M3x8 Button Heads where "Longer Screws Required" (Counter bores are 2mm on the model)
Filament Guide and Setup.
I recommend the PTFE tubes to be routed prior to attaching to the Printer and Canvas.
Allow extra length as tubing can be adjusted accordingly.
Please reference the picture below when routing PTFE tubes as orientation matters ( 1 goes to 1 on canvas, 2 to 2 etc).
Tubes to print head can now be routed through original PTFE tube, Adjust accordingly allowing full unrestricted movement of the print head.
Any issues regarding the models and post, please notify me.
Files are uploaded as STEP, feel free to change and modify as needed to suit your needs and purposes :) Please Remix/Credit for any changes made public.
Byla-cave-au-chatLikes0Downloads965

 Bytinx_1344834Likes1.2KDownloads6K

 Byrobert-samplesLikes0Downloads187

 Byprusa-researchLikes0Downloads2.7K

 Byarhi_585078Likes64Downloads541

 ByHanzo3dLikes155Downloads414

 Bypedro-schattanekLikes0Downloads250

 BydarienLikes0Downloads1K

 ByGeek5DLikes147Downloads485

 Bymr-orange-645Likes0Downloads184

 ByBrokentooth_designsLikes23Downloads407

 Bymaster-tuxLikes0Downloads203