

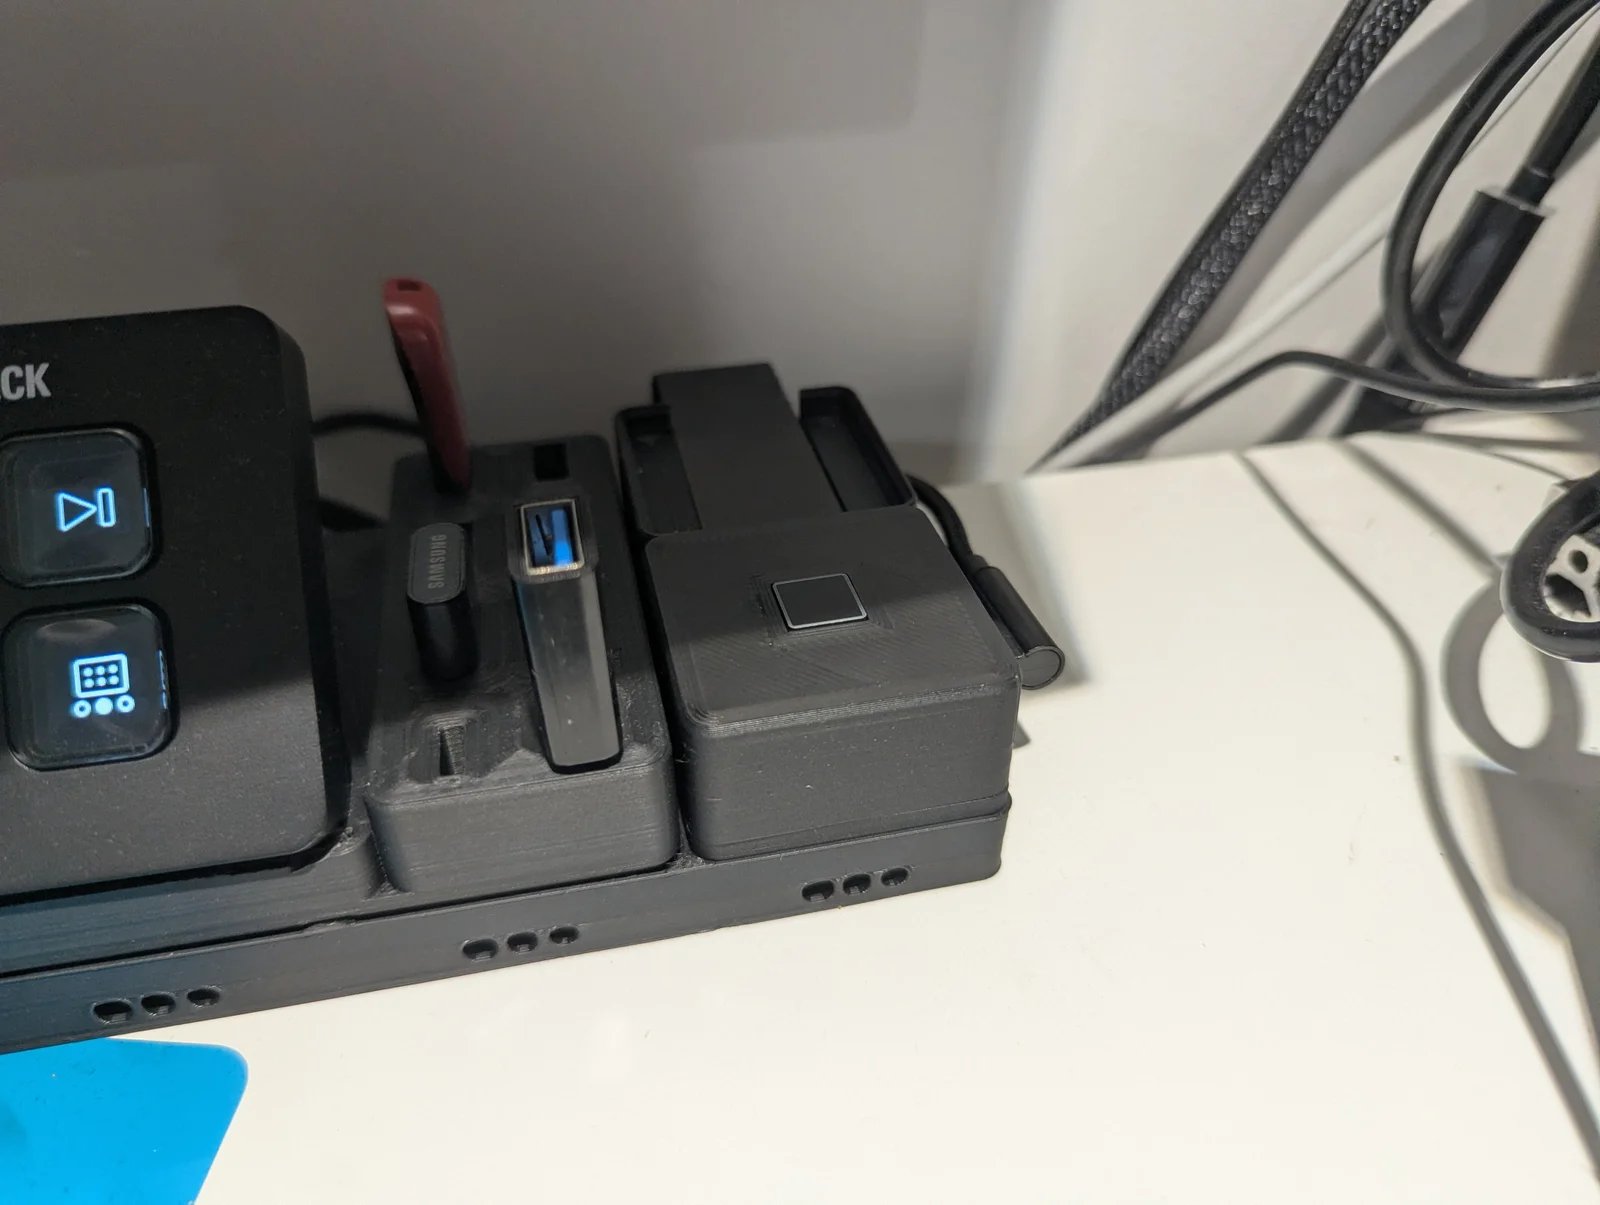
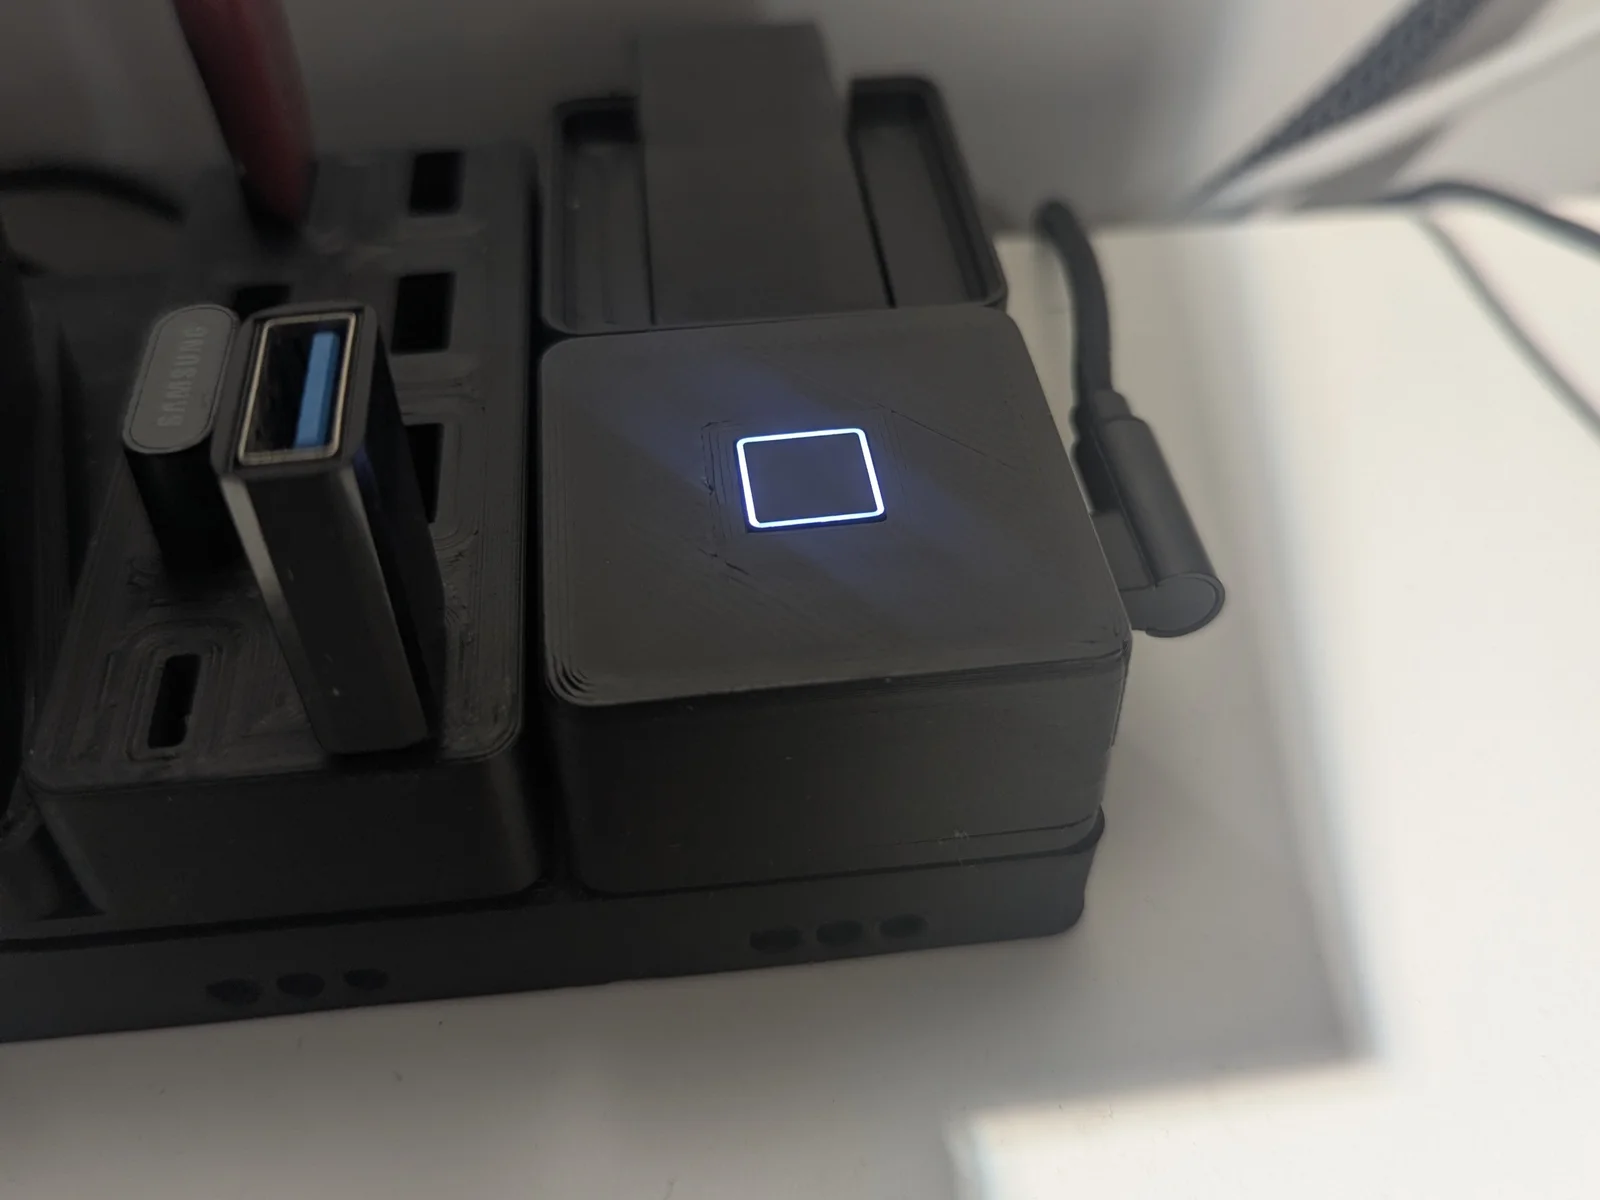


Steam Machine Companion Cube / Vỏ đựng Weighted Storage Cube
 ByJaronLikes310Downloads1K
Build another version of this model.
It's hard to find a USB Fingerprint reader that also works with Linux. What I realized is that most fingerprint readers natively use the USB 2.0 protocol, and so was the case with the Framework fingerprint sensors. Because of frameworks repairability philosophy, it's very easy to order yourself the part from their website, even if you don't own a framework laptop. So I did! I designed this around the framework 16 fingerprint sensor and I don't think you can use a framework 13 sensor, as it has a metal bracket around it.
28-05-2026: A commenter mentioned that wiring to the pinout I provided causes a short circuit. That's something I experienced when I was initially testing the viability of the project. I think the issue is that my FPC breakout board has the pins backwards. I have updated the instructions to reflect that.
18-05-2026: Decided to wire in the white LED to be always ON, acting as a sort of PC ON indicator. I have updated the instructions to show how you can do it as well.
FPC-10p 0.5mm breakout board
Mine also had a 1mm connector on the other side, but that's not needed
Female USB-C Connector breakout board
Make sure to buy the right one. I designed the board around this one I got from Amazon:
I included the fusion file so if you buy a different breakout board, you can edit the design yourself.
4 short-wires (or you can repurpose a broken usb cable)
4x M3x4 button head screws
4x M3x8 button head screws
Some electrical tape
USB-C cable
Make sure to get one where the plug sticks out a lot, because the port is pretty recessed
Optional: 6x2 Magnets
You probably want to add them, just so the USB cable doesn't pull the reader off the desk.
Print all of the 3mf files. I recommend cleaning the bed, as the main body will be printed upside-down, and the surface of the bed, will be imprinted onto the top surface.
Place the fingerprint sensor, such that the ribbon cable sits in the groove
Screw in the retention bracket with 4 M3x4 screws - the narrow, deep cutout is for the ribbon cable, and the wide, shallow one is facing the USB hole. The raised edge is going to be pushing against the fingerprint reader.
Solder the USB port to the FPC break-out board. The pinout is as following:
WARNING! The breakout board I used may have the pins numbering in reverse. If you look on Frameworks GitHub for the Framework 13 Laptop, you'll find that the provided pinout is (almost) the reverse of what I have. To find out which convention your breakout board is following, You can either test continuity to GND between either pin 4 (Pinout A) or pin 7 (Pinout B), AND some exposed ground on the sensor (button housing on the underside of the sensor may be suitable for that, a lot of exposed metal, should be grounded; don't test for continuity between pins 4 and 7, pick one and test against your ground point), OR, you can use diode mode to look for the LED pins. I have almost let out all of my magic smoke by wiring the sensor incorrectly the first time, but I was lucky enough to still have some remaining. I had to use Pinout B but your mileage may vary.
Pinout A
Pin 1 - VCC (5V)
Pin 2 - D-
Pin 3 - D+
Pin 4 - GND
Pin 6 - Switch?
Pin 7 - LED_WHITE (GND; leave unconnected if you don't want to have the White LED on)
Pin 10 - LED_COM (5V; leave unconnected if you don't want to have LEDs on)
Pinout B
Pin 1 - LED_COM (5V; leave unconnected if you don't want to have LEDs on)
Pin 4 - LED_WHITE (GND; leave unconnected if you don't want to have the White LED on)
Pin 5 - Switch?
Pin 7 - GND
Pin 8 - D+
Pin 9- D-
Pin 10 - VCC (5V)
I used blue instead of black cable for ground, as that's what I had available. It's also a good idea to twist the D+ and D- cables. Note that the cables in the picture are too short and it made closing up the case a bit hard, and cables are under a lot of tension which is not desirable. Make sure to make the cables longer.
Here I wired the white LED to be always ON. The numbers don't match because I wired in on the underside. Don't mind the flux I didn't bother to clean off (but you def should clean your board).
Connect the FPC cable with the contacts facing the PCB and wrap everything in electrical tape
Screw in the USB connector with 2x M3x8 screws
If you made the wires long enough, the fpc breakout board should be able to sit in the half opposite the usb port, but if you made it too short, you're going to have to smoosh it a bit. Fortunately, there's some space if the base, so it doesn't have to be flush - some of it may stick out.
Screw in the base with 2 M3x8 screws.
Optionally glue in the magnets and you're done! Connect the USB cable, and if you're on linux, you should be able to just enroll your fingerprints with fprintd-enroll or through your distros settings.
If, however, you still use Windows in [put current year here], The Year of Linux Desktop, you will need to install drivers. Go to https://knowledgebase.frame.work/bios-and-drivers-downloads-rJ3PaCexh and download a driver bundle for Framework Laptop 16 (the generation doesn't matter). After you have downloaded the .exe file, DO NOT RUN IT. Instead, open it as an archive with for example 7zip, and extract the 07_Goodix_Fingerprint_xxxx folder (the x's are the driver version). After extracting it, just run setup.exe. You should now be able to add Windows Hello Fingerprint authentication.
ByJaronLikes310Downloads1K

 Byw3rN42Likes127Downloads931

 ByTomDDLikes89Downloads574

 ByJwidessLikes34Downloads373

 ByBroBuilds3D_4455044Likes32Downloads451

 ByckthLikes148Downloads2.4K

 ByVikingptty_1943738Likes50Downloads229

 ByBrokentooth_designsLikes30Downloads224

 ByJKMCZLikes11Downloads174

 Byjodinskylab_3390035Likes144Downloads163

 ByBoxseez_169293Likes13Downloads106

 Bywriteonly_3421776Likes13Downloads93