



Steam Machine Companion Cube / Vỏ đựng Weighted Storage Cube
 ByJaronLikes310Downloads1K
Build another version of this model.
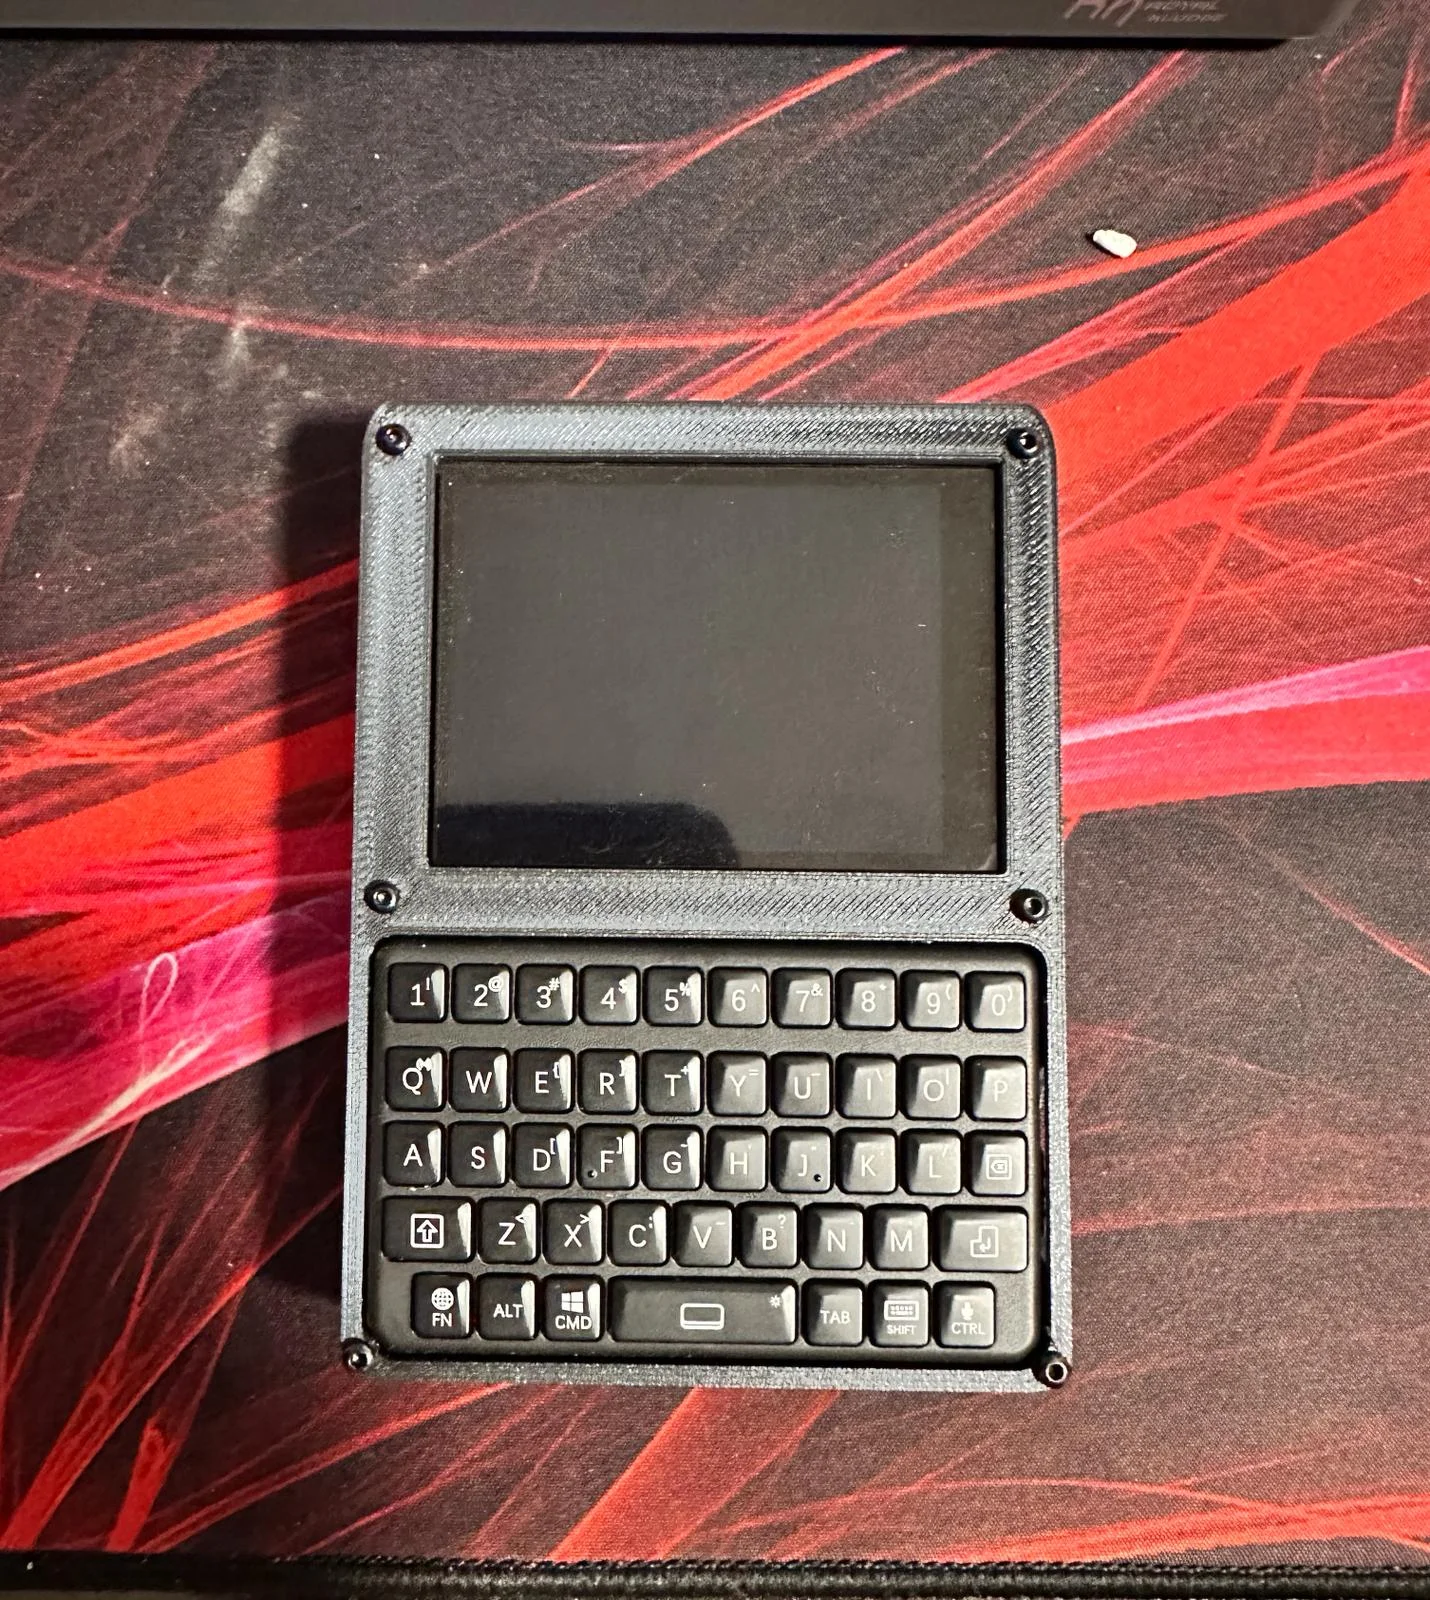
🛠 Build Guide: Raspberry Pi Zero Mini Cyberdeck
• Print the back part of the enclosure.
• No supports required.
• Make sure all openings and slots are clean.
---
2 Insert the battery
• Remove all print supports from the battery compartment.
• Slide the Li‑ion/LiPo battery into the compartment under the keyboard area.
• Keep the wires accessible for soldering later.
---
3 Solder the electronics (follow the “wiring” schematic)
Solder the components according to the wiring diagram:
• Battery → Charging and boost converter board
• Charging and boost converter GND→ Raspberry Pi Zero 2W GND
• Charging and boost converter 5V → slide switch
• Slide switch → Raspberry Pi Zero 2W 5V
• USB‑C connector → charging and boost board input
Keep wires short and tidy for a clean fit.
---
4 Mount the components
• USB‑C port: fix it in place using double‑sided tape so it sits flush with the opening.
• Charging board + boost converter: also mount them with double‑sided foam tape.
• Slide switch: secure it with a small amount of hot glue, making sure it can still move freely.
---
5 Install the Raspberry Pi Zero
• Attach the aluminum heatsink to the CPU.
• Mount the Pi Zero into the case using M2.5 × 8 mm screws.
• Do not overtighten — avoid bending the board.
• Apply Kapton tape to the back of the screen to prevent short circuits.
• Finally the screen can be pressed into the raspberry pi zero 2w
---
6 Install the keyboard
• Push the keyboard into its slot.
• It will stay in place by friction, no screws needed.
---
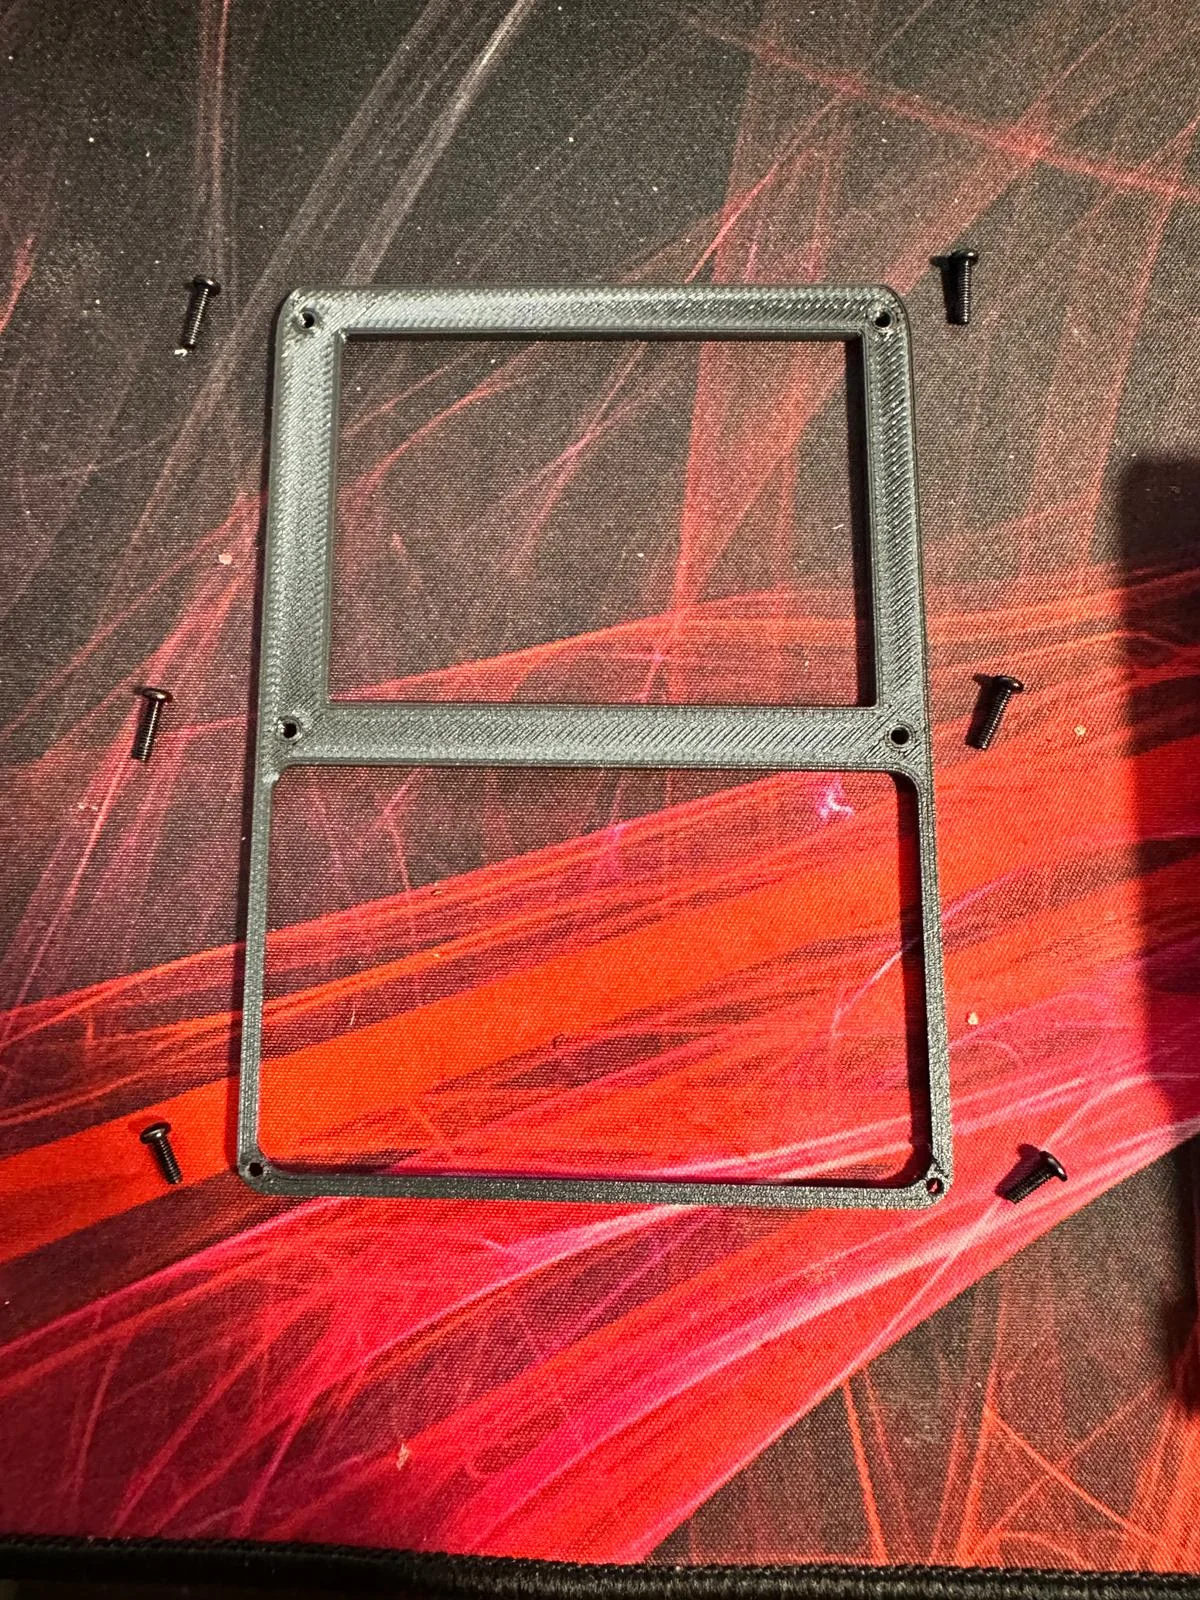
7 Print the front case
• Print the front part of the enclosure with a 0.16 mm layer height for a clean finish.
• Check that the openings for the screen and keyboard are sharp and accurate.
---
8 Screw the front and back together
• Align the front case with the back case.
• Screw them together using the designated screw holes.
• Make sure no wires are pinched between the parts.
---
9 Print the SD‑card cover
• Print the SD‑card cover piece.
• Snap it in.
---
🎉 Done!
Your cyberdeck is now fully assembled, electrically safe, and ready for software setup and testing.
Exknight mini keyboard
https://a.co/d/0dMUa1aV
Waveshare dpi 2.8 inch lcd
https://a.co/d/0eC99kjX
USB-C break-out board
https://a.co/d/0eKn38Ud
Charging and boost controller
https://a.co/d/0glgF4kC
Slide switch
https://a.co/d/0jdGlLgM
Battery
https://a.co/d/0fSPxrts
Raspberry pi zero 2w with pre soldered headers
https://a.co/d/0bMeNLbw
Aluminum Heatsink Cooler
https://a.co/d/0a4uoTY1
22 awg wire
https://a.co/d/0iRS0sRV
Aluminium heatsink screws
4x m2.5x6 screws,
Screws for front plate
4x m2x8 screws around the screen
2x m2x6 screws on the bottom
I used double‑sided foam tape to secure the USB‑C breakout board and the charging and boost controller.
It doesn’t support charging and usage at the same time.
ByJaronLikes310Downloads1K

 Byw3rN42Likes127Downloads935

 ByTomDDLikes89Downloads574

 ByJwidessLikes34Downloads375

 ByBroBuilds3D_4455044Likes32Downloads454

 ByckthLikes148Downloads2.4K

 Bynexgen-3d-printingLikes0Downloads394

 ByVikingptty_1943738Likes50Downloads234

 ByBrokentooth_designsLikes30Downloads226

 Byslava-kuzminLikes0Downloads284

 ByJKMCZLikes11Downloads178

 Byjodinskylab_3390035Likes144Downloads168