



Mô hình 3D dao Karambit CS:GO
 Bybonzai000Likes716Downloads16.8K
Build another version of this model.
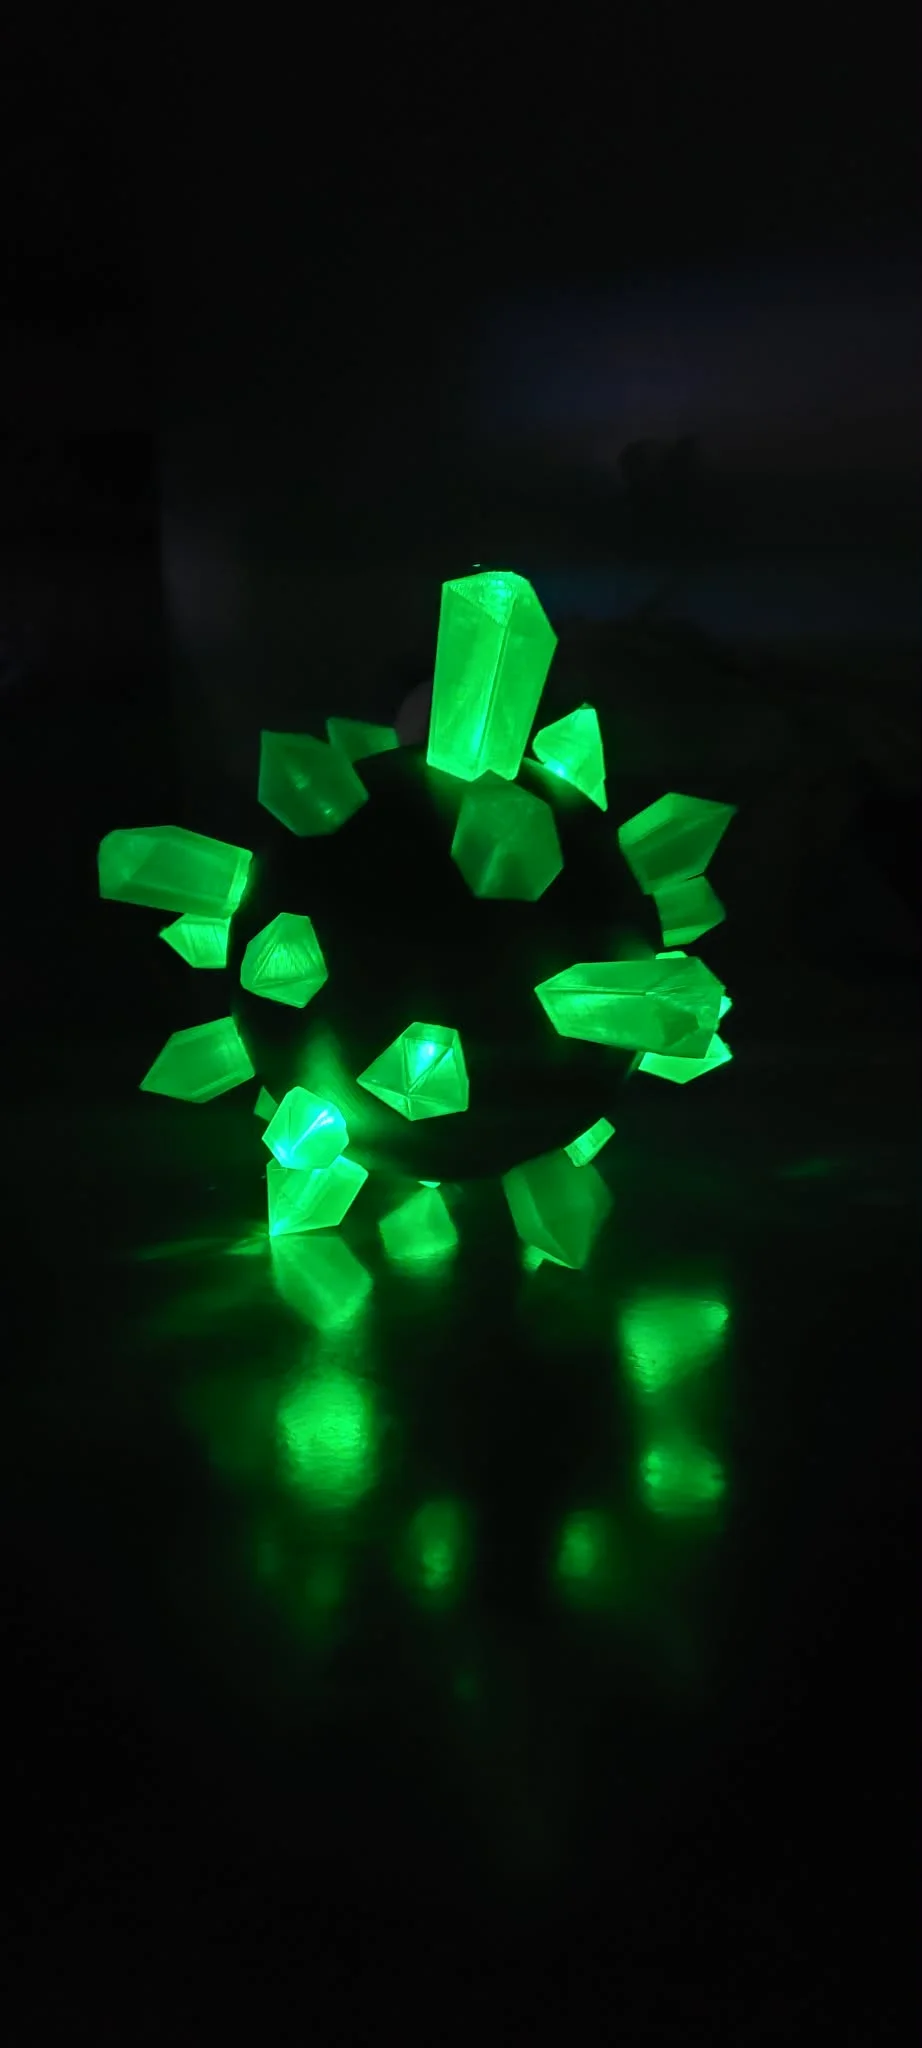
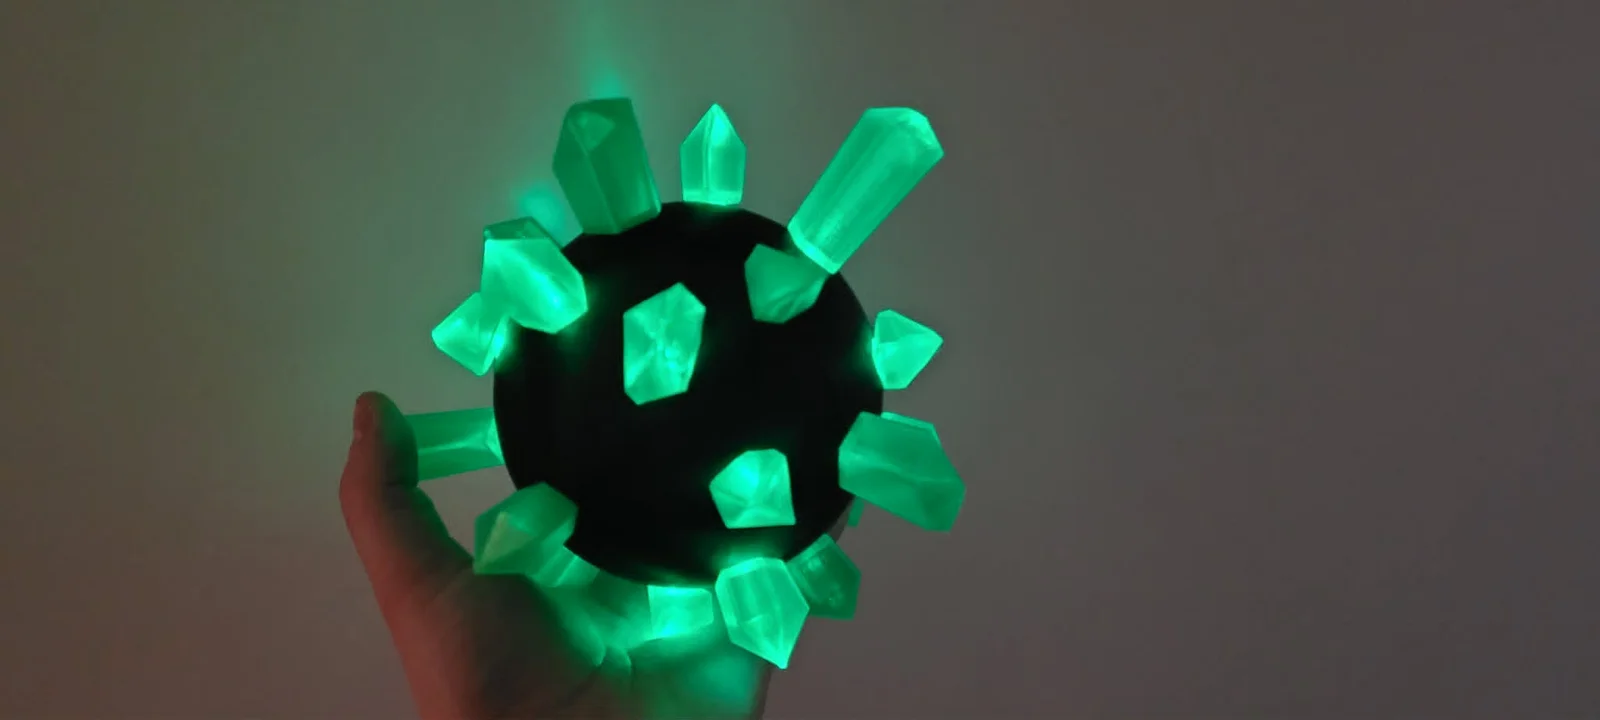
This is my take on the Compass artifact, mainly known from S.T.A.L.K.E.R.: Clear Sky. I designed this with two goals in mind: making it look game-accurate and allowing it to actually glow on your desk.
The model is designed to be printed in parts to make painting and installing electronics much easier.
You can simply print and enjoy it, or put a little more work, make it light and enjoy it even more :)
Here is the list of parts I used for this build:
BLE beacon - Used to locate the artifact (Not needed unless you want to print detector too) - [LINK]
5V LED strip - I used green - [Link]
Charging unit TP4056 - [Link]
Switch Ss12F15G3-G7 (1P2T) - [Link]
Cables - feel free to use anything you have on hand.
18650 Battery - Find one locally (They usually are avalible for ~10USD in Vape shops). I used magnets to connect them, but there is enough space to use one of those baskets - [LINK]
M3x8 screws - although not exactly needed, I recommend using them to join insert parts together
If you just want a static prop for your shelf, follow these steps:
Print parts: Kompass_bottom, Kompass_top and 26 Crystals (pick any from 4 attached)
Join top and bottom together (note: thread is LH so you join it by turning the opposite way
Screw in crystals - 9 from top and 9 from the bottom. Thread is normal (RH), be careful not to use too much force or thread may brake.
Put crystals into place - 8 crystals in the middle are not screwed, but press-fitted inside. You may use some glue there.
I designed the internal cavity to house a basic lighting setup.
Prep your parts: place everything within reach. Put 2 M3 heat pressed inserts into Insert_Top
Connect your electronics: I used magnets to connect to the battery, but there is enough space to connect it to battery holder. Connect B+ to battery + and B- to battery - on the holder, or on corresponding wires as below.
Connect your switch: From Output - connect a wire to one port of switch. From second port of switch connect the wire to two led's negative terminals (you will have to merge 3 wires into one connection). Then, merge 2 positive LED terminals with Output + on charging board
Secure electronics in place: Screw charging board into the port using some self-tapping plastic screws, do the same with switch (or leave it as it is, it's a snug fit).
Screw top and bottom together
Stick your leds to the fixture, place battery inside and connect it (REMEMBER TO CONNECT POSITIVE TO POSITIVE + + AND NEGATIVE TO NEGATIVE --)
Flick your switch, check if everything works correctly
Take both halfs of your artifact and twist them together (remember - its left handed thread so you need to twist is counterclockwise to close it)
Screw in all crystals, besides one on top (where the switch is). Use a toothpick to turn it on/off. Secure the hole with remaining cristal.
Light Diffusion: To get a soft glow , I recommend stuffing a bit of cotton wool or specialized diffusion foam inside the crystals.
Material: PLA for the shell, Translucent PLA/PETG for the crystals.
Layer Height: 0.15mm or 0.2mm
Supports: Needed, use auto settings.
Outer lines: min 2 (0.4 line width)
Infill: 10-15% (Gyroid is best for stability).
Good luck, Stalker. Don't let the anomalies catch you.
If you like this model, please consider uploading a make! I’d love to see how your versions turned out.
Bybonzai000Likes716Downloads16.8K

 ByFotisMintLikes340Downloads2.5K

 BykylichLikes0Downloads287

 Bypapyskull_3946746Likes152Downloads513

 ByurdsclrLikes2Downloads16

 Bypokon_nurdspaceLikes429Downloads1.8K

 ByZabricot200_1688175Likes8Downloads189

 Byfluid-printsLikes0Downloads220

 BySuegLikes0Downloads290

 BybobmakesLikes37Downloads288

 Bypeter-farellLikes0Downloads121

 Byedna-labLikes0Downloads203