



Lỗ Golf Trong Nhà (Indoor Golf Hole)
 ByMauroVanDerG_4110408Likes378Downloads2.7K
Build another version of this model.
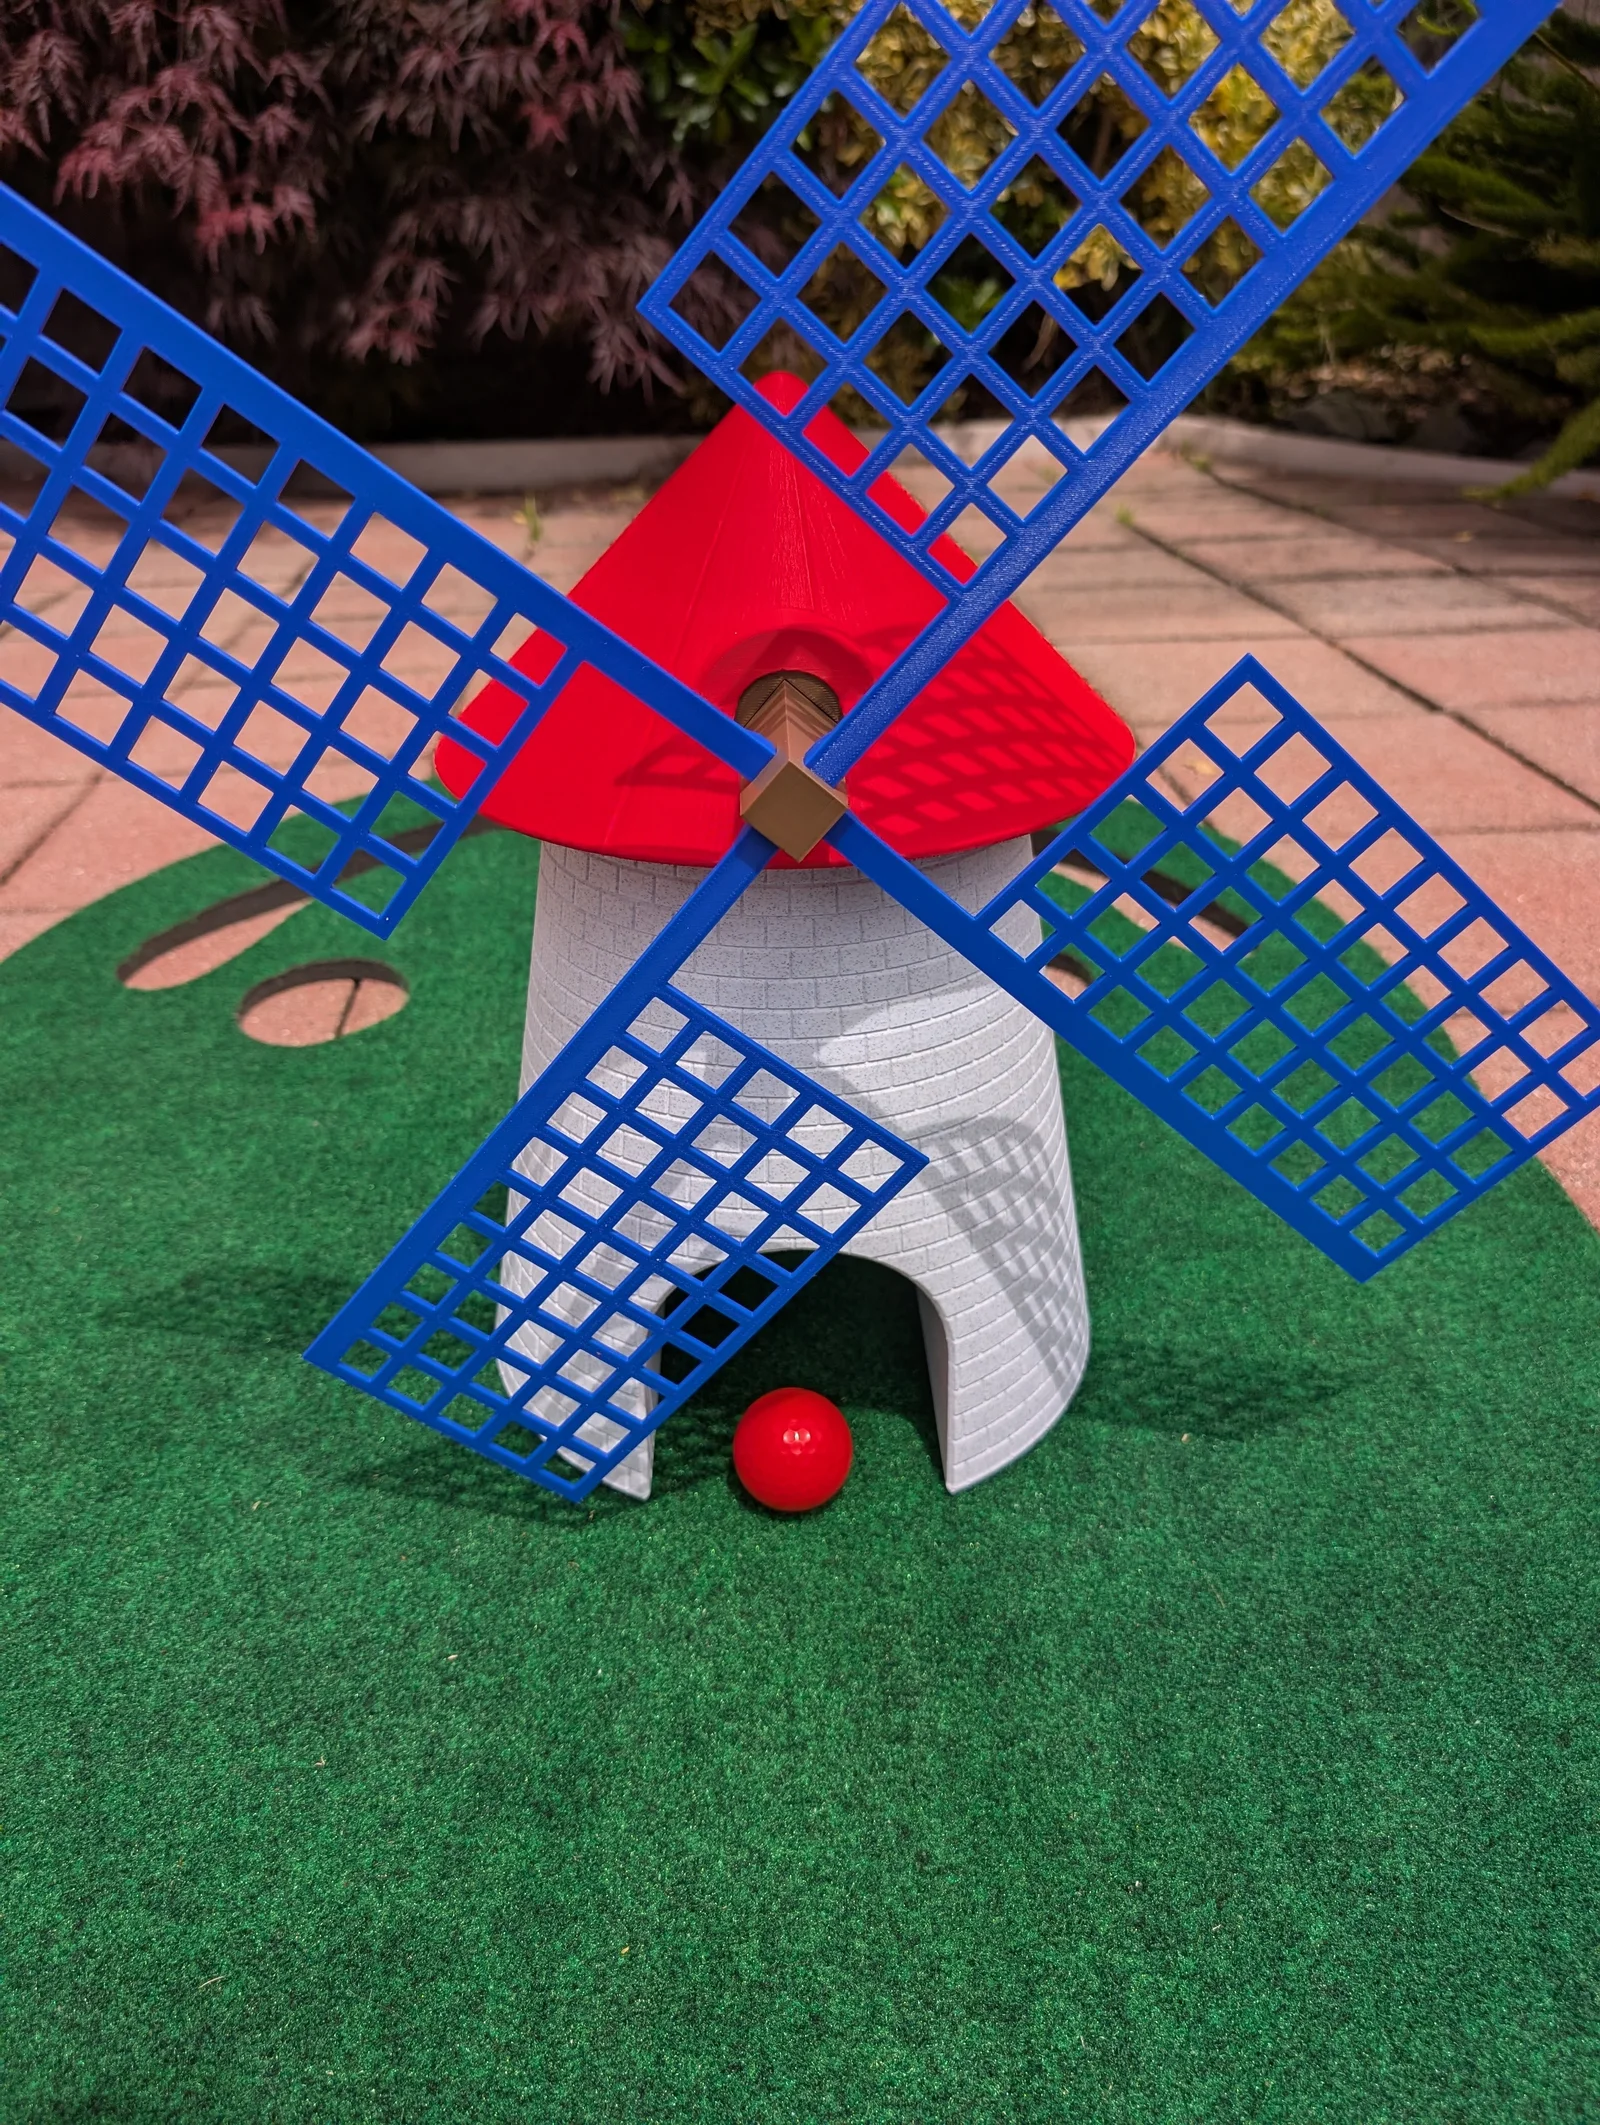
Bring your minigolf course to life with this functional, motorized windmill obstacle! Featuring a massive 20" wingspan, it’s perfect for birthday parties, backyard games, or just adding a fun twist to your putting practice.
Motor: Requires a 60RPM TT Motor (I used the Bambu Lab motor, but you can easily find them on Amazon by searching LA001).
Power Source: A standard USB power bank, which can be neatly hidden inside the tower. (Note: Ensure your power bank has a "low power" or "dumb" mode so it doesn't automatically shut off due to the motor's low power draw.)
Bearings: print-in-place caged bearings for smoother spin. Gently break them free so they turn easily after printing.
I have included two separate sets of print files to accommodate different printer sizes. Both versions use the exact same motor and hardware:
Large Size: This was the original design, for my X1C.
Smaller Size: 211mm diameter x 215mm tall. Fits on a Prusa MK3/MK4 or CORE One. (Note: everything seems ok in CAD, but I have not test printed that version. I only resized the exterior, the inside components are same sized, so bearing and gears shouldn't suffer from the resizing. Let me know how it goes.)
The included .3mf file is already configured with these settings, but if you are slicing it yourself, here is what you need to know:
Motor Mount Parts: Supports are only needed for the threads.
The Base/Tower: Print upside-down. Do not use supports for all the stones. Set your support angle very low (around 20 degrees) to ensure only the extreme overhangs generate supports.
The Roof: No supports are strictly required. A little sagging on the internal bridge (where the bearing sits) is acceptable as long as the bearing still fits. You can add minimal tree supports there if you prefer.
Assembly is straightforward and requires no glue or screws:
Push the bearing inside the roof.
Assemble the motor inside the motor mount using parts A and B, securing it with the screw caps.
Press the small gear onto the motor shaft.
Twist the completed motor mount inside the roof so it hangs from the supports.
Slide the axle through the front bearing, the large gear, and the motor mount's bearing.
Snap the clips onto the axle to secure all the internal components.
Insert the windmill wings into the front of the axle.
Have fun, and happy putting!
ByMauroVanDerG_4110408Likes378Downloads2.7K

 ByAdamSwintLikes83Downloads336

 ByMFTuningLikes153Downloads1.8K

 ByMaverick0197Likes161Downloads1.3K

 ByCubaLibreee_2869176Likes125Downloads1K

 ByanimatedheavenLikes0Downloads262

 Byclad-coral2Likes0Downloads363

 ByDylanBermejo_3971567Likes12Downloads105

 ByXDr4g0nXLikes198Downloads828

 ByCreativeKari_4457452Likes10Downloads76

 ByGerhard_48223Likes240Downloads470

 ByBillRichardsLikes32Downloads387