

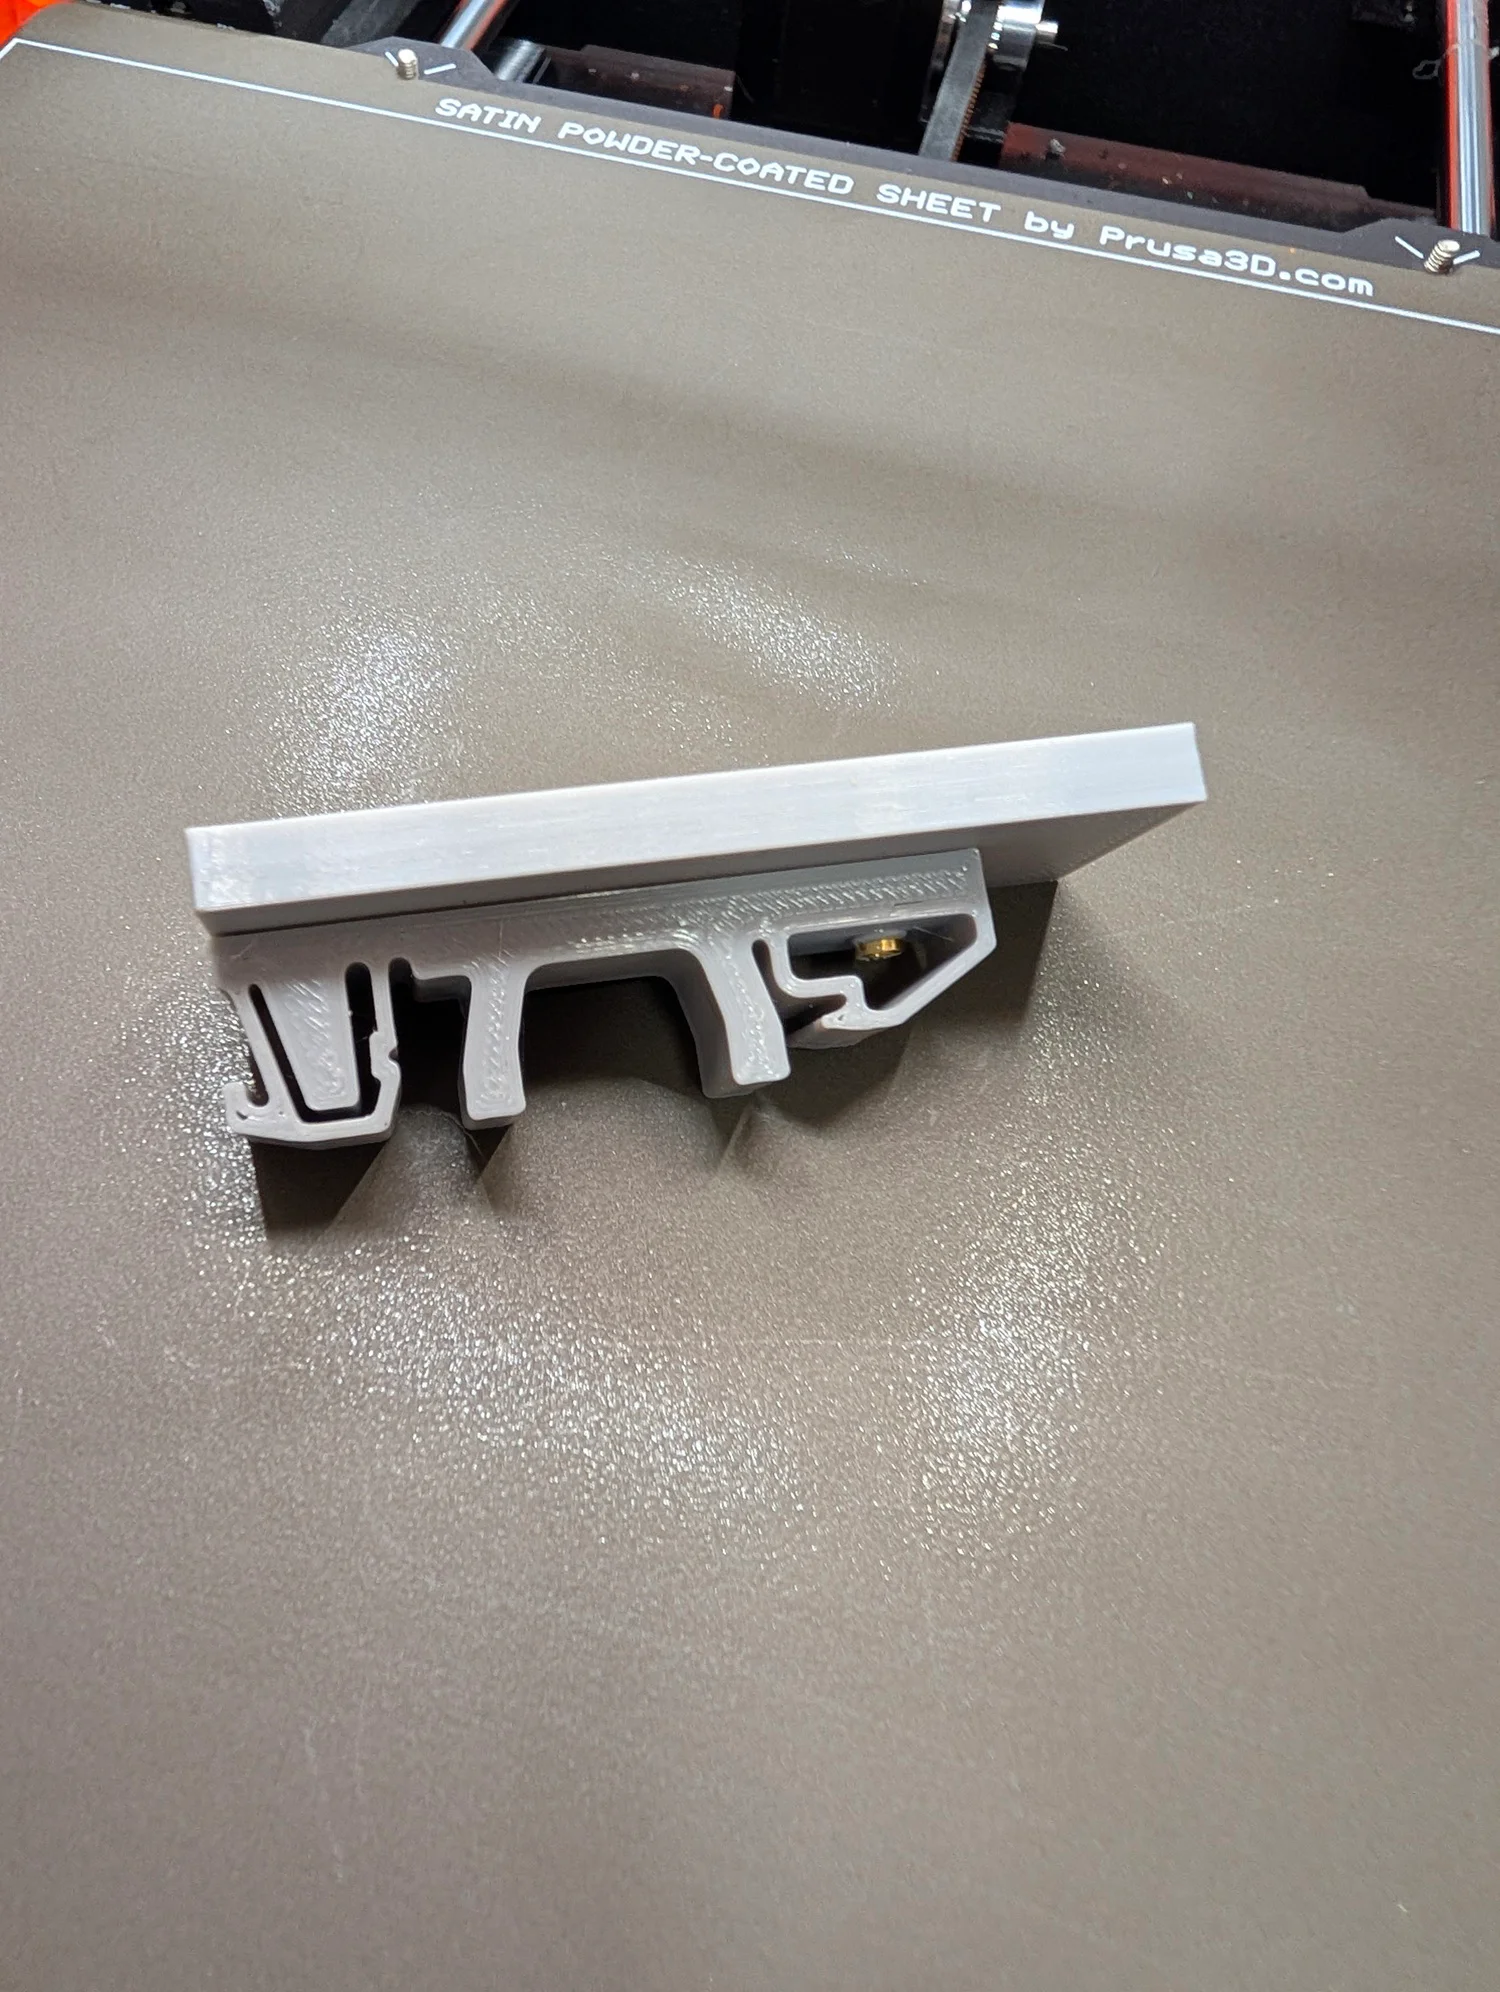
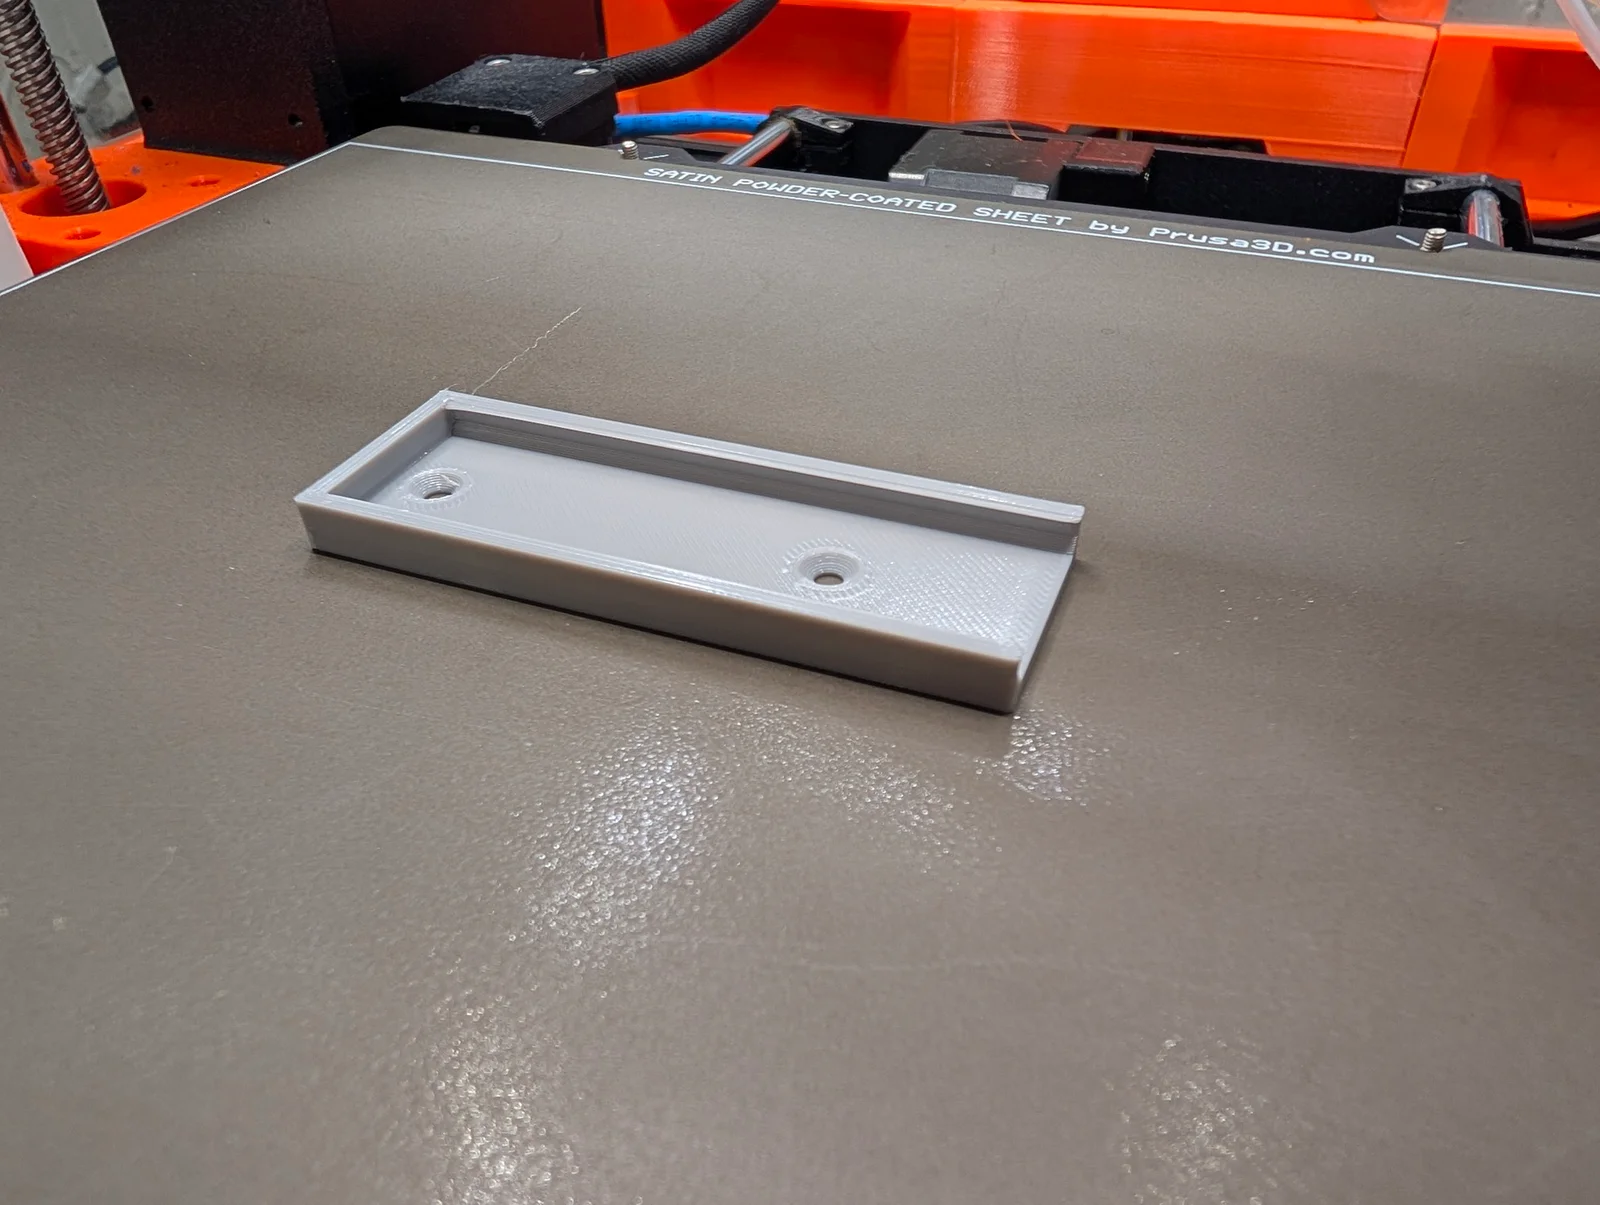


Bộ chuyển đổi từ khe Keyhole sang thanh ray DIN!
 ByBrokentooth_designsLikes83Downloads449
Remix of Kẹp ray DIN By Bryan_81523
Build another version of this model.
I needed a replacement DIN rail mount for my UMR Ultra and couldn't find just the right pieces, so I remixed the best pieces I did find to make a really solid mount.
I first tried to make this into one piece, but the DIN clip is really best printed on its side, for both strength and precision. I resized the holes for M3 heat set inserts (I used M3x5.7mm from CNC Kitchen) and added an infill modifier to ensure 100% infill for the diameter recommended by CNC kitchen.
I recreated each of the parts in Fusion 360 to ensure everything was aligned correctly. I cut holes in the router slide for flathead M3 screws, then used M3x6mm to join the parts. It's far more solid than I expected!
I printed using Elegoo Rapid PETG, which I've found to be very reliable on my MK4S. I went with PETG because I will be using this in a warmer environment that PLA would definitely give out in. I provided GCode for several Prusa printers with the settings I used.
Layer Height: 0.20 mm (I used STRUCTURAL in PrusaSlicer)
Infill: 20%, Gyroid (might be overkill, but it's very solid!)
Walls/Perimeters (default): 2
I highly recommend you let it cool on the build plate, versus trying to remove it immediately. The thin parts of the DIN clip and the router mount may warp and lose some integrity if you take it off when it's still pliable.
ByBrokentooth_designsLikes83Downloads449

 ByZED4EverLikes313Downloads5.2K

 ByVC_DesignLikes271Downloads753

 ByfifindrLikes500Downloads4K

 Bymrfixit_324954Likes65Downloads473

 ByDan Schwartz SchwartzLikes744Downloads3.4K

 Byvc-designLikes0Downloads3.2K

 ByUpcrid3D_1585693Likes808Downloads2.1K

 ByAdam Záhořák ZáhořákLikes39Downloads257

 ByWilko_SLOLikes935Downloads2K

 Bychubbs8697_2027893Likes585Downloads1.7K

 Byquibeck_3353173Likes965Downloads1.9K