



Thằn lằn cử động linh hoạt - In tại chỗ (Không cần support)
 Bycream110_291842Likes924Downloads7.7K
Build another version of this model.
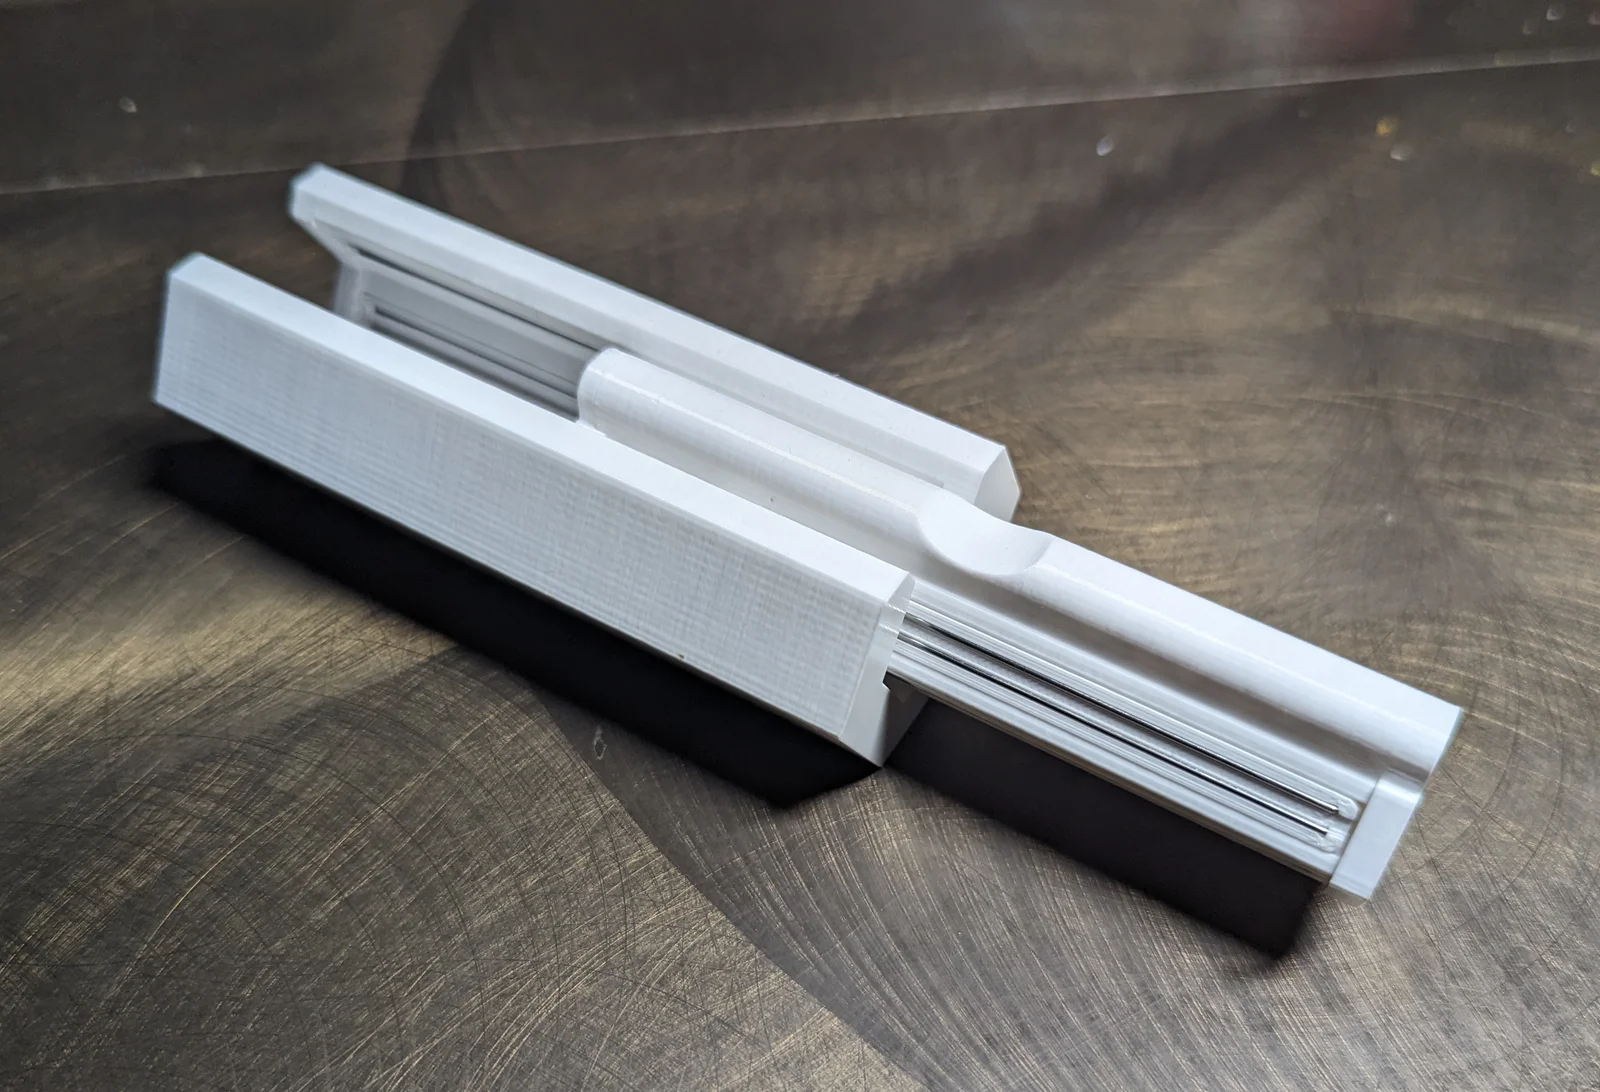
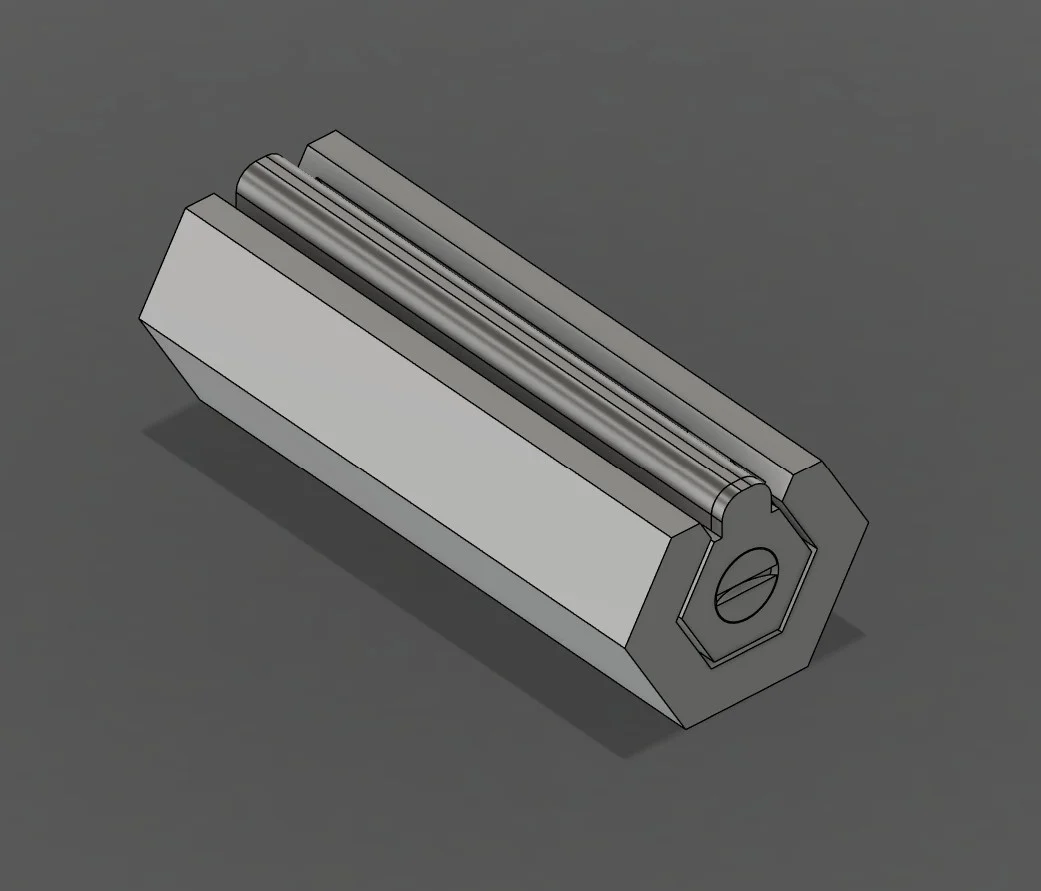
A proof-of-concept 3d printed linear rail, that doubles as a fun and satisfying fidget toy!
This uses 4mm steel balls sandwiched between 2 pairs of 1mm steel rods to make a silky smooth linear rail.
Demo:
hardware:
16x 100mm long, 1mm diameter steel rods (200mm long rods -- https://www.amazon.com/dp/B0DYXNXP2K)
16x 4mm steel balls (https://www.amazon.com/dp/B07YKRT82C)
printed parts:
1x inner
4x inner_rail
1x inner_cap
1x inner_cap_screw
1x outer
4x outer_rail
4x .2mm shims
4x ball_carrier
1x ball_retaining_clip
1x temporary_outer_retaining_clip
Everything can be printed at pretty standard .2mm print settings. I printed everything with PETG. organic supports are needed only for the "outer" part.
Assembly:
If you bought the 200mm rods, cut 8 in half with a dremel cutoff wheel, to get 16x 100mm rods. Clean up/chamfer both ends of each section.
Insert steel balls into all 4 ball carriers.
Insert steel rods into all 8 rails. You can use one of the ball carriers to press down and apply force to the steel rods, to get them to snap into the grooves.
Insert the temporary outer retaining clip inside the outer part. You have to put it in sideways through the top gap and squeeze and rotate it into place. This will hold the outer rails in place until the ball carriers and ball retaining clip are in place.
Insert the 4 shims + outer rails into their slots in the outer piece, feeding them under the retaining clip
Insert the ball retaining clip into the outer part, on one side of the temporary retaining clip. It can be inserted similarly to how the temporary retaining clip was inserted.
Insert the ball carriers under the ball retaining clip. The notched center of the ball carriers fit into the notches in the ball retaining clip. This is the trickiest part of the assembly. You can use your fingernail to bend one side of the ball retaining clip inward, to give enough room to insert the 2 ball carriers on that side. And then flip it around and do the same thing to insert the other 2 ball carriers on the other side.
The ball retaining clip and the ball carriers are now holding the outer rails in place. Remove the temporary retaining clip. It is no longer needed.
Insert 2 of the inner rails into the inner part, on opposite sides, and hold them in with your fingers.
Slide the open end of the inner part, with the 2 inner rails in place, into the outer part. You want to make sure the balls slide onto their respective rails.
Now with the inner part in place, you can slide in the other 2 inner rails from the open end.
Attach the inner end cap over the open end, and screw in the printed screw that holds it in place.
Push the inner part all the way to one end. This will force the balls to slide into the correct location.
Fidget!
I included 4 different thicknesses of shims. I recommend starting with the .2mm shims. You can try thicker shims if it's too loose, or thinner shims if it's too tight and doesn't slide easily.
Bycream110_291842Likes924Downloads7.7K

 ByOnemoredaveLikes861Downloads6.9K

 Byjs14581_2767550Likes118Downloads3.3K

 Byquibeck_3353173Likes351Downloads2.1K

 Byfilament-frenzyLikes0Downloads460

 ByTheMakerStuffLikes315Downloads1.9K

 ByGoolow_295072Likes598Downloads1.6K

 ByMikWantecLikes264Downloads1.5K

 BySzvmkn_3779340Likes231Downloads1.4K

 ByHacker Man ManLikes248Downloads1.5K

 Byne-3d-x-f-f-3dLikes0Downloads296

 Bycentarico_3241219Likes257Downloads979