



Kẹp giữ sợi Filament
 Bytinx_1344834Likes1.2KDownloads6K
Build another version of this model.
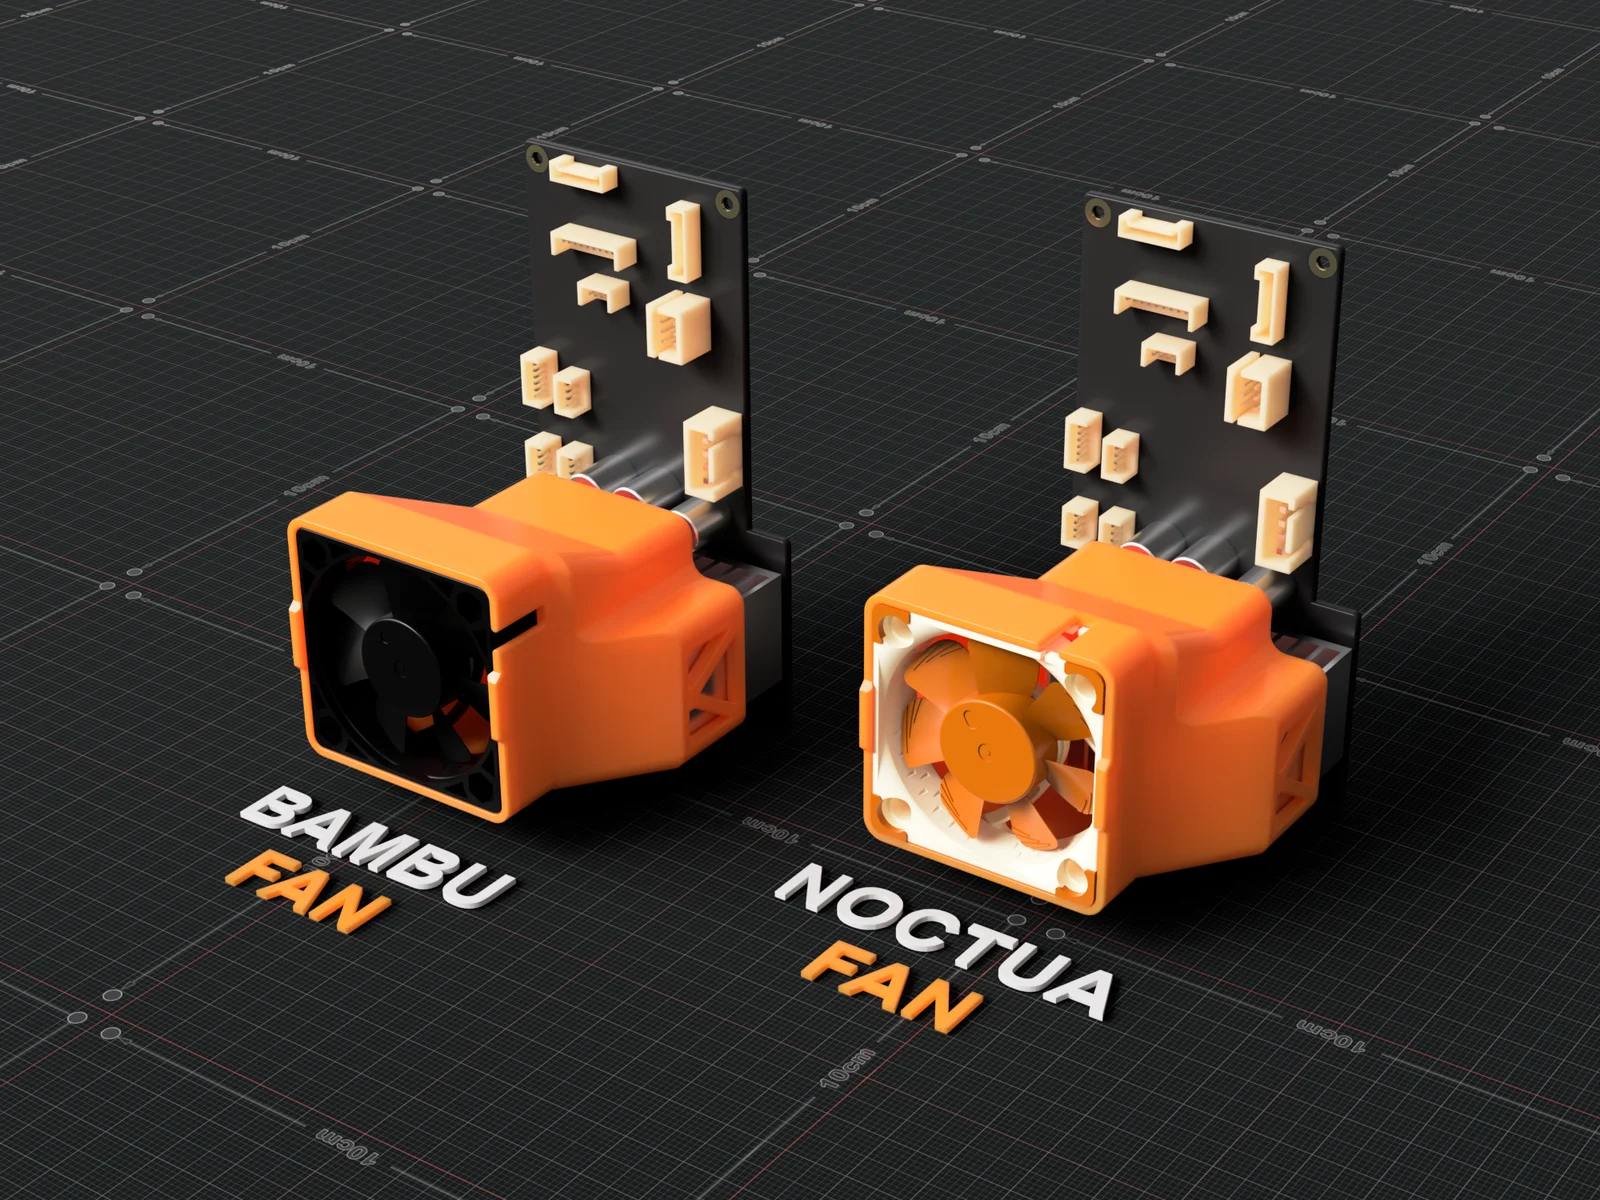
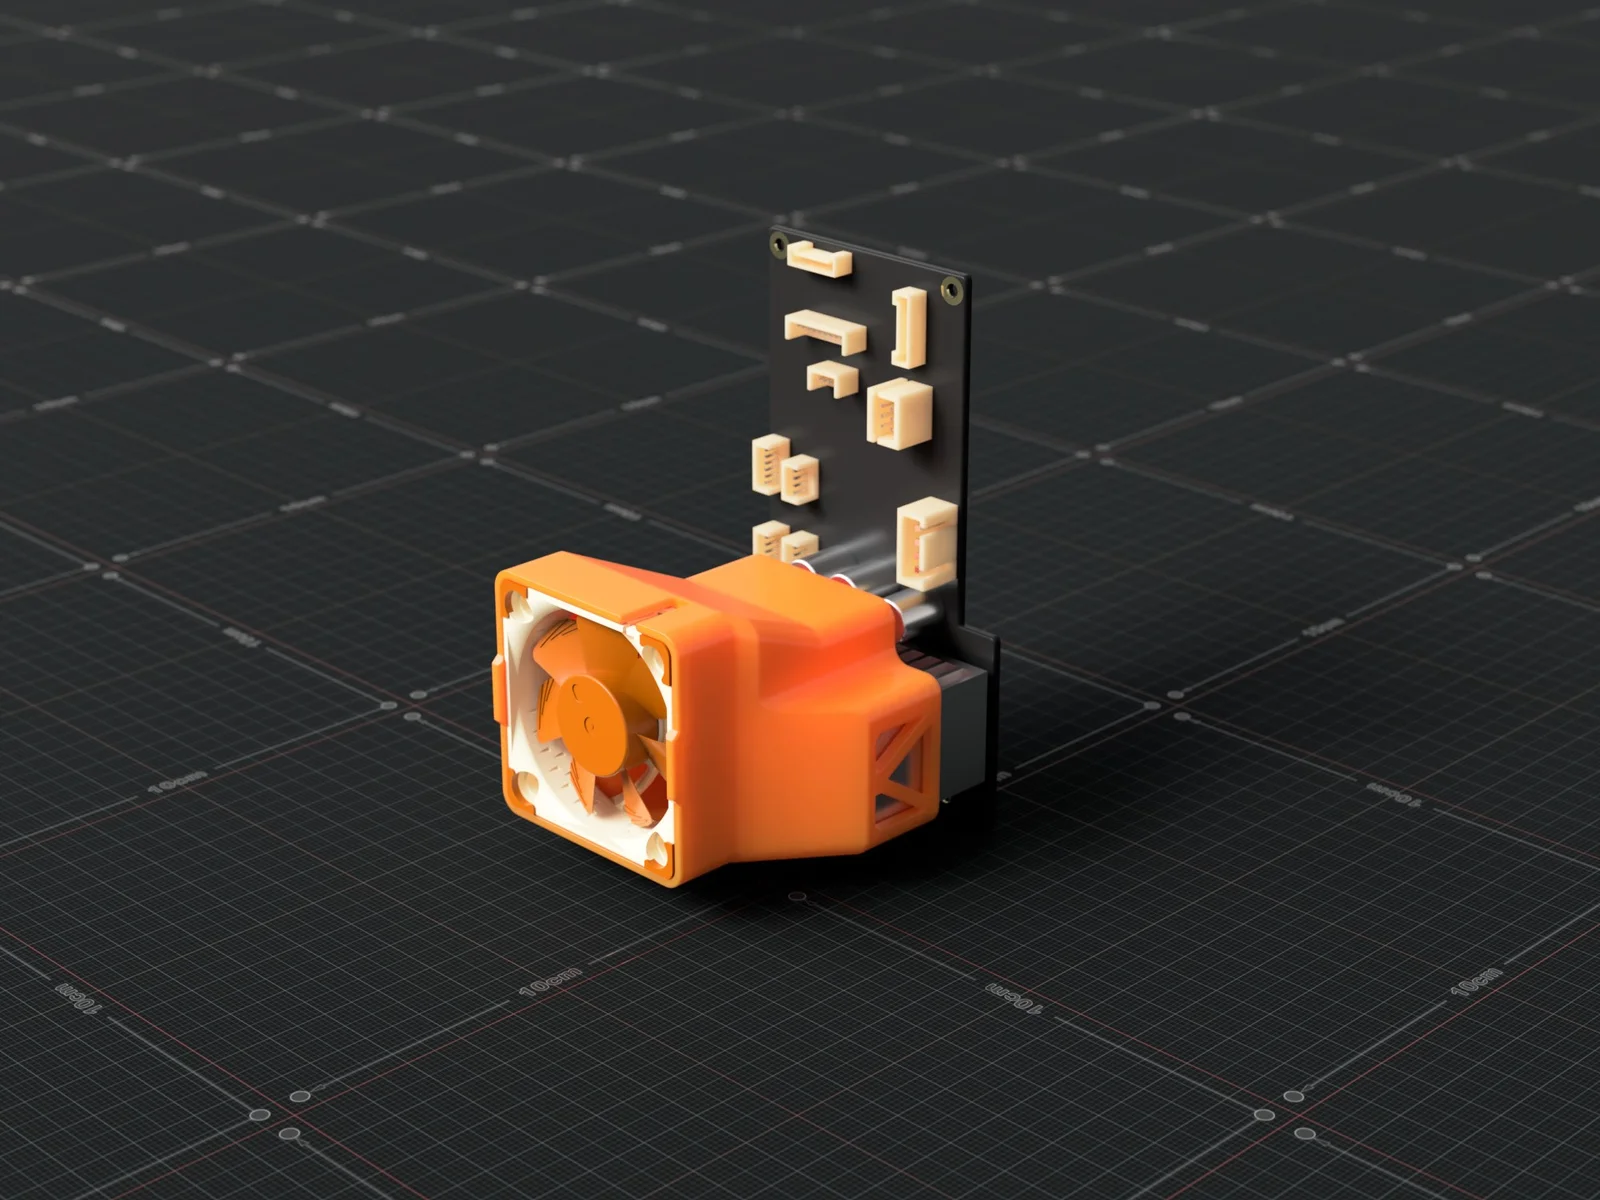
Designed to improve cooling to the control board heatsink using: Noctua NF-A4x10 5V PWM , NF-A4x20 5V PWM or the original Bambu MC fan.
Files
Noctua Fan STL
Bambu Fan STL
Print Files
Fans
NF-A4x10 is what I’m using , it's quiet and has 5.24cfm. I have models for the NF-A4x20 as some users already have it but since it's 10mm thicker, there isn't as much space to redirect the air before the heatsink. Not sure how much that matters, just putting it out there.
Print View
Print Settings
I used Polylite Pro PLA+, no issues so far.
Set your K calibration and adjust setting based on your filament
Open the print file to see the rest of the settings.
Instructions
Please determine what size heatsink you have in order to choose the correct model. There are 3 different heatsink sizes Bambu has used.
According the Bambu https://wiki.bambulab.com/en/p1/maintenance/mc-board the P1P has vertical fins and the the P1S has horizontal. “The P1P board has a vertical orientation heatsink to help with natural convection cooling when used without a fan, while the P1S heatsink has a horizontal heatsink orientation for side MC Fan cooling”.
If you are a P1P user please follow to G-code instructions below to activate the MC fan.
Install onto the heatsink, no need to remove anything as it's able to slide right into place. You might need to move/manage some of the wires though.
39x22 Heatsink
Noctua NF-A4x10 PWM 4 Pin
JST MX 1.25
Yellow
Red
-
Black
Black
Tach
Green
Yellow
PWM
Blue
White
Please refer to P1P to P1S upgrade kit installation tutorial for any further instruction. https://wiki.bambulab.com/en/p1/manual/p1p-to-p1s
If you like my designs and want to say thanks, you can buy me a coffee and help fund the filaments I need for prototyping. A donation of any amount to Buy Me a Coffee or PayPal would be greatly appreciated!
Bytinx_1344834Likes1.2KDownloads6K

 ByhumebeamLikes0Downloads128

 Byprusa-researchLikes0Downloads2.7K

 BydalleLikes0Downloads147

 Byarhi_585078Likes64Downloads542

 ByLuke_316053Likes0Downloads6

 ByHanzo3dLikes155Downloads415

 BydarienLikes0Downloads1K

 ByGeek5DLikes147Downloads488

 ByBrokentooth_designsLikes23Downloads410

 ByVihaanChouha_4055735Likes0Downloads4

 Byla-cave-au-chatLikes0Downloads967