



Grippy Broom Holder
 Byvc-designLikes0Downloads3.2K
Build another version of this model.
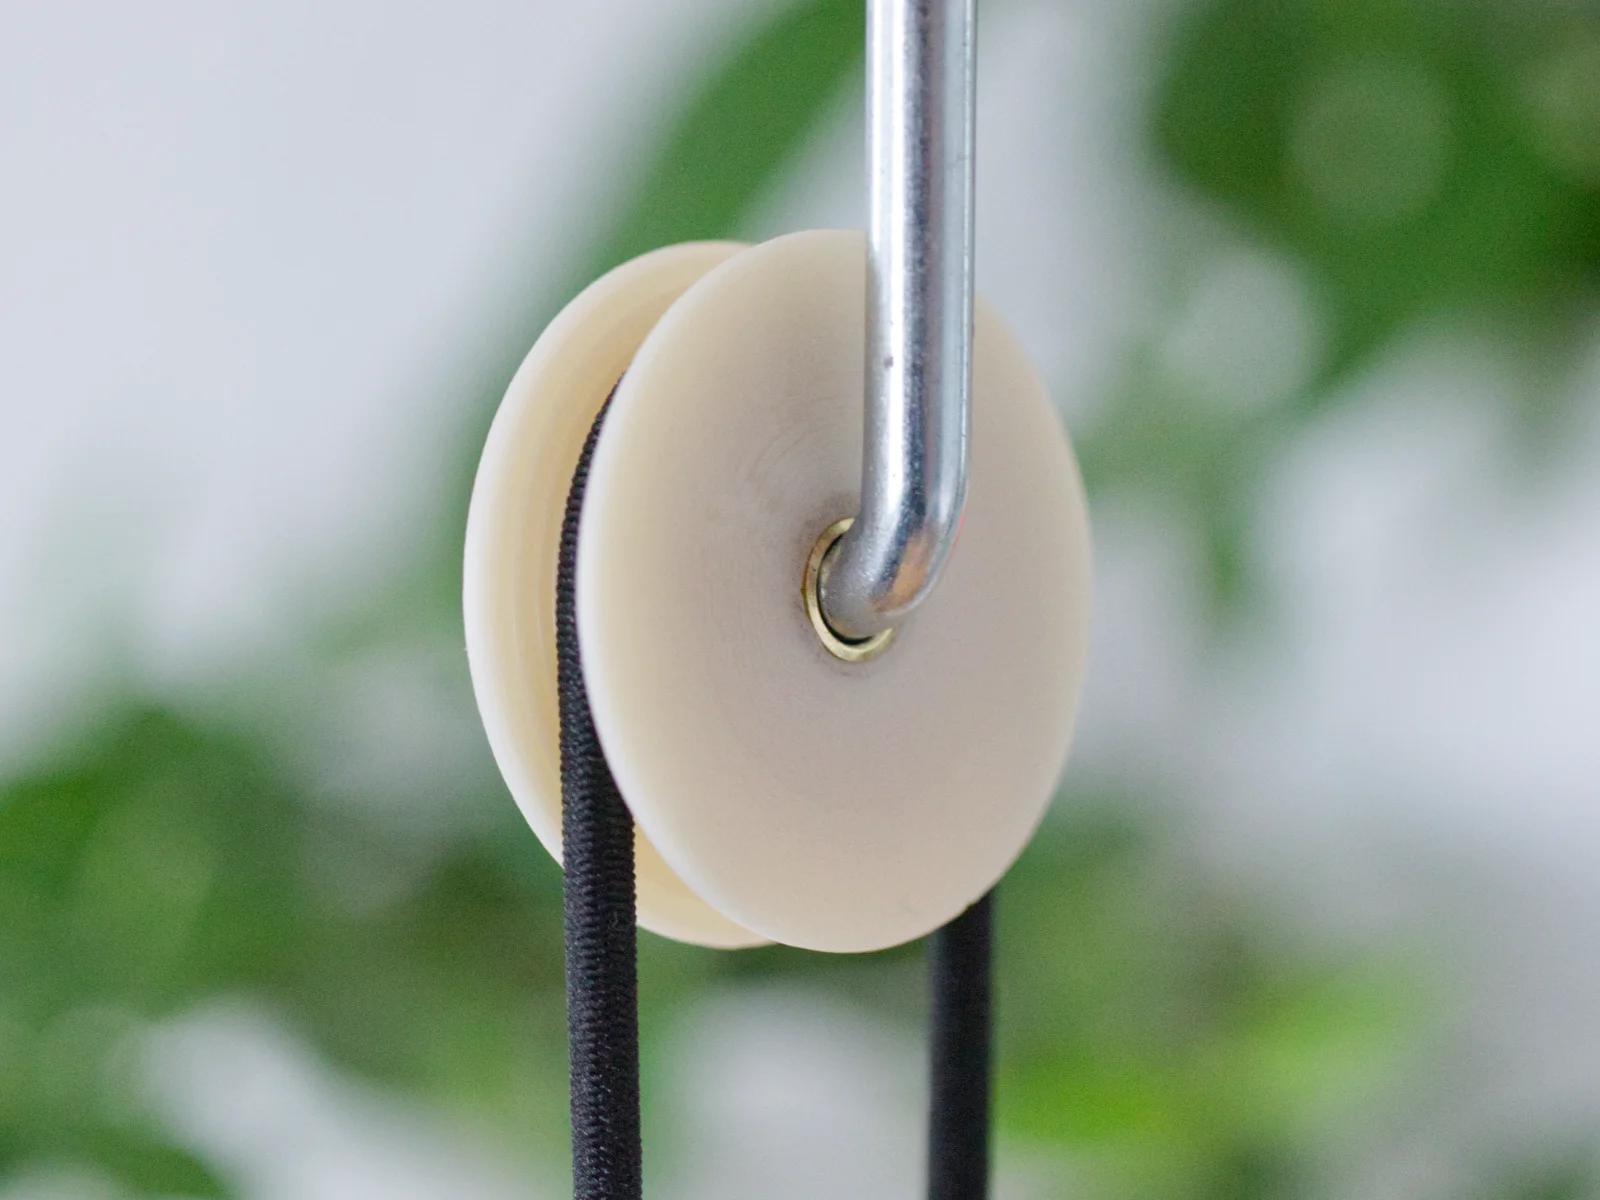
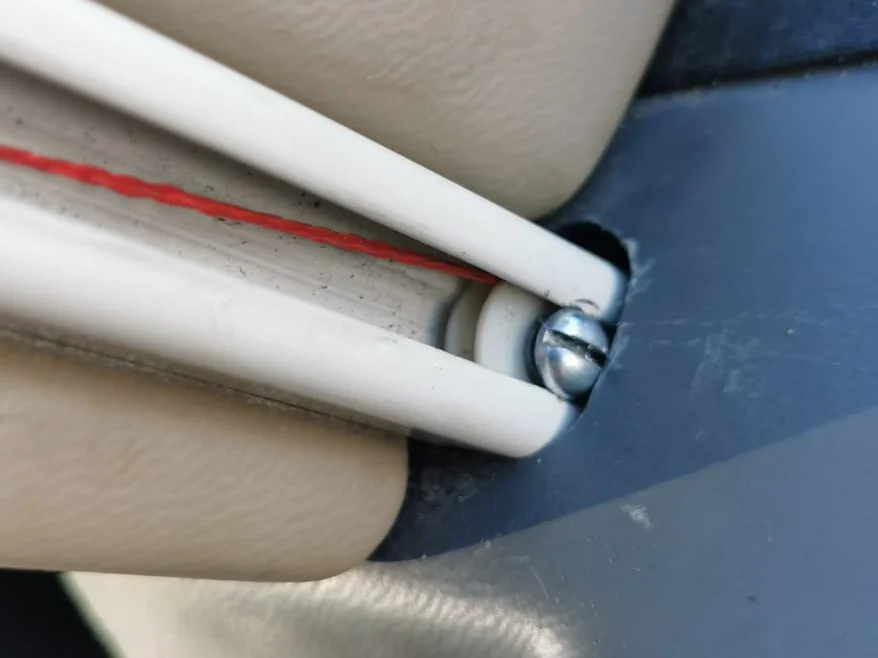
This is a generic replacement pulley that yields surprisingly high load bearing capabilities when combined with a metal sleeve. This works as a simple fix for worn rope pulleys used in parasols, windows blinds and similar items of everyday use.
The easiest option to get to your desired part is by downloading the provided Fusion 360 file and changing it's custom properties based on your requirements. After that just simply export via “Save as Mesh” (Right-click on the root node).
If you want to redesign this part in another CAD software you may find this helpful: The pulley is a revolute around it's centre axis using the sketch below. Make sure to cut off the round section at your printable overhang of e.g. 50 deg. In my design I continue the circular section from the other side of the pulley until the line width “reaches” my nozzle diameter of 0.4mm. This is no load bearing surface, but it look neater.
Apply offsets to the non-critical mating faces so that the printed object can be assembled later on.
When imported as one *.stl file, the models need to be “Split to objects” (Top centre in the Plater view in Prusa Slicer). Place both parts on their respective outside face.
So far I've printed all instances of this design in Prusament ASA (Natural) for it's stiffness, temperature tolerance and overall stability. PETG should work as well and may even come with the benefit of higher ductility. I strongly advise against using PLA, because of it's low glass transition temperature, especially for applications inside of vehicles or parts that are exposed to direct sunlight and thus heat up to more than 60°C.
I'd suggest printing these with 100% infill, at least 3 perimeters and 0.2 mm layer height. Regarding the seam position I suggest going with whatever yields the least pronounced seam with your setup. For my Prusa MINI+ that is “Nearest”.
Test-fit your printed objects! When you are happy with the tolerances disassemble and use a toothpick or similar to add a dab of super glue to the ridge. Press both parts together and let it cure.
A non-sleeved version of this is surely quicker to finish and works out of the box without any additional hardware or work required. But a brass or aluminium tube may increase the lifetime of your pulley by a few years.
For this purpose I usually stock an assortment of brass tubes in 3, 4, 5 and 6 mm. With a small pipe cutter, chamfering bit, (drill bit / reamer), some sandpaper and clamping tool made from two washers, a hex-nut and a screw you can make your printed substitution an almost genuine replacement.
Byvc-designLikes0Downloads3.2K

 ByKNIN_CustomLikes112Downloads438

 BySeppoTakaloLikes960Downloads1.9K

 ByRobertoGalloc_356815Likes549Downloads1.8K

 Byrb_200934Likes48Downloads1.1K

 ByleonicLikes0Downloads1.4K

 ByZED4EverLikes313Downloads5.2K

 ByfifindrLikes500Downloads4K

 ByVC_DesignLikes679Downloads3.6K

 ByDan Schwartz SchwartzLikes744Downloads3.4K

 Bykjus_448782Likes314Downloads674

 Bythorin-oakenshieldLikes0Downloads529